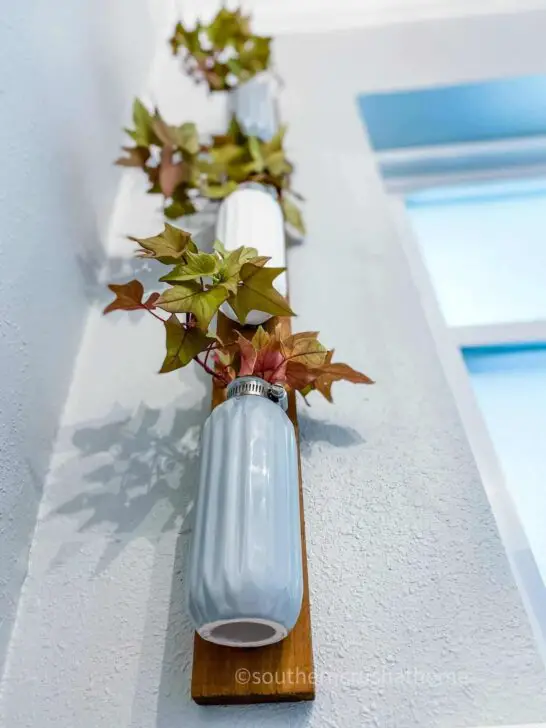
Transforming your small space into a tranquil oasis has never been easier! Plant wall decor is an innovative way to bring the outdoors in. You can use a variety of elements such as flowers, ivy, or even artificial plants to create stunning visual displays. What’s more, you don’t need to break the bank to achieve this look. By repurposing affordable materials like scrap wood and Dollar Tree supplies, you can create a one-of-a-kind piece that reflects your personal style.
I still fondly remember my grandmother’s lush collection of rootings and cuttings on display in her sun-drenched back porch. Her dedication to nurturing each plant inspired me to recreate this look in my own home. After all, there’s something special about adding handmade decor to your space. It’s not only a fun DIY project but also a great way to infuse your living space with character and warmth.
And let’s be honest, the benefits of incorporating greenery into your decor are undeniable – whether you opt for real or faux plants, the results are equally impressive! I’d love to share my budget-friendly DIY approach with you, so get ready to unleash your creativity and create a unique piece that reflects your personal taste!
SUPPLIES TO MAKE Plant Wall Decor
All the supplies needed can be found HERE in my Amazon Shop!
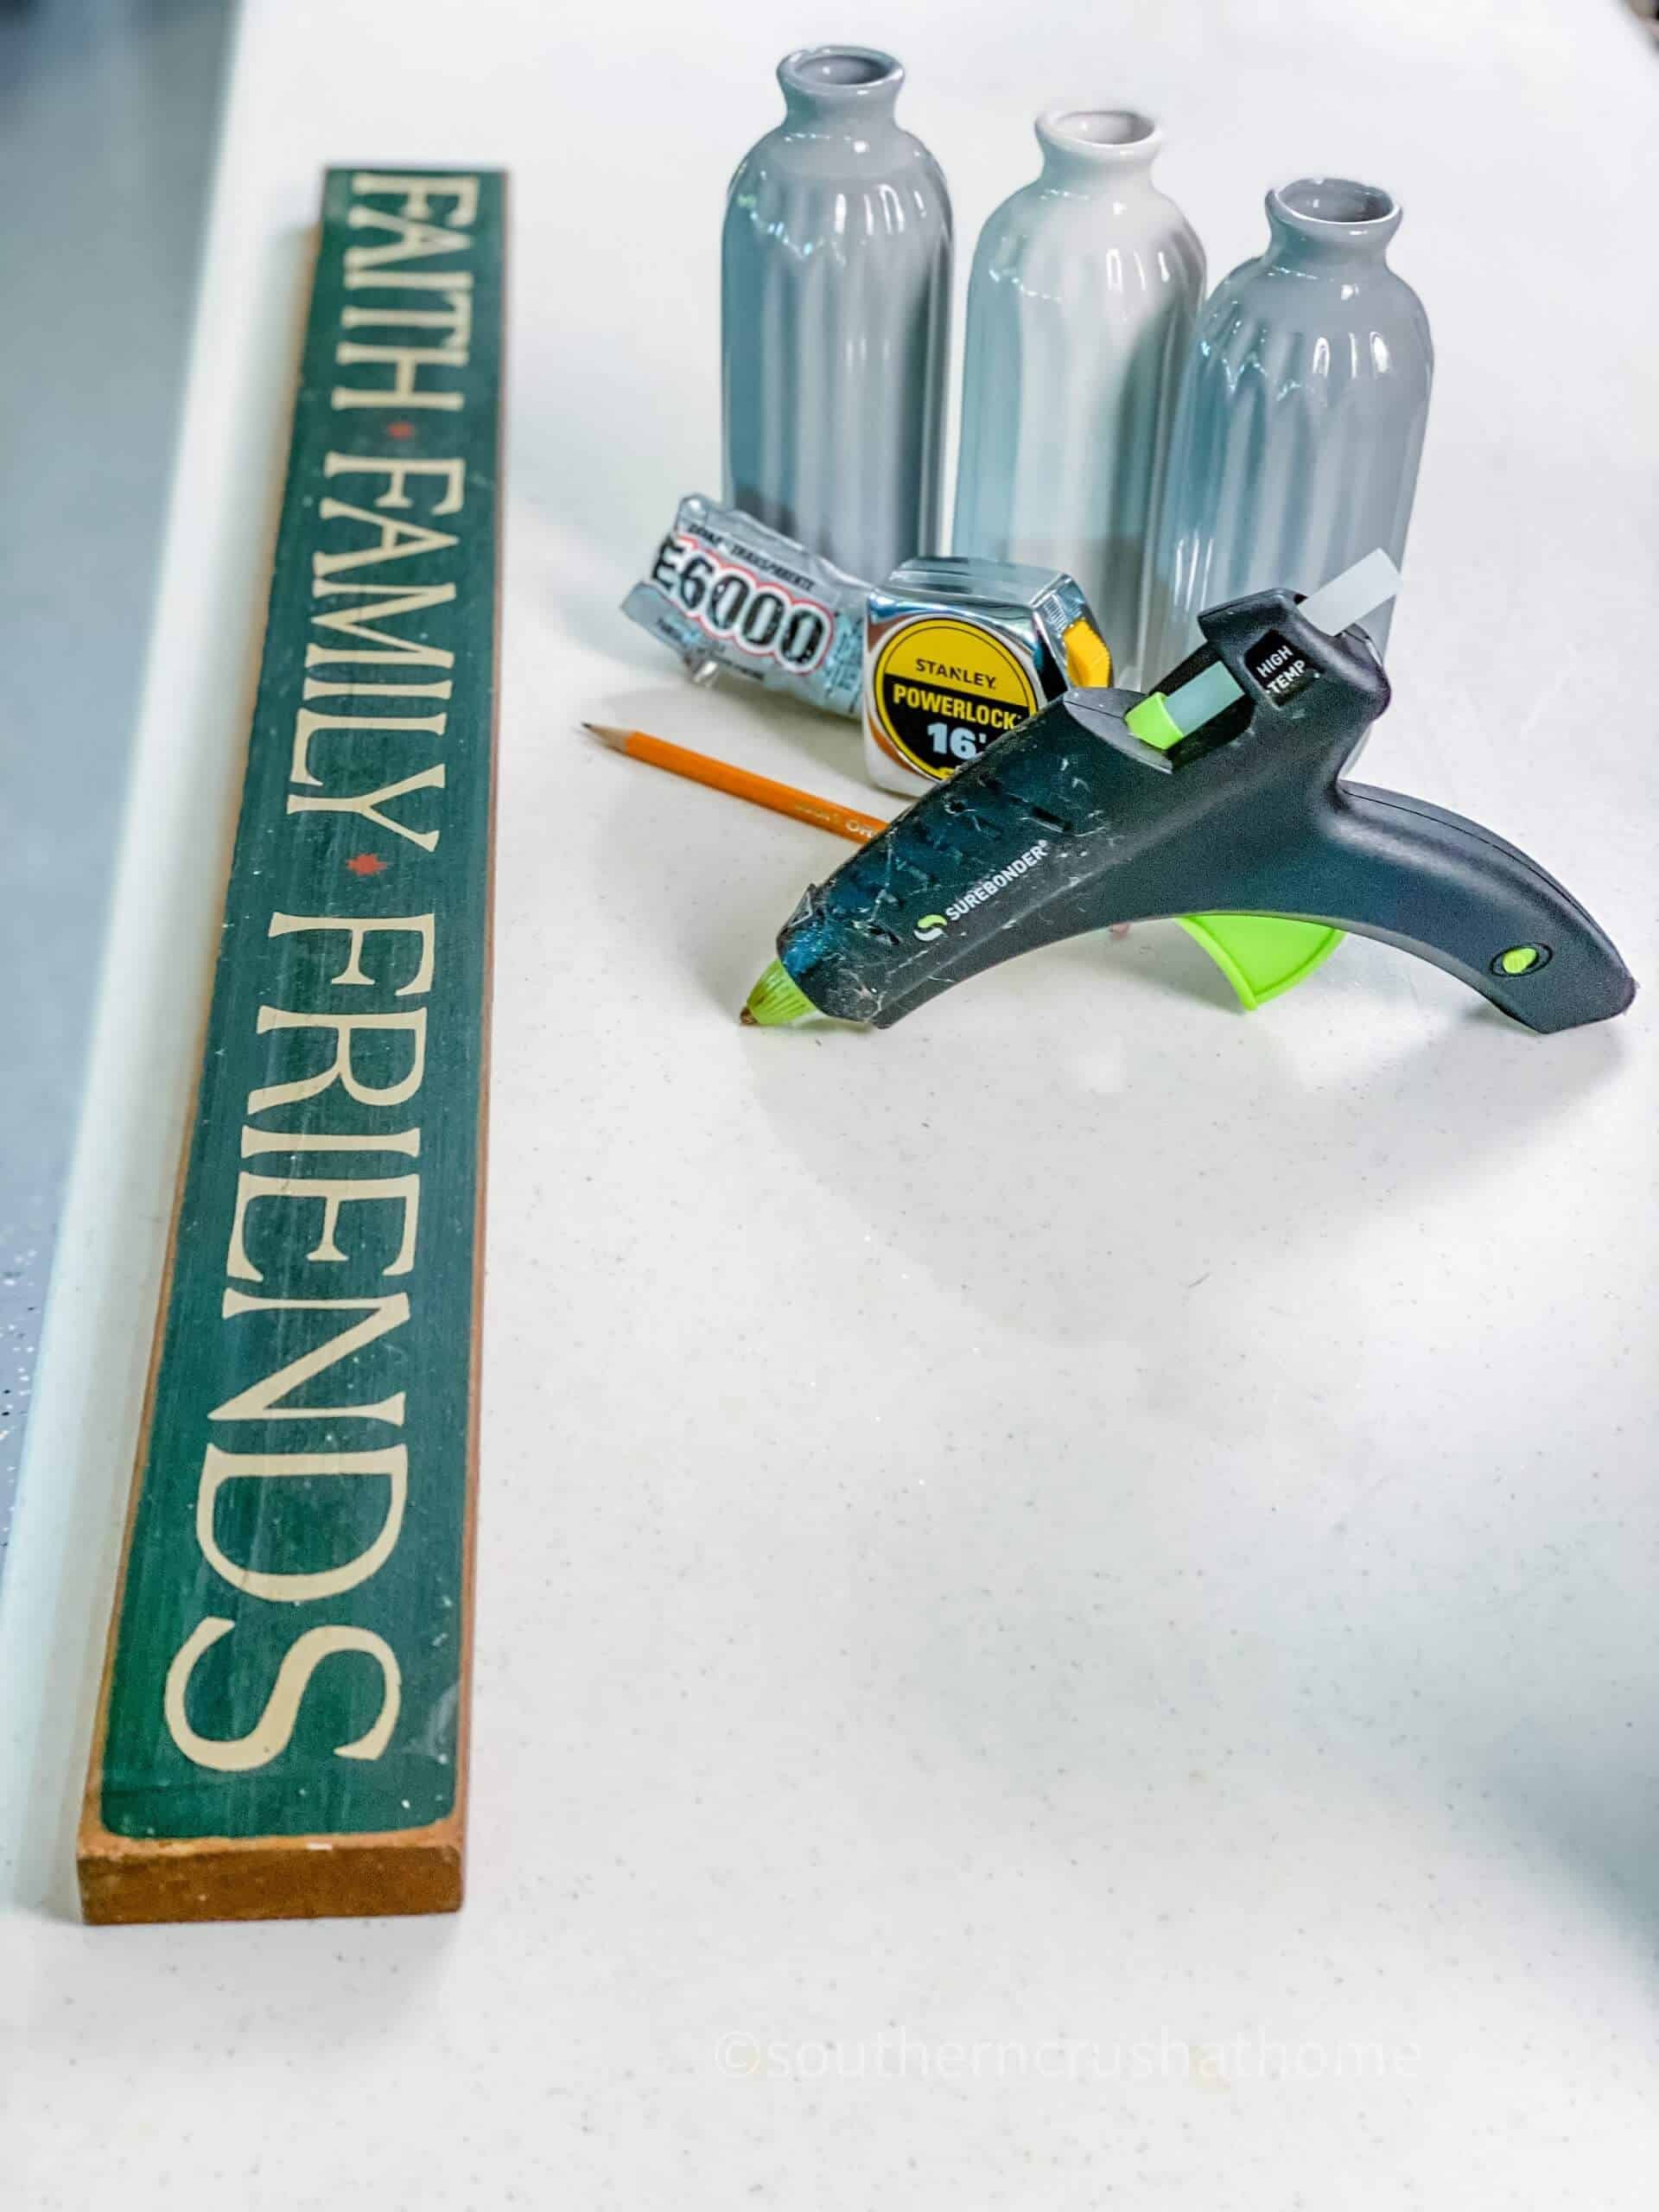
To create a unique and rustic Dollar Tree vase, you’ll need a few simple materials. Start by gathering an old sign or piece of wood to serve as the base. Next, grab some E-6000 adhesive and Galvanized Clamps to hold everything together. For added texture and dimension, incorporate faux plants or live plants into your design. A hot glue gun will come in handy for securing these elements in place. Finally, use a pencil to add any finishing touches or details.
HOW TO MAKE Plant Wall Decor
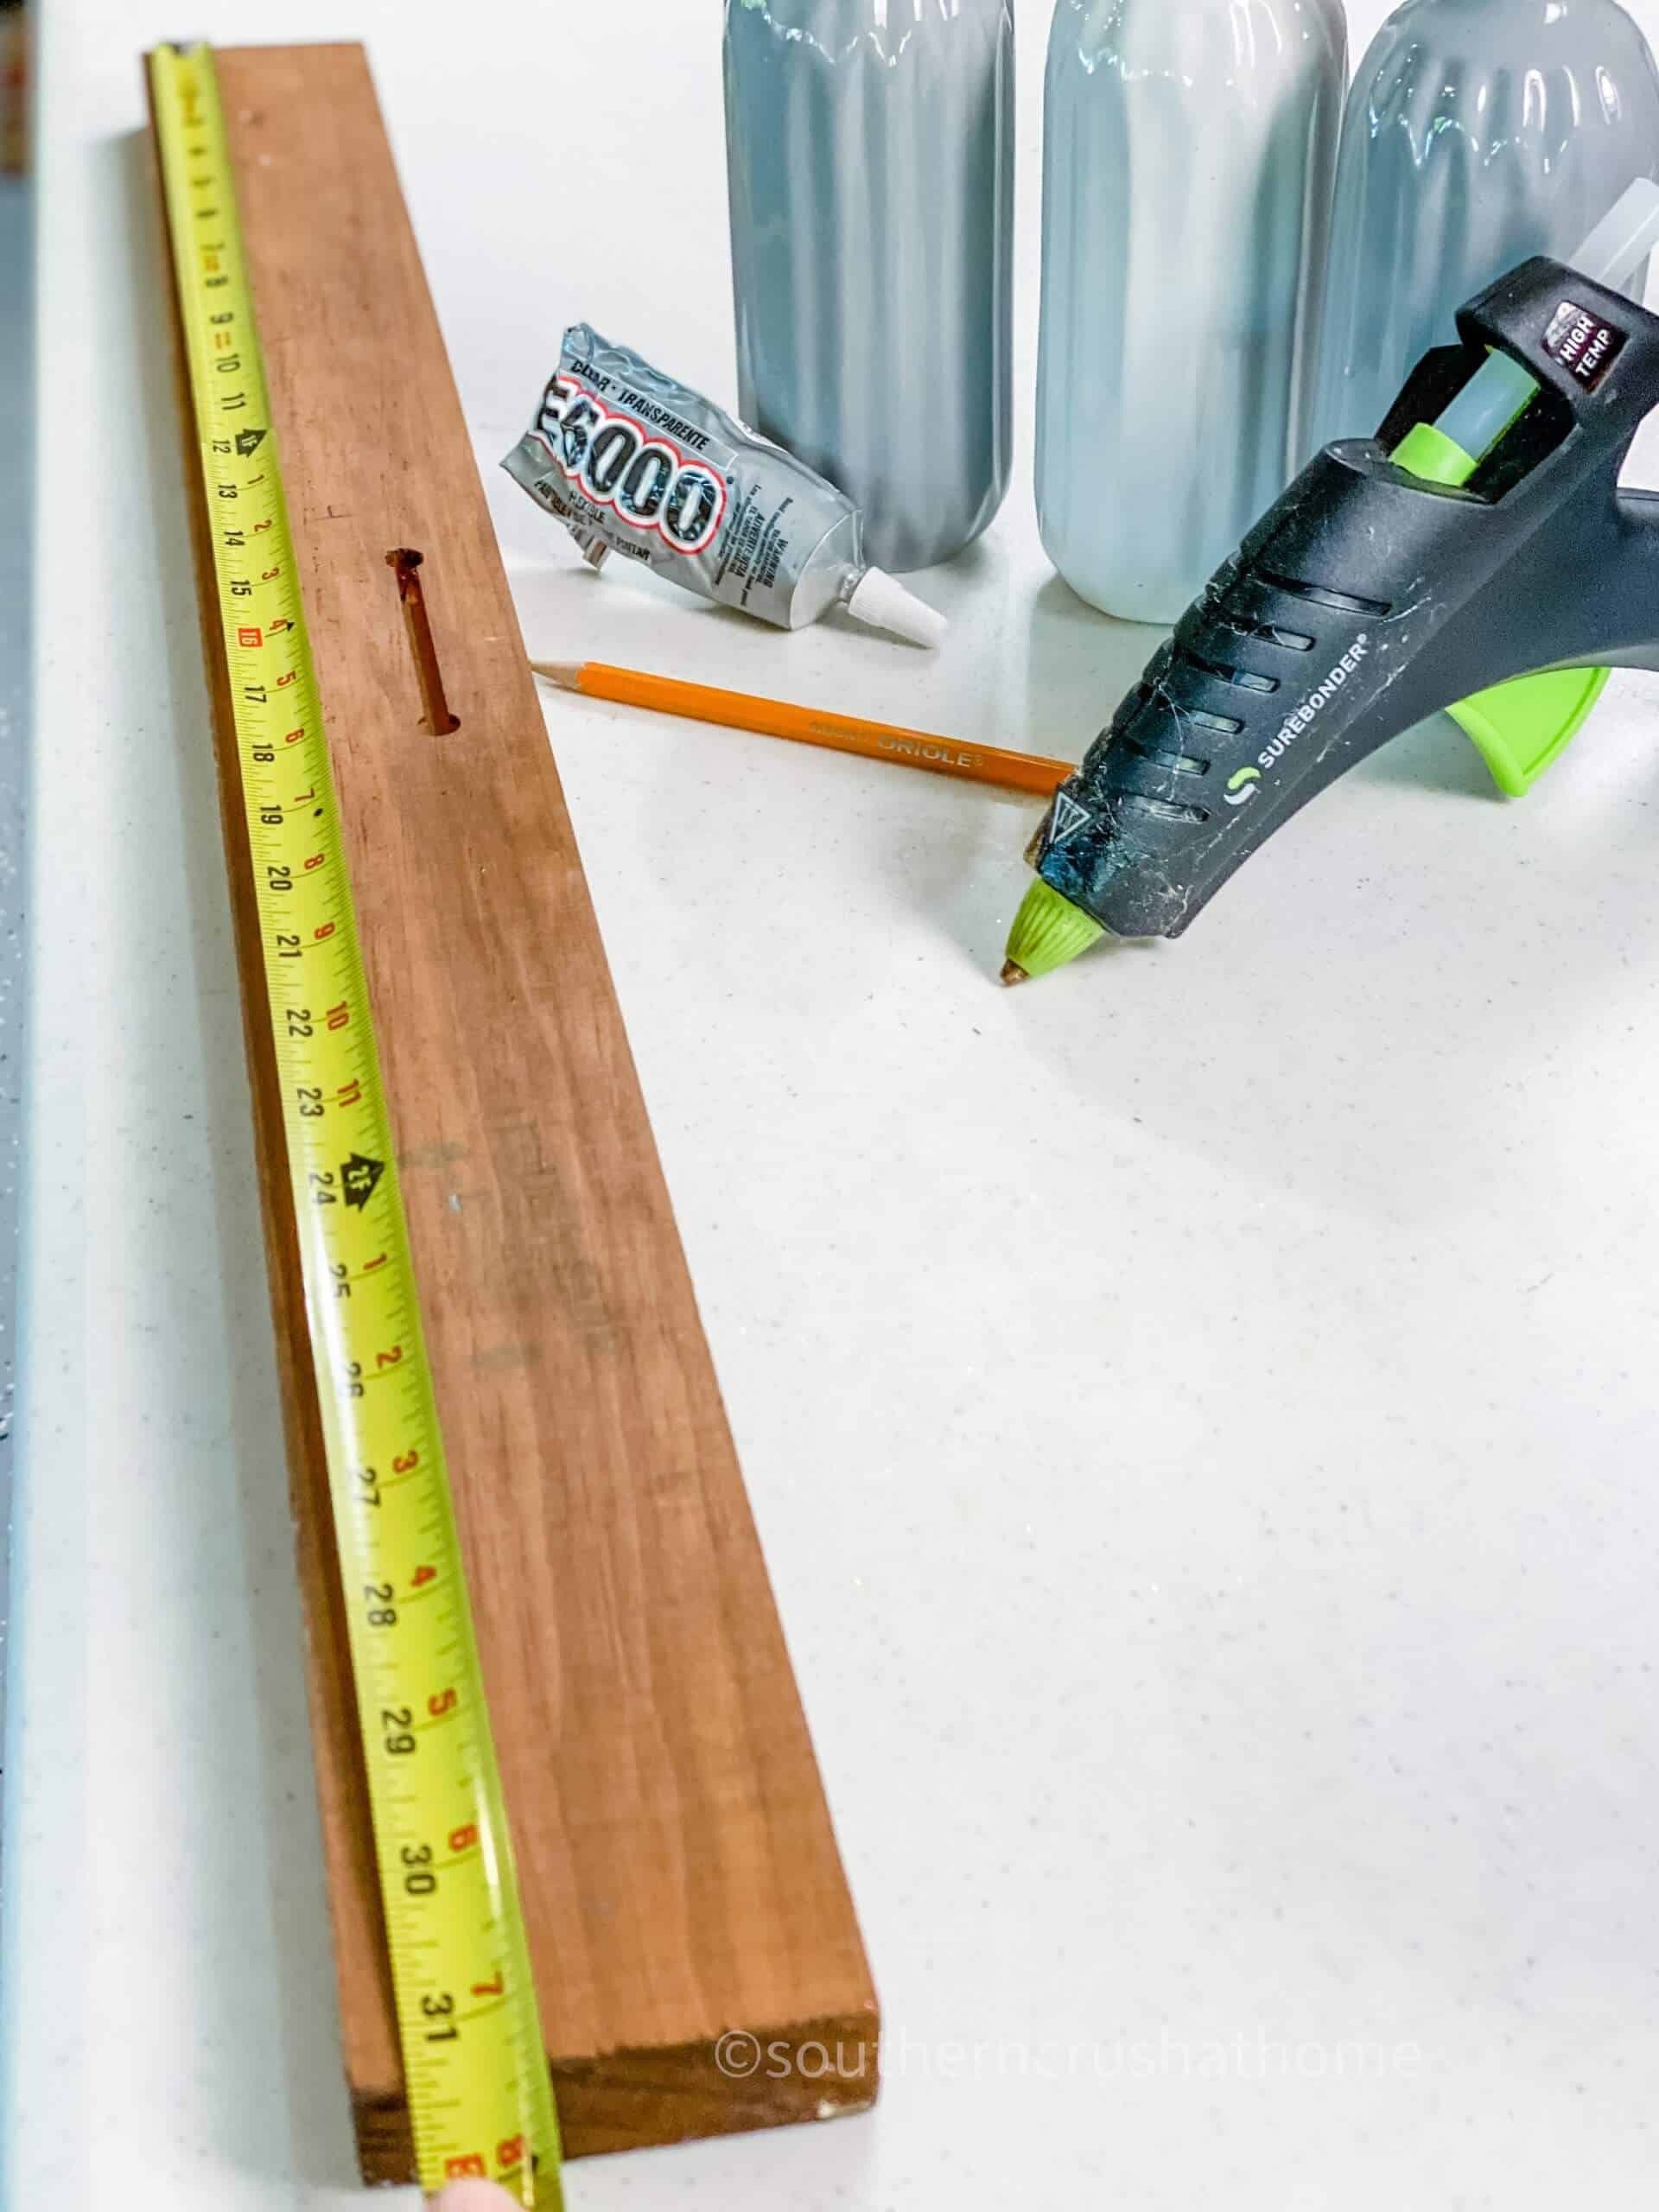
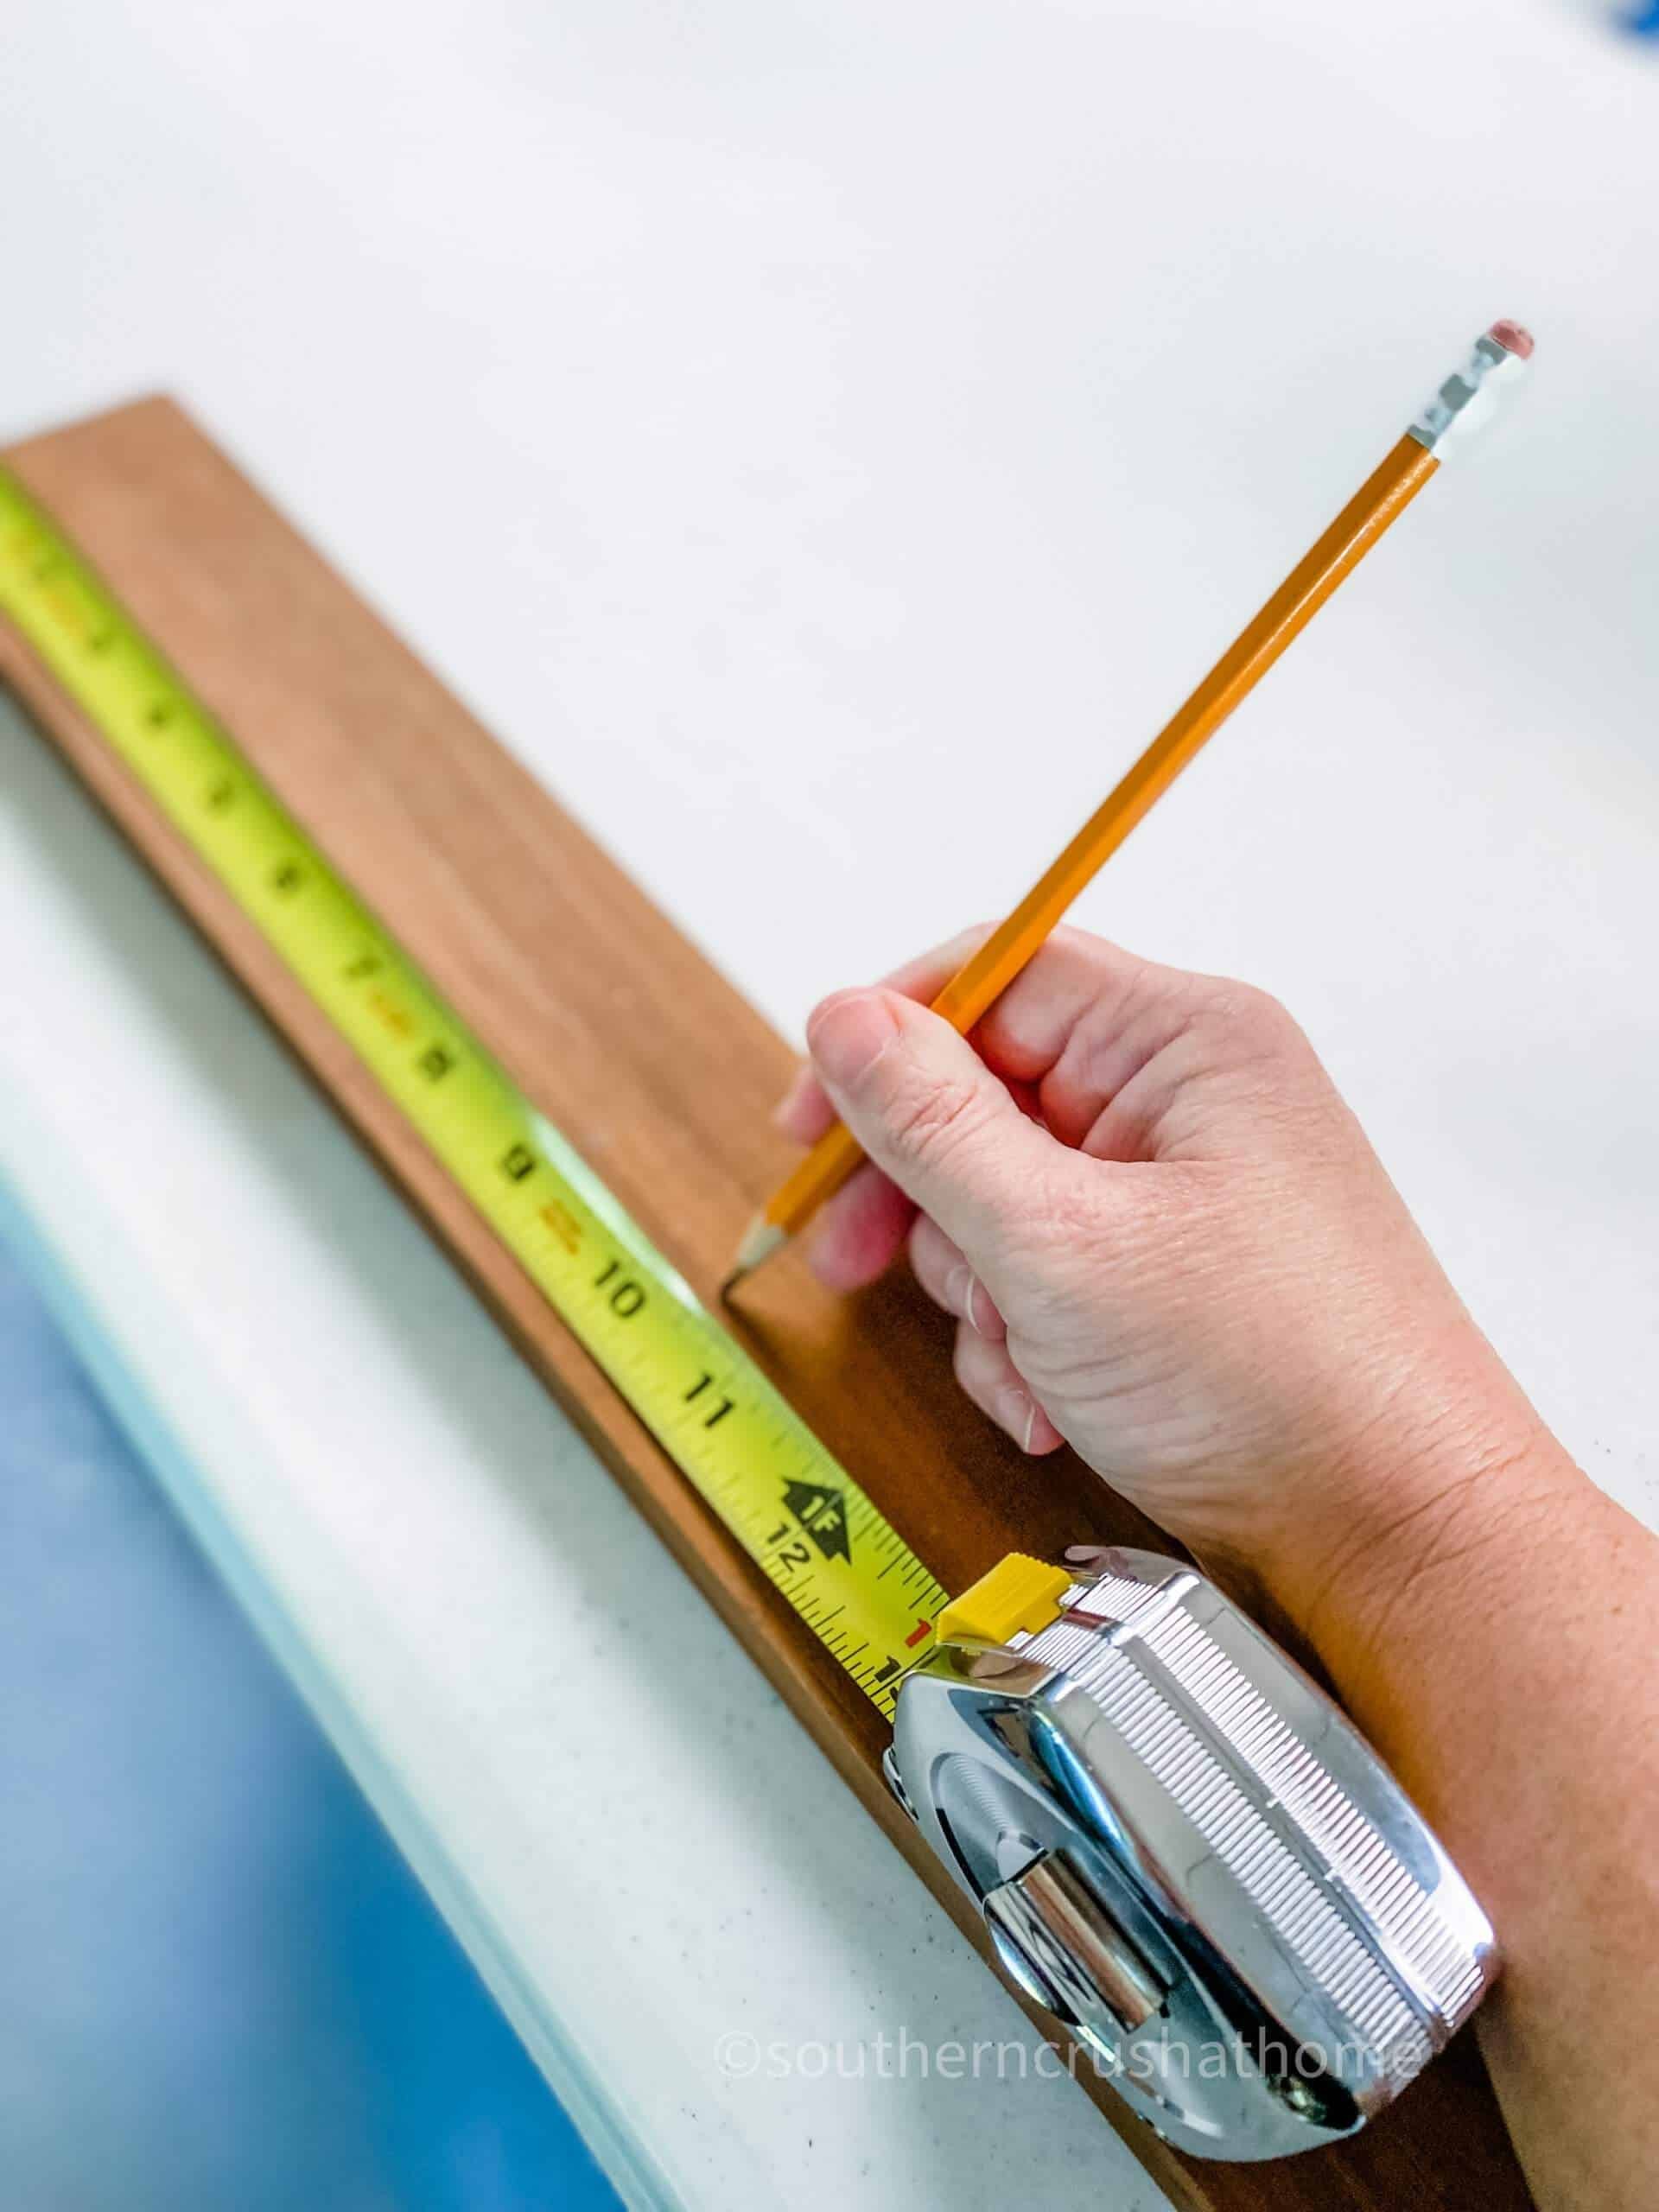
Begin by flipping over the old sign, then use your measuring tape to determine its total length. In my case, the sign measured almost exactly 31 inches in length. Next, measure the length of your vase and divide it by three if you plan to display multiple vases. Once you have this measurement, lightly mark where each vase should be placed, centered on the sign, with a pencil. Make sure to keep these marks subtle so as not to interfere with the subsequent design process.
NEXT…
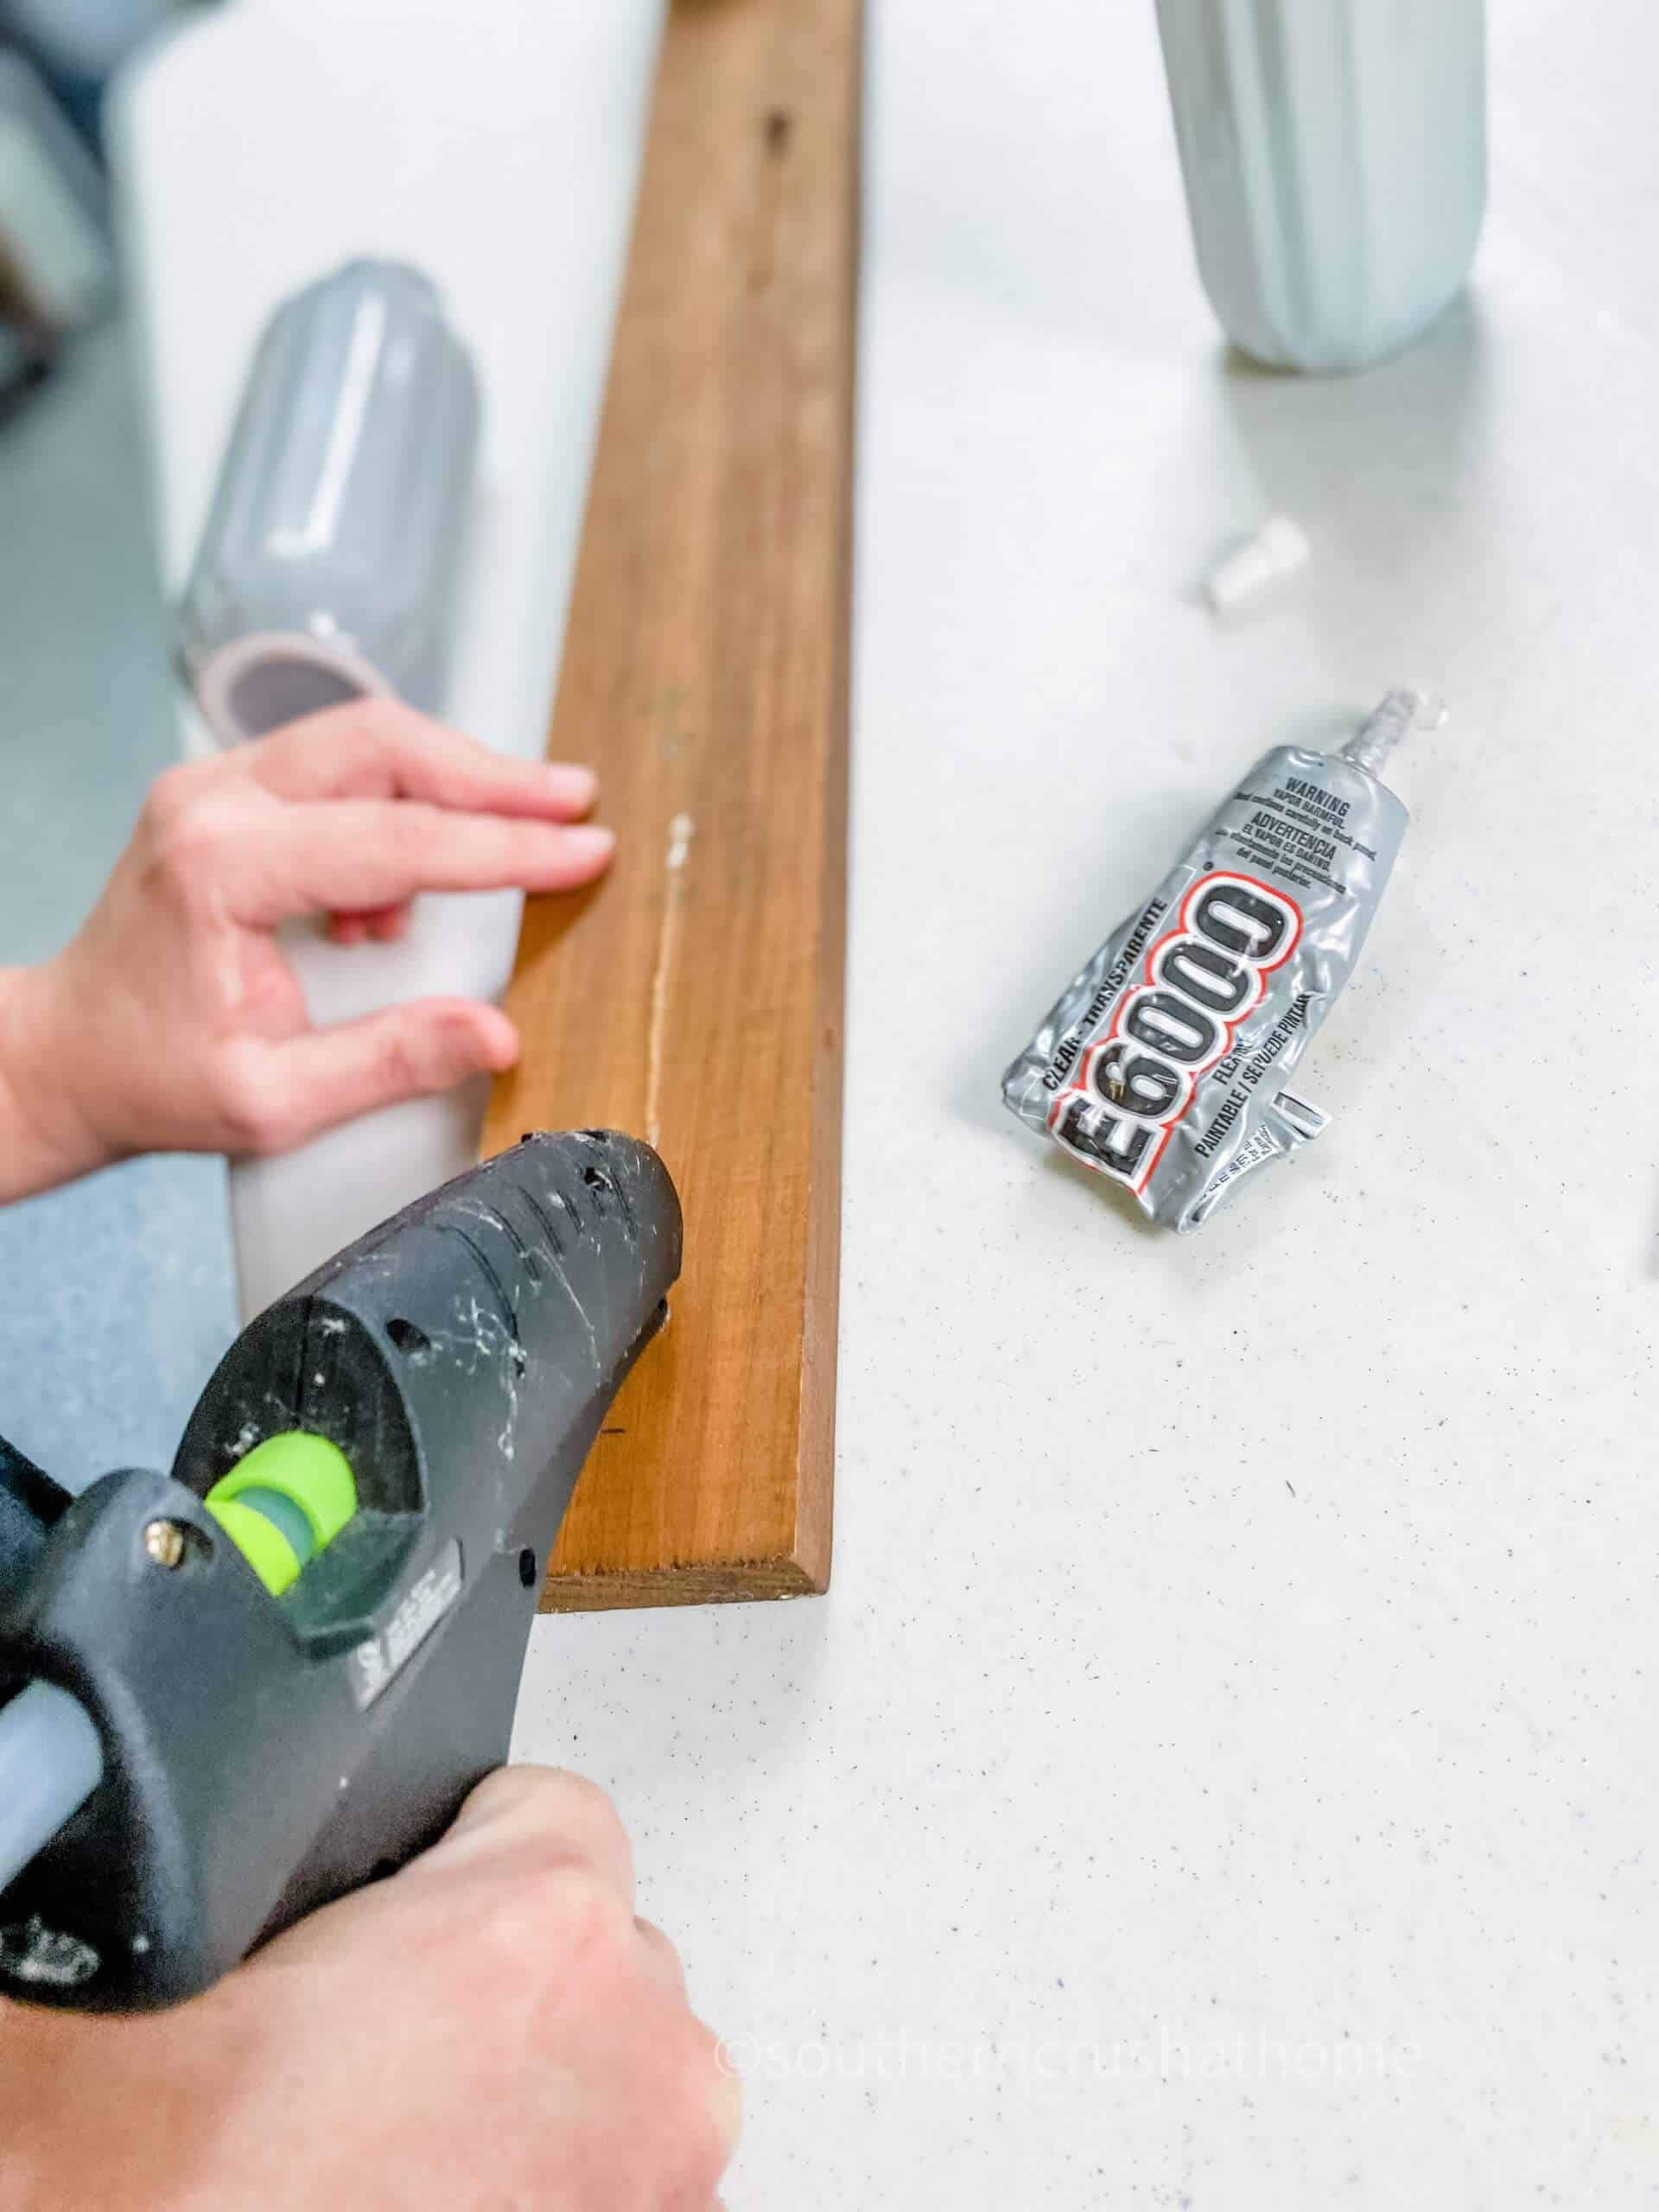
To ensure a secure and long-lasting attachment of the vases to the sign, utilize a dual-approach adhesive solution. Start by applying a small amount of hot glue at each marked space to provide initial hold and stability. This will allow the E6000, once applied, to bond with the materials for a more permanent and durable connection. By combining these two adhesives, you’ll achieve a robust hold that resists wear and tear over time.
Plant Wall Decor USING dollar tree VASES
After applying the glue, allow it to dry completely before proceeding with the next steps. A few hours or an overnight wait should be sufficient to ensure a secure bond. Once the glue has dried, you may consider adding a small adjustable galvanized clamp around each vase’s neck for a sleek and modern industrial aesthetic. These clamps are readily available at most hardware stores or can be found in my Amazon shop, listed above.
finally…
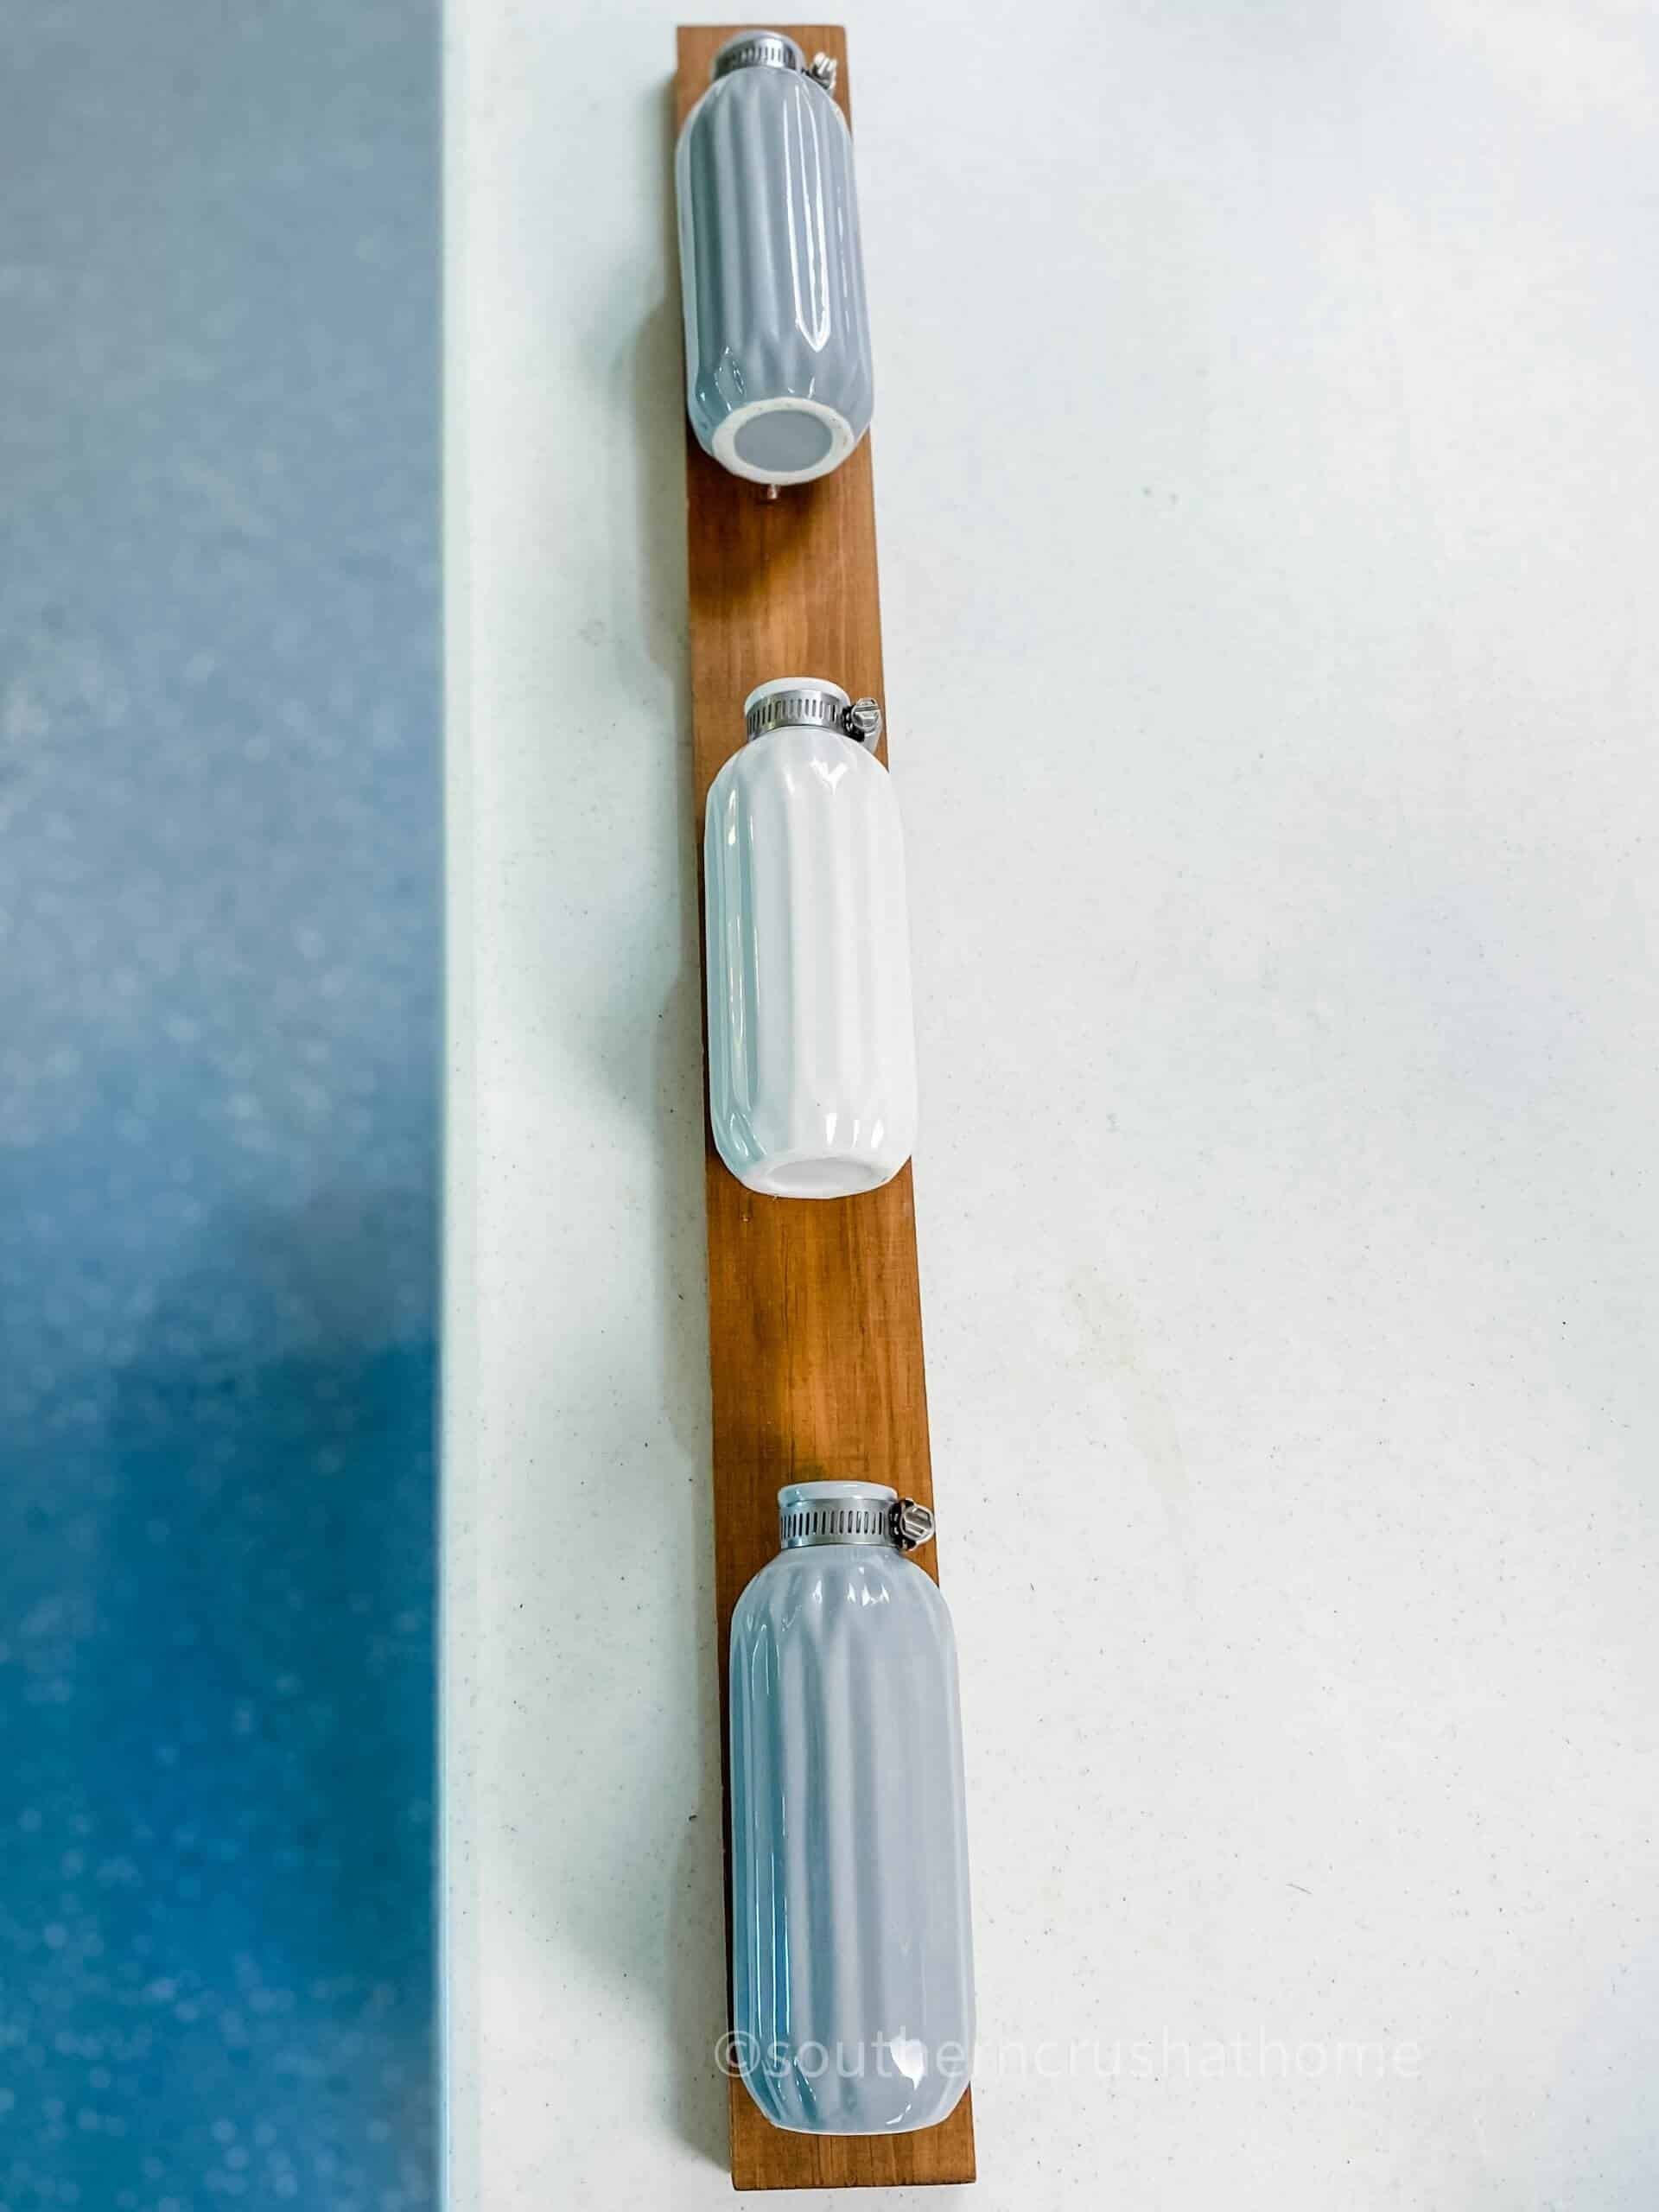
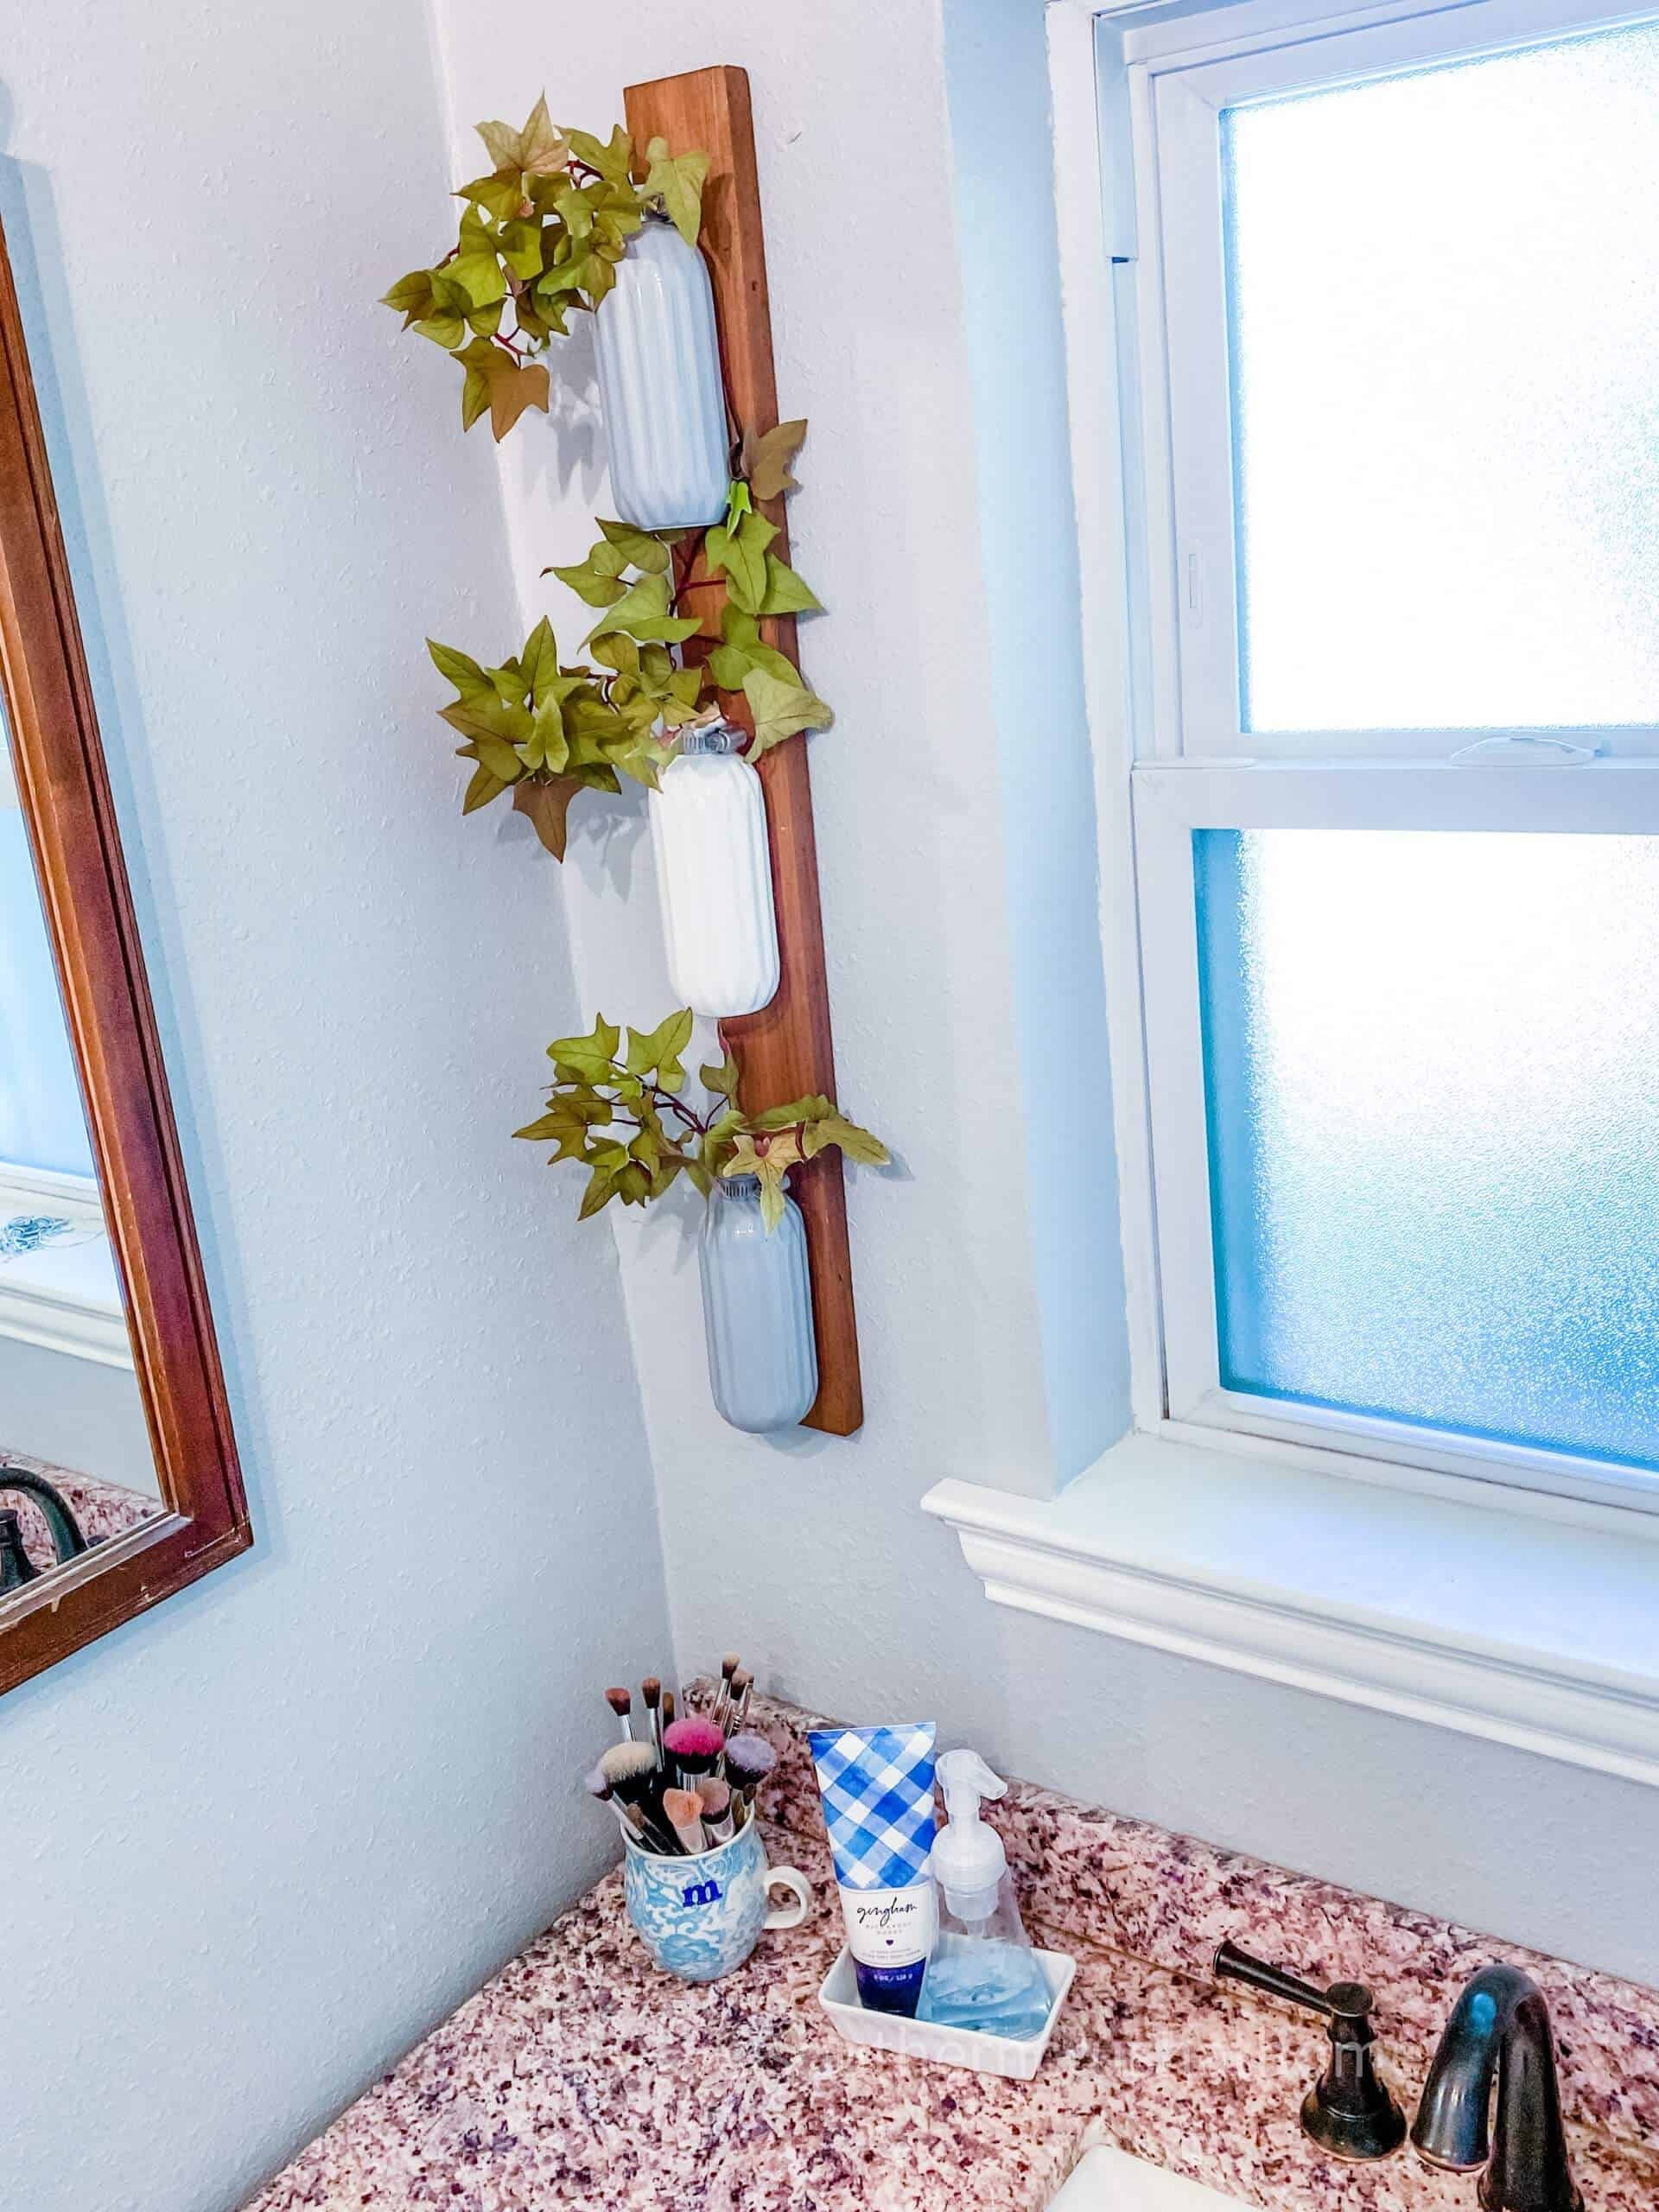
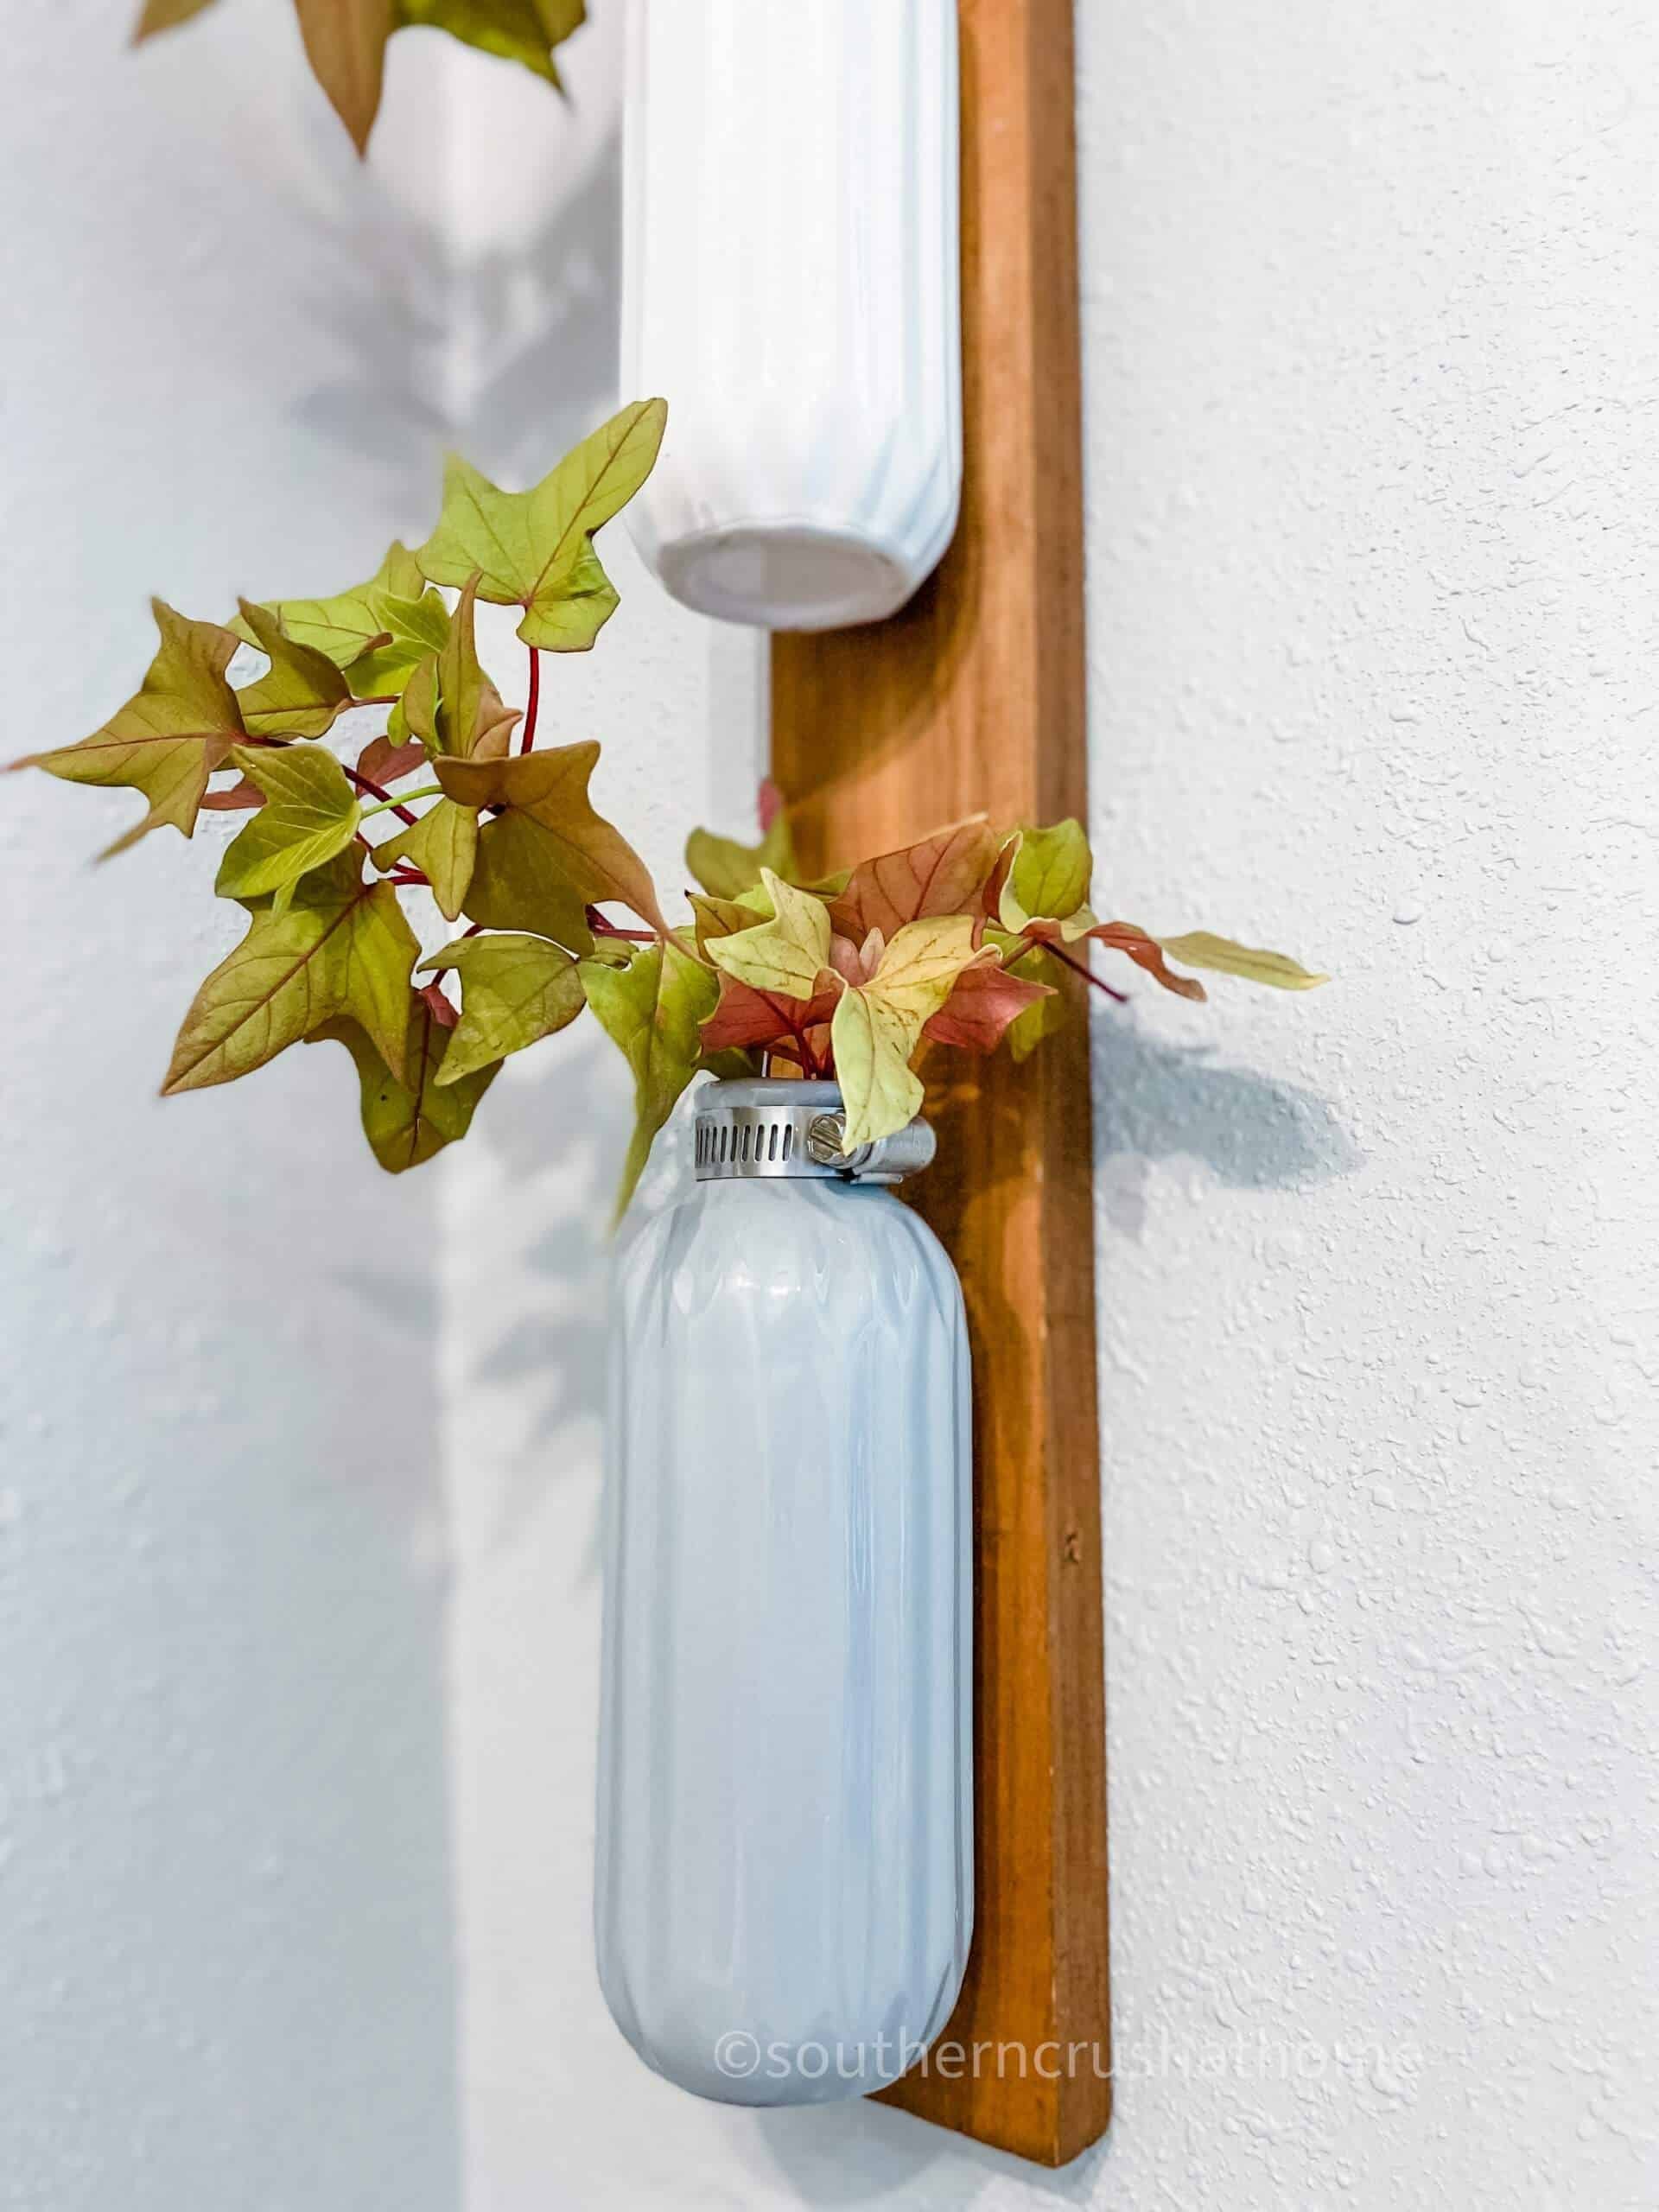
To complete your upcycled sign wall decor, simply fill each vase with water and add your preferred plant cuttings to grow roots for planting or use faux plants instead. This versatile piece can be used to create a seasonal display by swapping out the contents with different flowers or foliage.
Before you know it, you’ll be enjoying the fruits of your creativity! Just remember to secure the decor well to the wall, as the vases will become heavier once filled with water.
My husband and I used E6000 glue in addition to hot glue for added stability. He even employed screws to hang our piece on the bathroom wall, where it flanks a window for some lovely indirect sunlight.
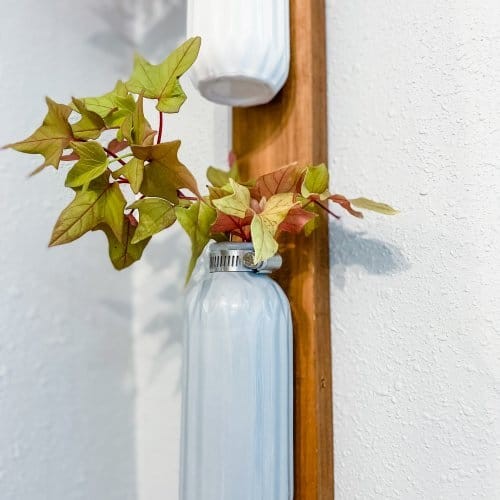
I’ve added my summer sweet potato vine cuttings to one of the vases, filled with water, and must say I’m thrilled with the result! The galvanized clamp adds a nice touch to the neck of the vase, don’t you agree?
As you consider your own upcycled sign wall decor, think about how beautiful this planter would look with faux flowers or single roses for different seasons. This versatile piece can be used in any space and at any time throughout the year. Do you have a specific spot in mind?
HOW TO ROOT PLANT CUTTINGS IN WATER
When propagating succulents, start by determining the length of the cutting you desire from the main plant. To ensure a healthy and successful propagation process, carefully cut just below one of the nodes or ‘knots’ using scissors. Next, place the cutting in a clean glass or ceramic container to provide a stable environment for root growth. Daily, add water as needed, taking care not to cover the leaves with excess moisture.
Every 3-5 days, replace the water with fresh water to maintain optimal conditions. With patience and proper care, you’ll eventually witness the development of new roots, signaling the success of your succulent propagation endeavor.
What plants can be rooted in water?
Several popular plants can thrive in water, including Pothos, Swedish ivy, Fiddle leaf fig, Baby’s tears, Impatiens, Coleus, Grape ivy, and African violet. You can also use vines like sweet potato vines. The time it takes to root a plant in water varies, but most cuttings take around 3-4 weeks to develop roots. Some plants may require more time. When rooting multiple cuttings, place them in a container with enough space for each cutting and add fresh water until the roots are fully established.
Once the roots reach 1-2 inches in length, the cutting is ready to be potted up. To plant your rooted cutting, start by rinsing it with fresh water after several roots have developed at its base. Then, fill a container with about one to two inches of soil and gently place the cutting in the hole. Cover the roots with soil, leaving about an inch from the leaves. This is a great way to propagate plants and can be a fun, creative outlet.
By taking cuttings from your favorite summer plants and nurturing them indoors during the cold weather, you can enjoy fresh greenery year-round without breaking the bank.
More money-saving ideas for your outside areas
Whether you’re looking to breathe new life into your outdoor patio lounge furniture, illuminate your space with creative lighting and curtains, or give your pool storage box a makeover, we’ve got you covered. From DIY projects to video tutorials, our collection of outdoor living ideas will inspire you to get creative and make the most of your outdoor space.
So why not start by learning how to repair your patio lounge furniture, then move on to adding some ambiance with string lights or making over that pool storage box? Whatever your outdoor design style, we’ve got the inspiration you need to make it happen.
BE SURE TO CHECK OUT THESE OTHER PLANT INSPIRED DECOR DIY ideas!
Transform your space with creativity by upcycling vintage items into planters and decorative pieces. Consider turning an old colander into a charming hanging planter, or give new life to a drawer by creating a faux succulent planter. You can also add a touch of elegance with a handmade faux succulent candle ring or use a vintage toolbox as a unique display for your succulents.
For a fresh take on gardening, try your hand at making a DIY herb hanging planter and discover the benefits of growing herbs in containers.
Plant Wall Decor
Transforming an ordinary space into a stunning oasis is just a few simple steps away with the help of Dollar Tree supplies and an upcycled old sign. By combining these two budget-friendly materials, you can create a one-of-a-kind plant wall decor that adds a touch of greenery to any room.
Equipment
Materials
When it comes to adding a personal touch to your home decor, Dollar Tree vases are an affordable and creative option. You can pair them with unique finds like old signs or galvanized clamps for a charming rustic look. Alternatively, you can use faux plants to bring some greenery into the space without the maintenance of real plants. Even something as simple as a pencil can become a decorative element when used in a creative way.
Instructions
Begin by turning the old sign over, taking precise measurements using your measuring tape. Calculate the total length of the wood sign, then divide the length of your vases by three. Mark the corresponding points on the sign with a pencil, indicating where each vase will be placed. Employ hot glue and E6000 to secure the vases to the marked areas, allowing the adhesive to fully dry before proceeding. Next, attach a small adjustable galvanized clamp at the neck of each vase.
Finally, fill each vase with water and add cuttings to cultivate roots or opt for faux plants, depending on your desired aesthetic.

