I’m excited to share three easy and budget-friendly indoor planter ideas that use Dollar Tree supplies. Each of these projects is so charming, I’m having trouble choosing my favorite. I’d love to hear which one you like best. As a passionate crafter, I recently visited Dollar Tree in search of Crafters Square vinyl, and I was thrilled with the variety of patterns and designs they had on offer.
The buffalo plaid pattern caught my eye, and it inspired me to create three unique indoor planters that I couldn’t wait to share with you. If you’ve been shopping for craft vinyl lately, you’re probably aware of how pricey it can be. Knowing that you can find great options at Dollar Tree is a game-changer. When you need vinyl on a budget, keep this in mind and head to your nearest Dollar Tree store. Now, let’s dive into these buffalo plaid vinyl craft projects.
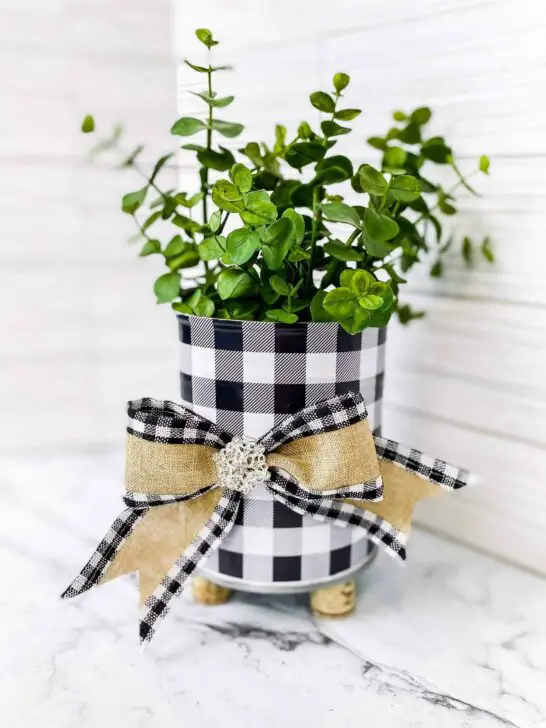
First up is a tin can indoor planter. Tin can crafts are all the rage, and they offer a fantastic way to repurpose and get creative with everyday items.
Supplies Needed to Make a Tin Can Indoor Planter
To create this unique decorative item, start by gathering a few essential materials. First, find an empty tin can – I used a large tomato can for mine. Next, head to the Crafter’s Square section at your local Dollar Tree and pick up some Buffalo Plaid vinyl. You’ll also need a hot glue gun, some wine corks (I thrifted mine), bling embellishments, burlap, and buffalo plaid trimmed ribbon. Finally, don’t forget to grab some zip ties to hold everything in place.
How to Make a Tin Can Indoor Planter
Step 1.
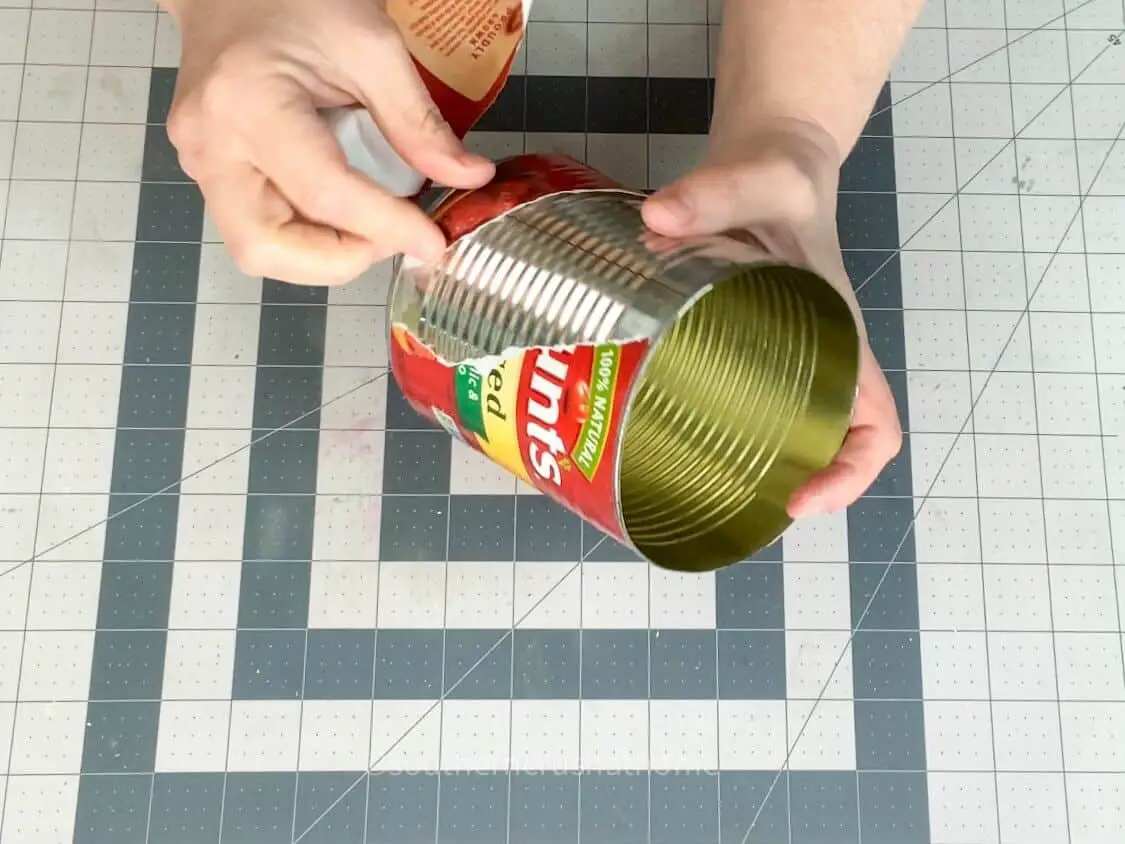
To begin, start by removing the label from a tin can of your preferred size. I opted for a diced tomato can due to its compact dimensions, but feel free to use any can that suits your needs. Rest assured that any residue left behind won’t be an issue, as it will be fully covered by the buffalo plaid vinyl you’ll be applying later.
Step 2.
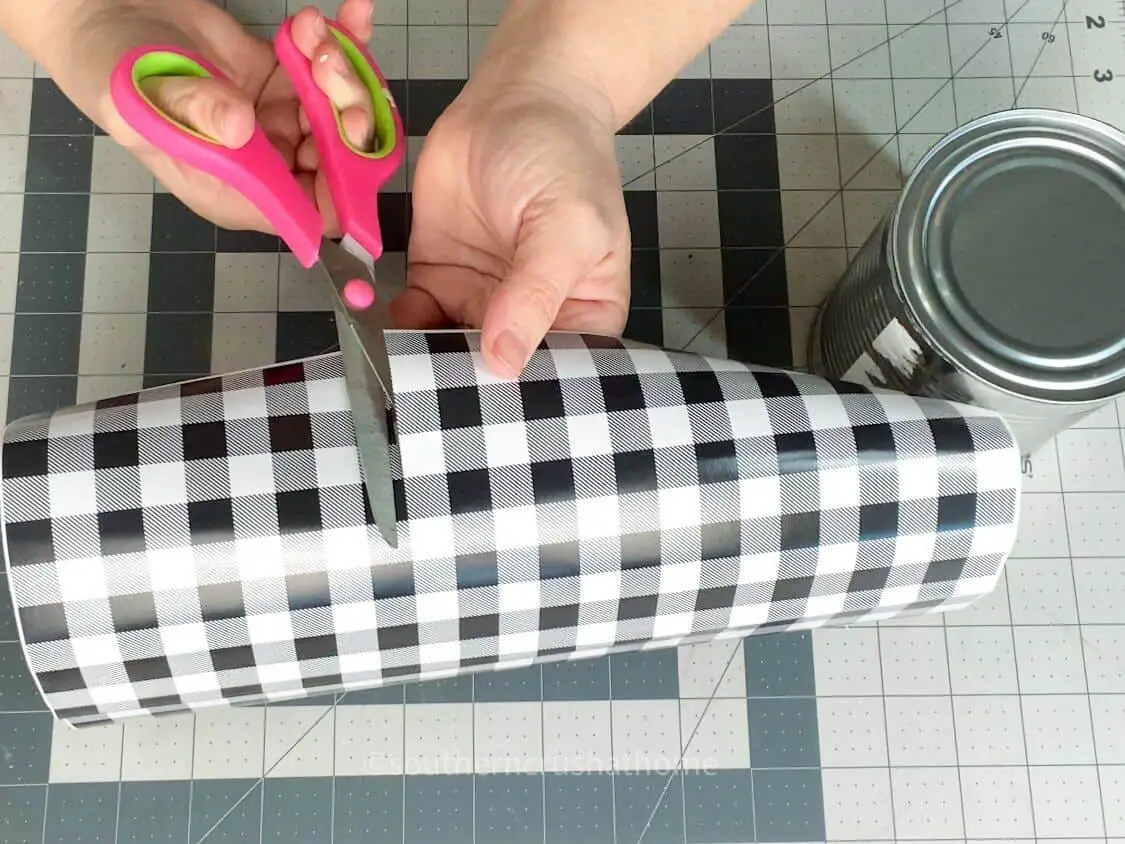
To begin, hold the vinyl up against the tin can to visualize where to start cutting. While measurement isn’t necessary, taking precise measurements will ensure a clean, straight cut along the vinyl’s edge. With quick and easy crafting in mind, simply align the blade with the vinyl’s line for a straightforward process. Continue cutting until you’ve reached the desired length that fits comfortably within the empty can.
For added convenience, consider cutting the vinyl to the end of the roll, allowing for effortless storage and seamless retrieval for future projects.
Step 3.
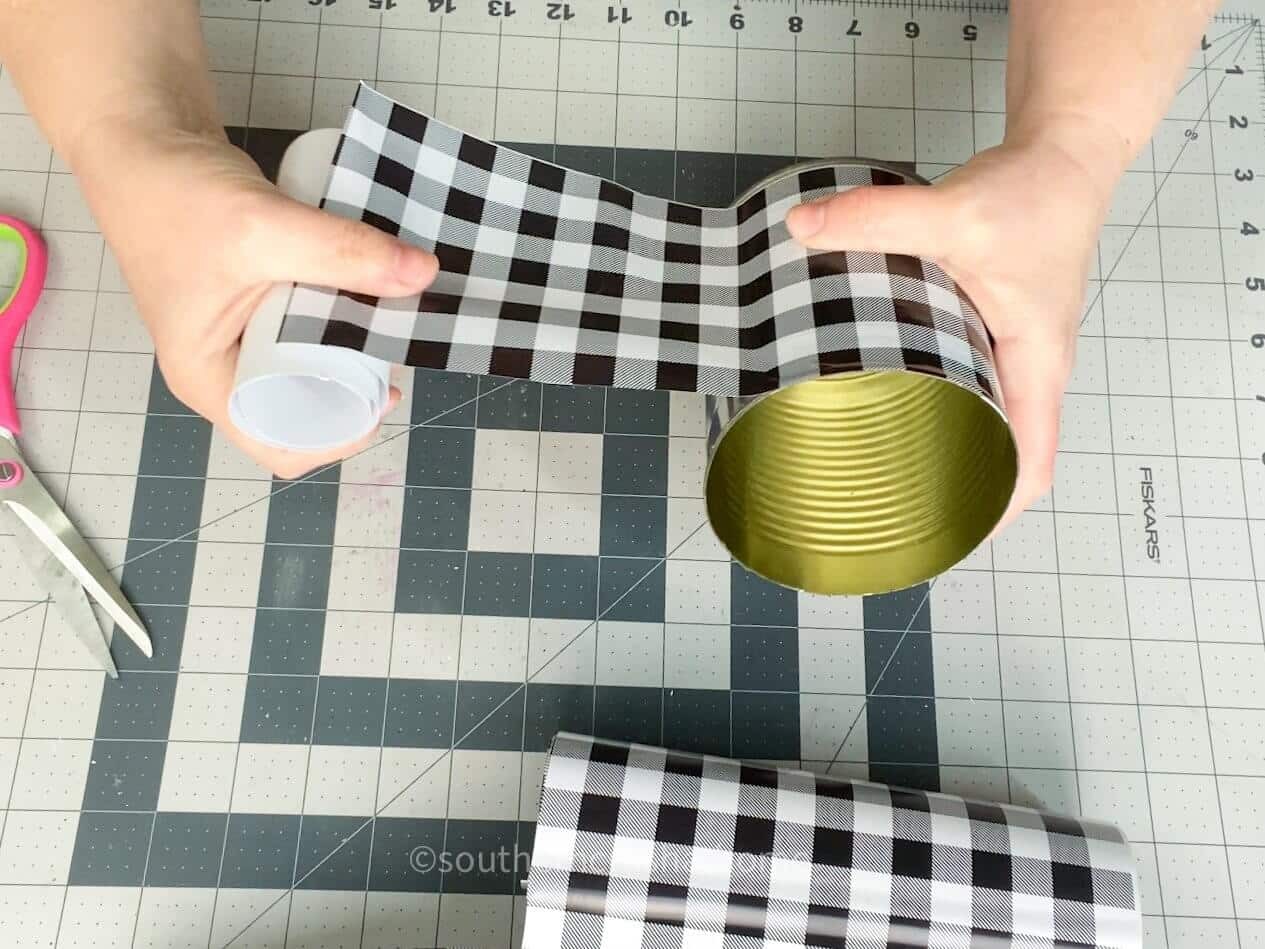
When you’re ready to apply the vinyl wrap to your tin can, start by carefully removing the backing. Take your time, as this step requires patience and attention to detail. Begin by placing a small portion of the vinyl on the can, ensuring it’s evenly aligned. As you go, smooth out any wrinkles or bubbles that may form. It’s crucial not to rush this process, as applying too much pressure can cause air pockets or misalignments.
If needed, you can peel off the vinyl and reapply it, but it’s generally more effective to work slowly and methodically to achieve a seamless application. For instance, if you’re aiming for a specific design alignment, like I did with my buffalo plaid, take the time to cut a small piece of excess material to ensure a precise fit.
Step 4.
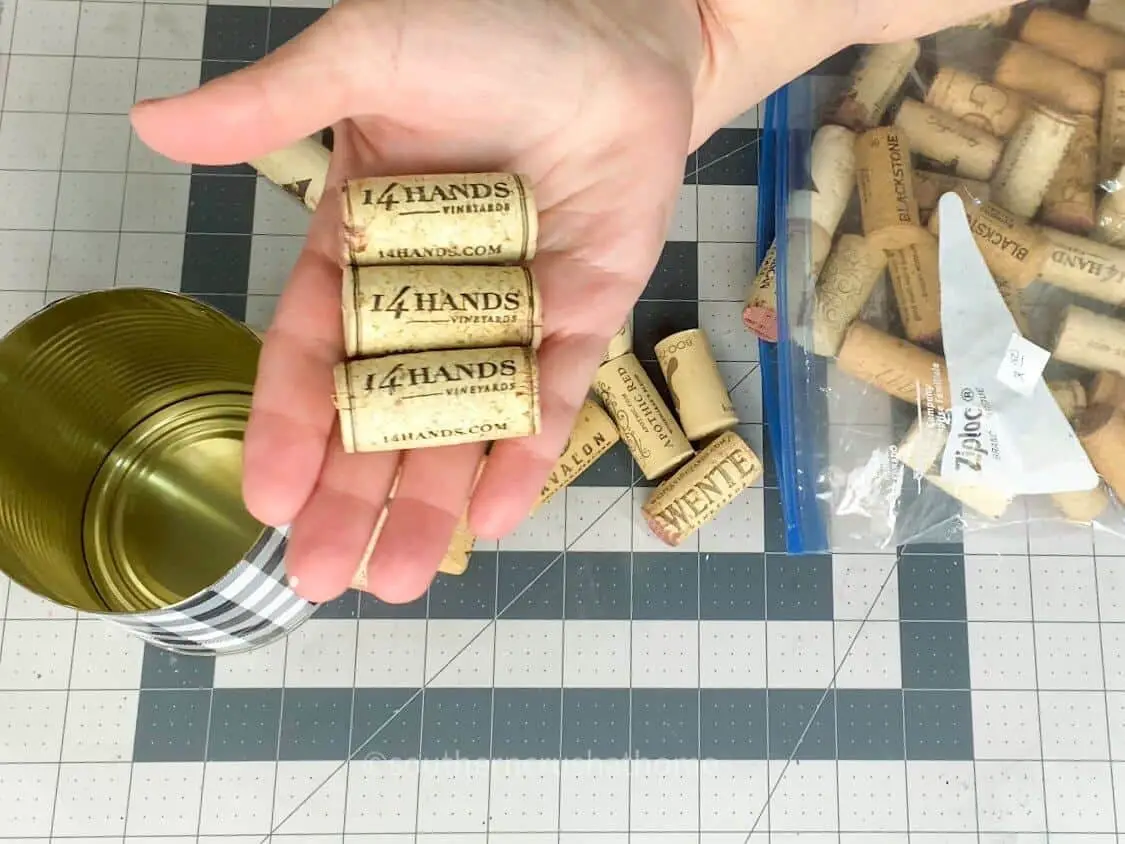
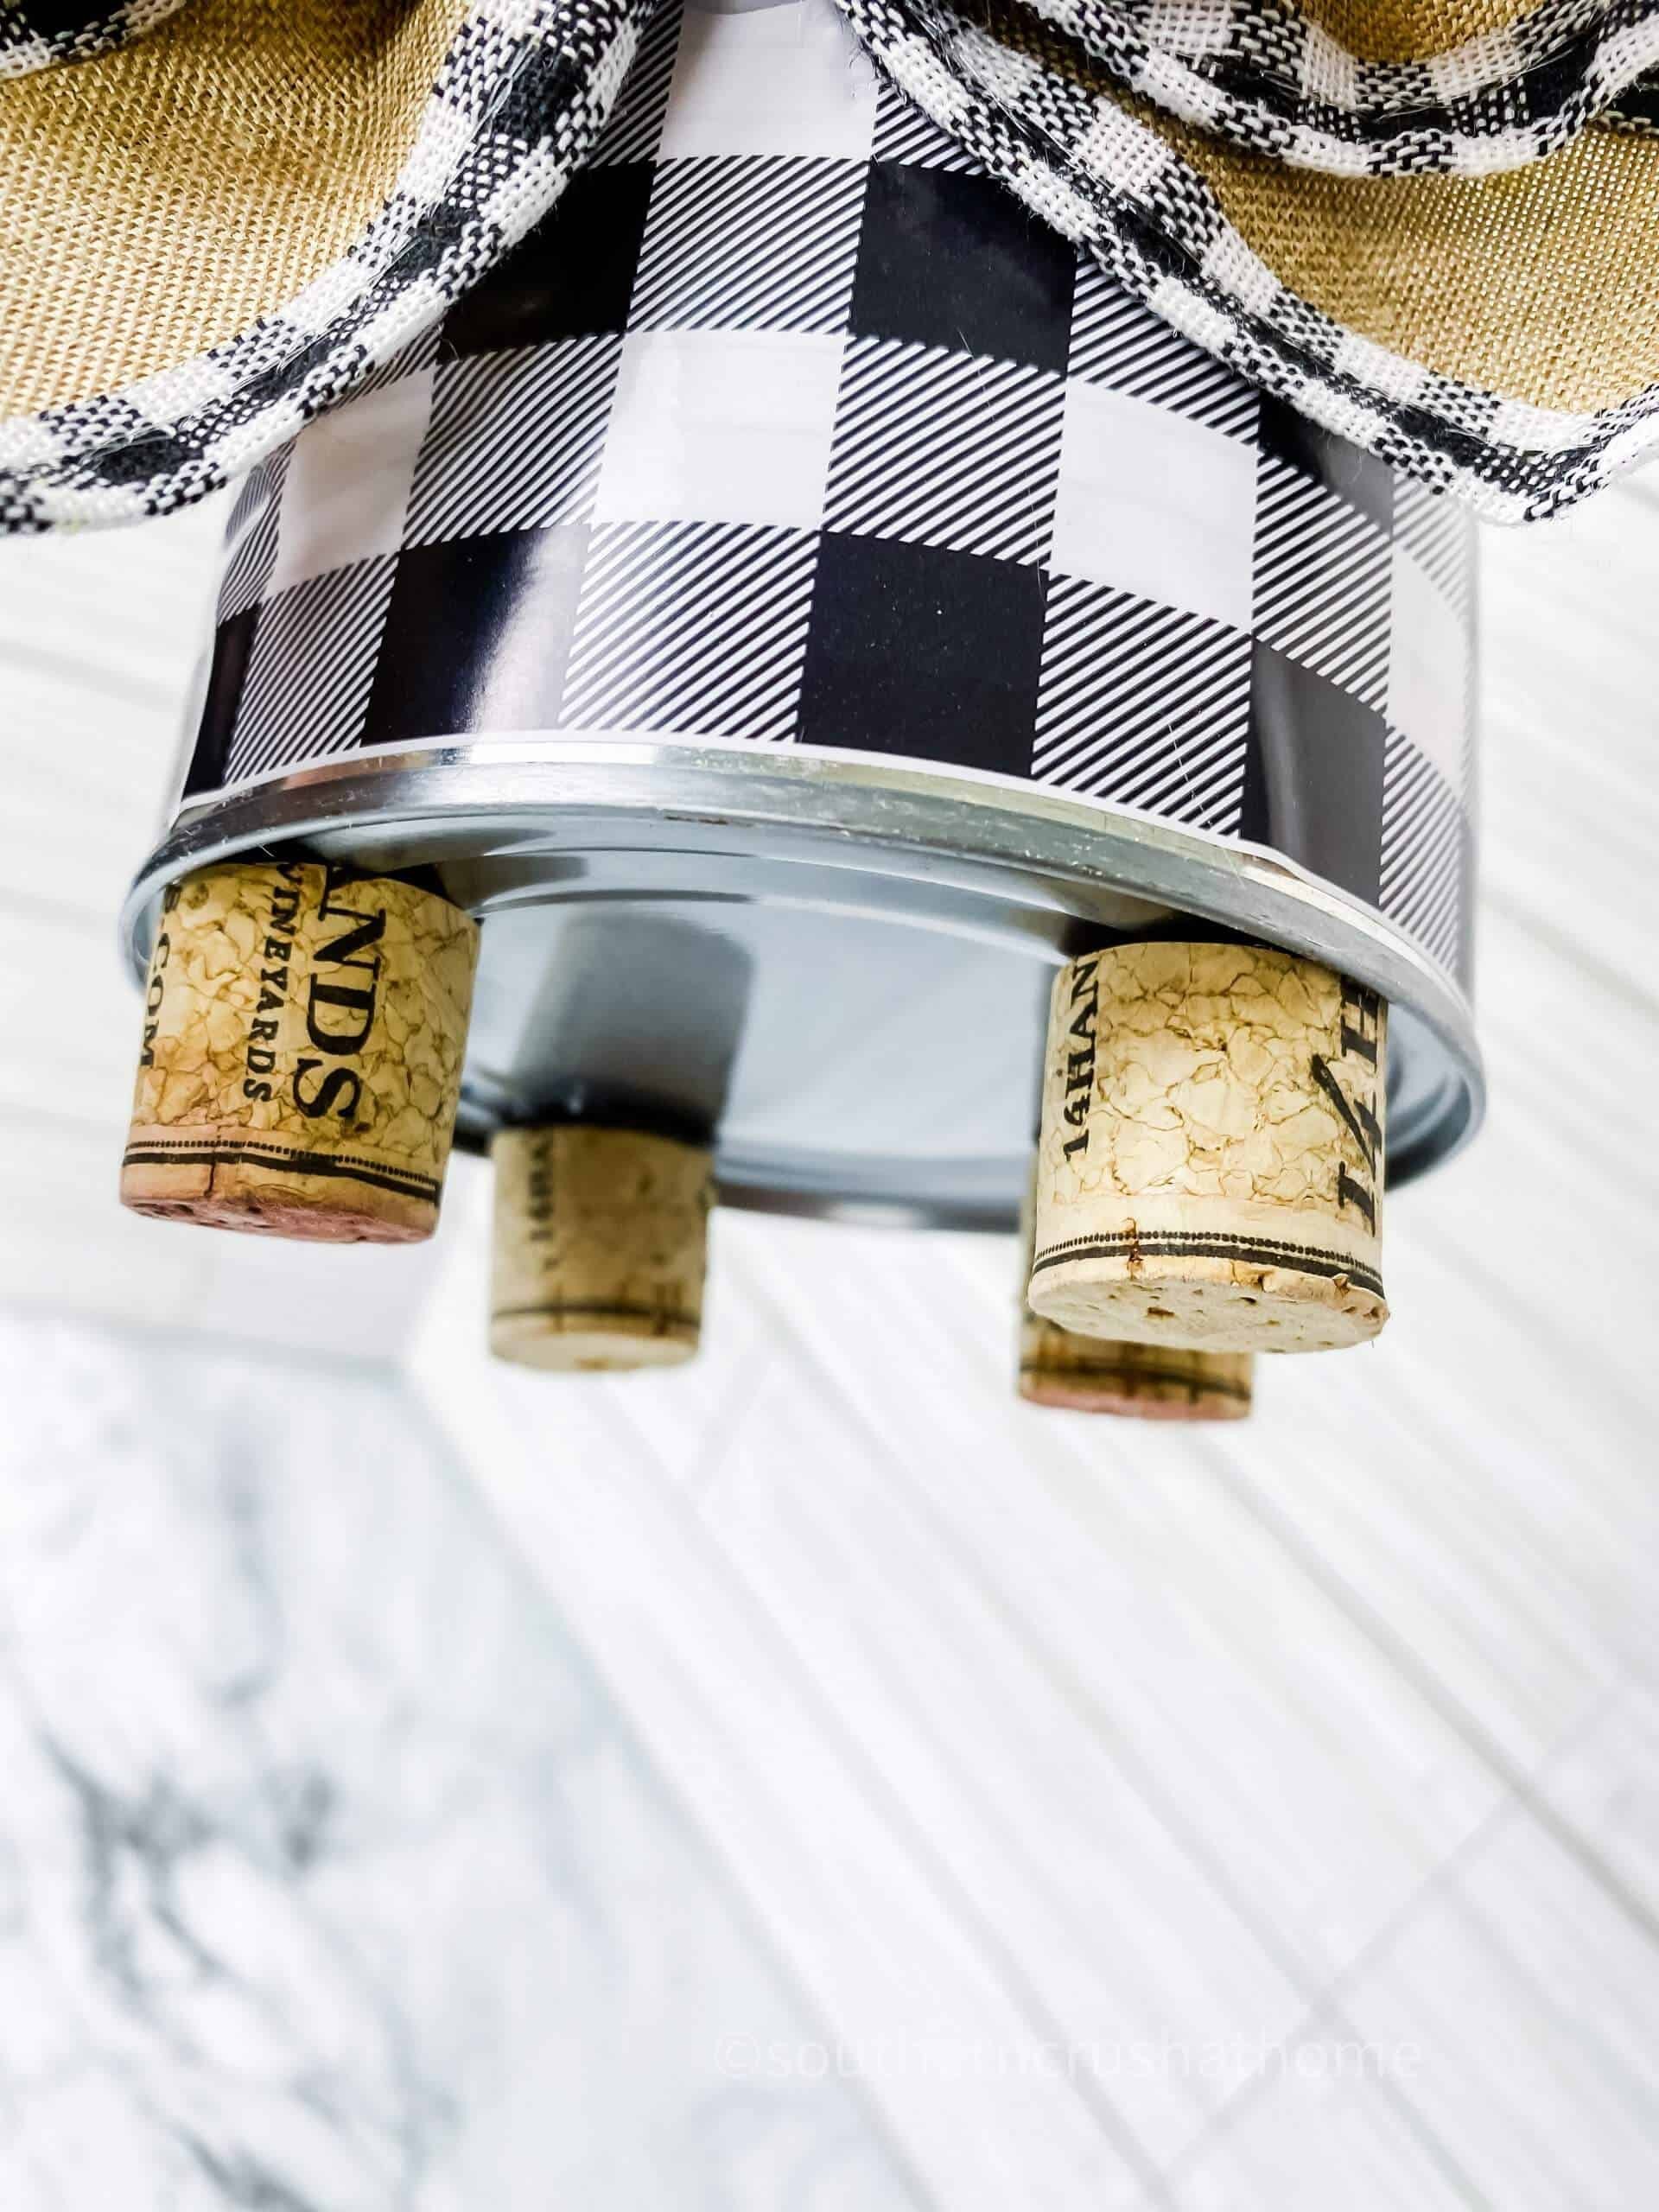
Get two corks that catch your eye, then use a craft knife to cut them in half lengthwise. Ensure the cut edges are even by trimming the bottoms to create a seamless fit. Next, prepare your can by attaching the cork feet using hot glue. This easy and charming DIY project is sure to bring a smile to your face!
Step 5.
To create a unique and rustic-inspired decorative accent, begin by crafting a simple bow using a zip tie. Add a touch of elegance by incorporating a dovetail end into your design. Once complete, secure the bow to the center of the container using hot glue.
Step 6.
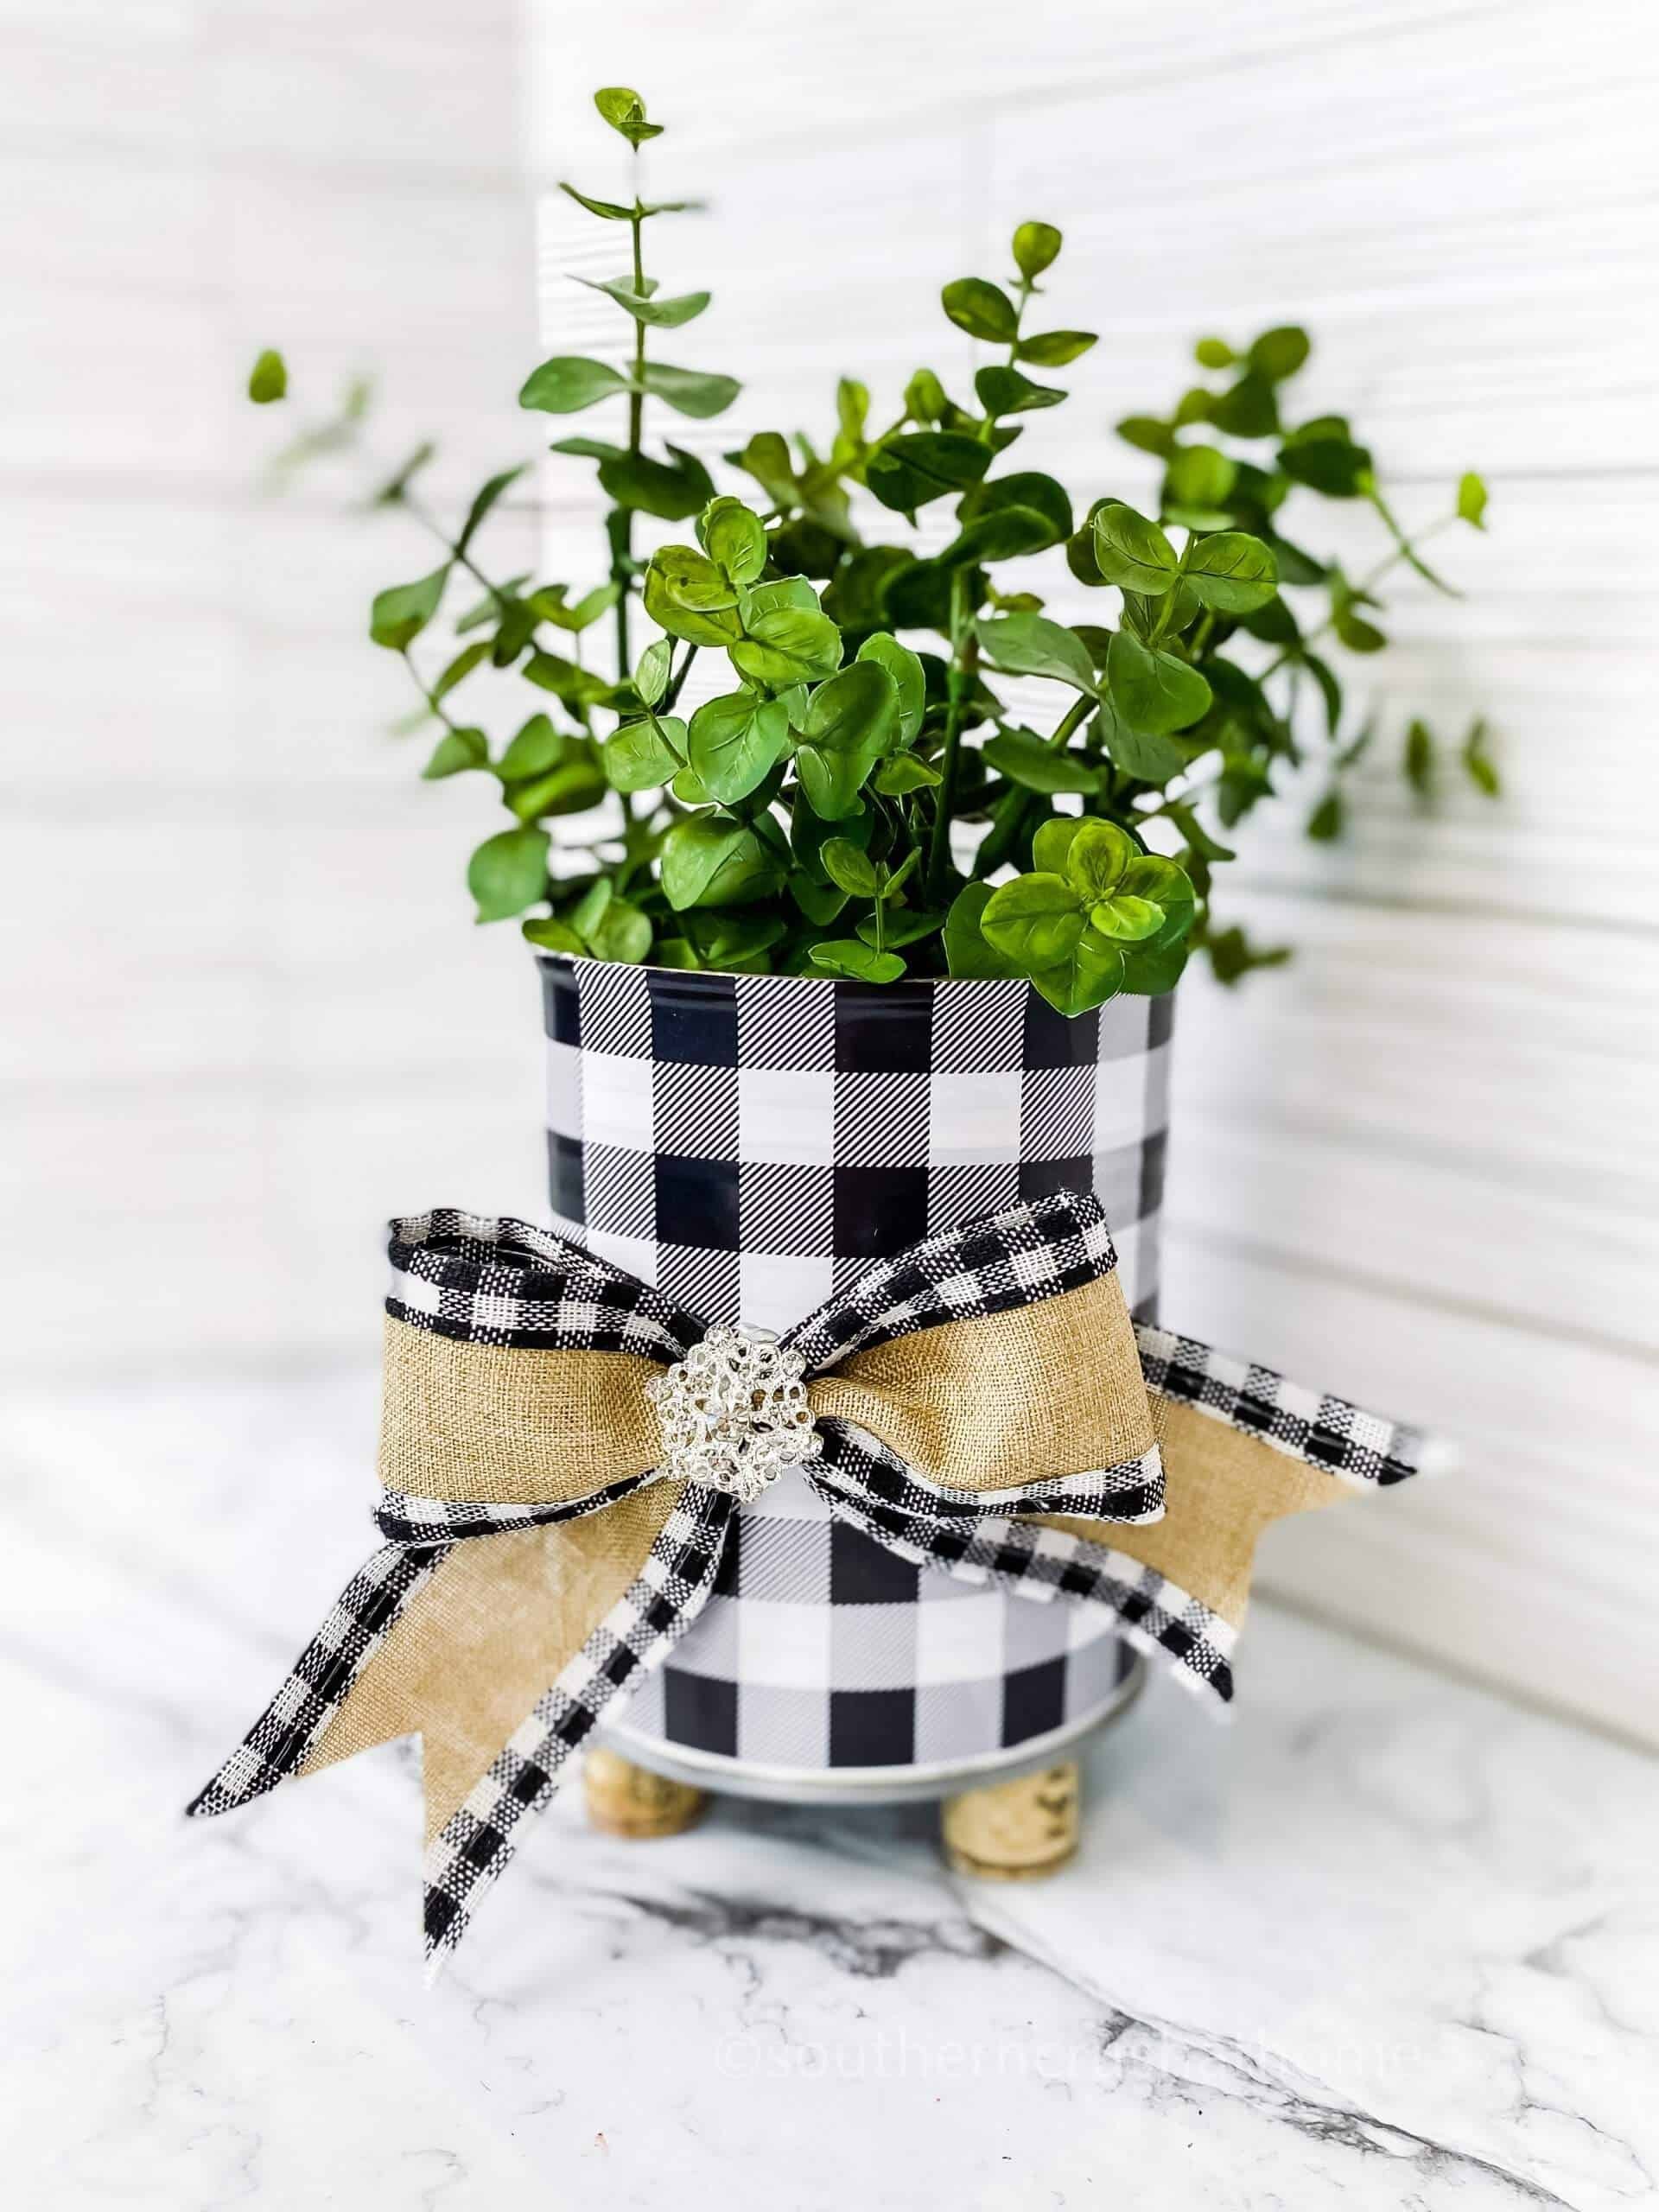
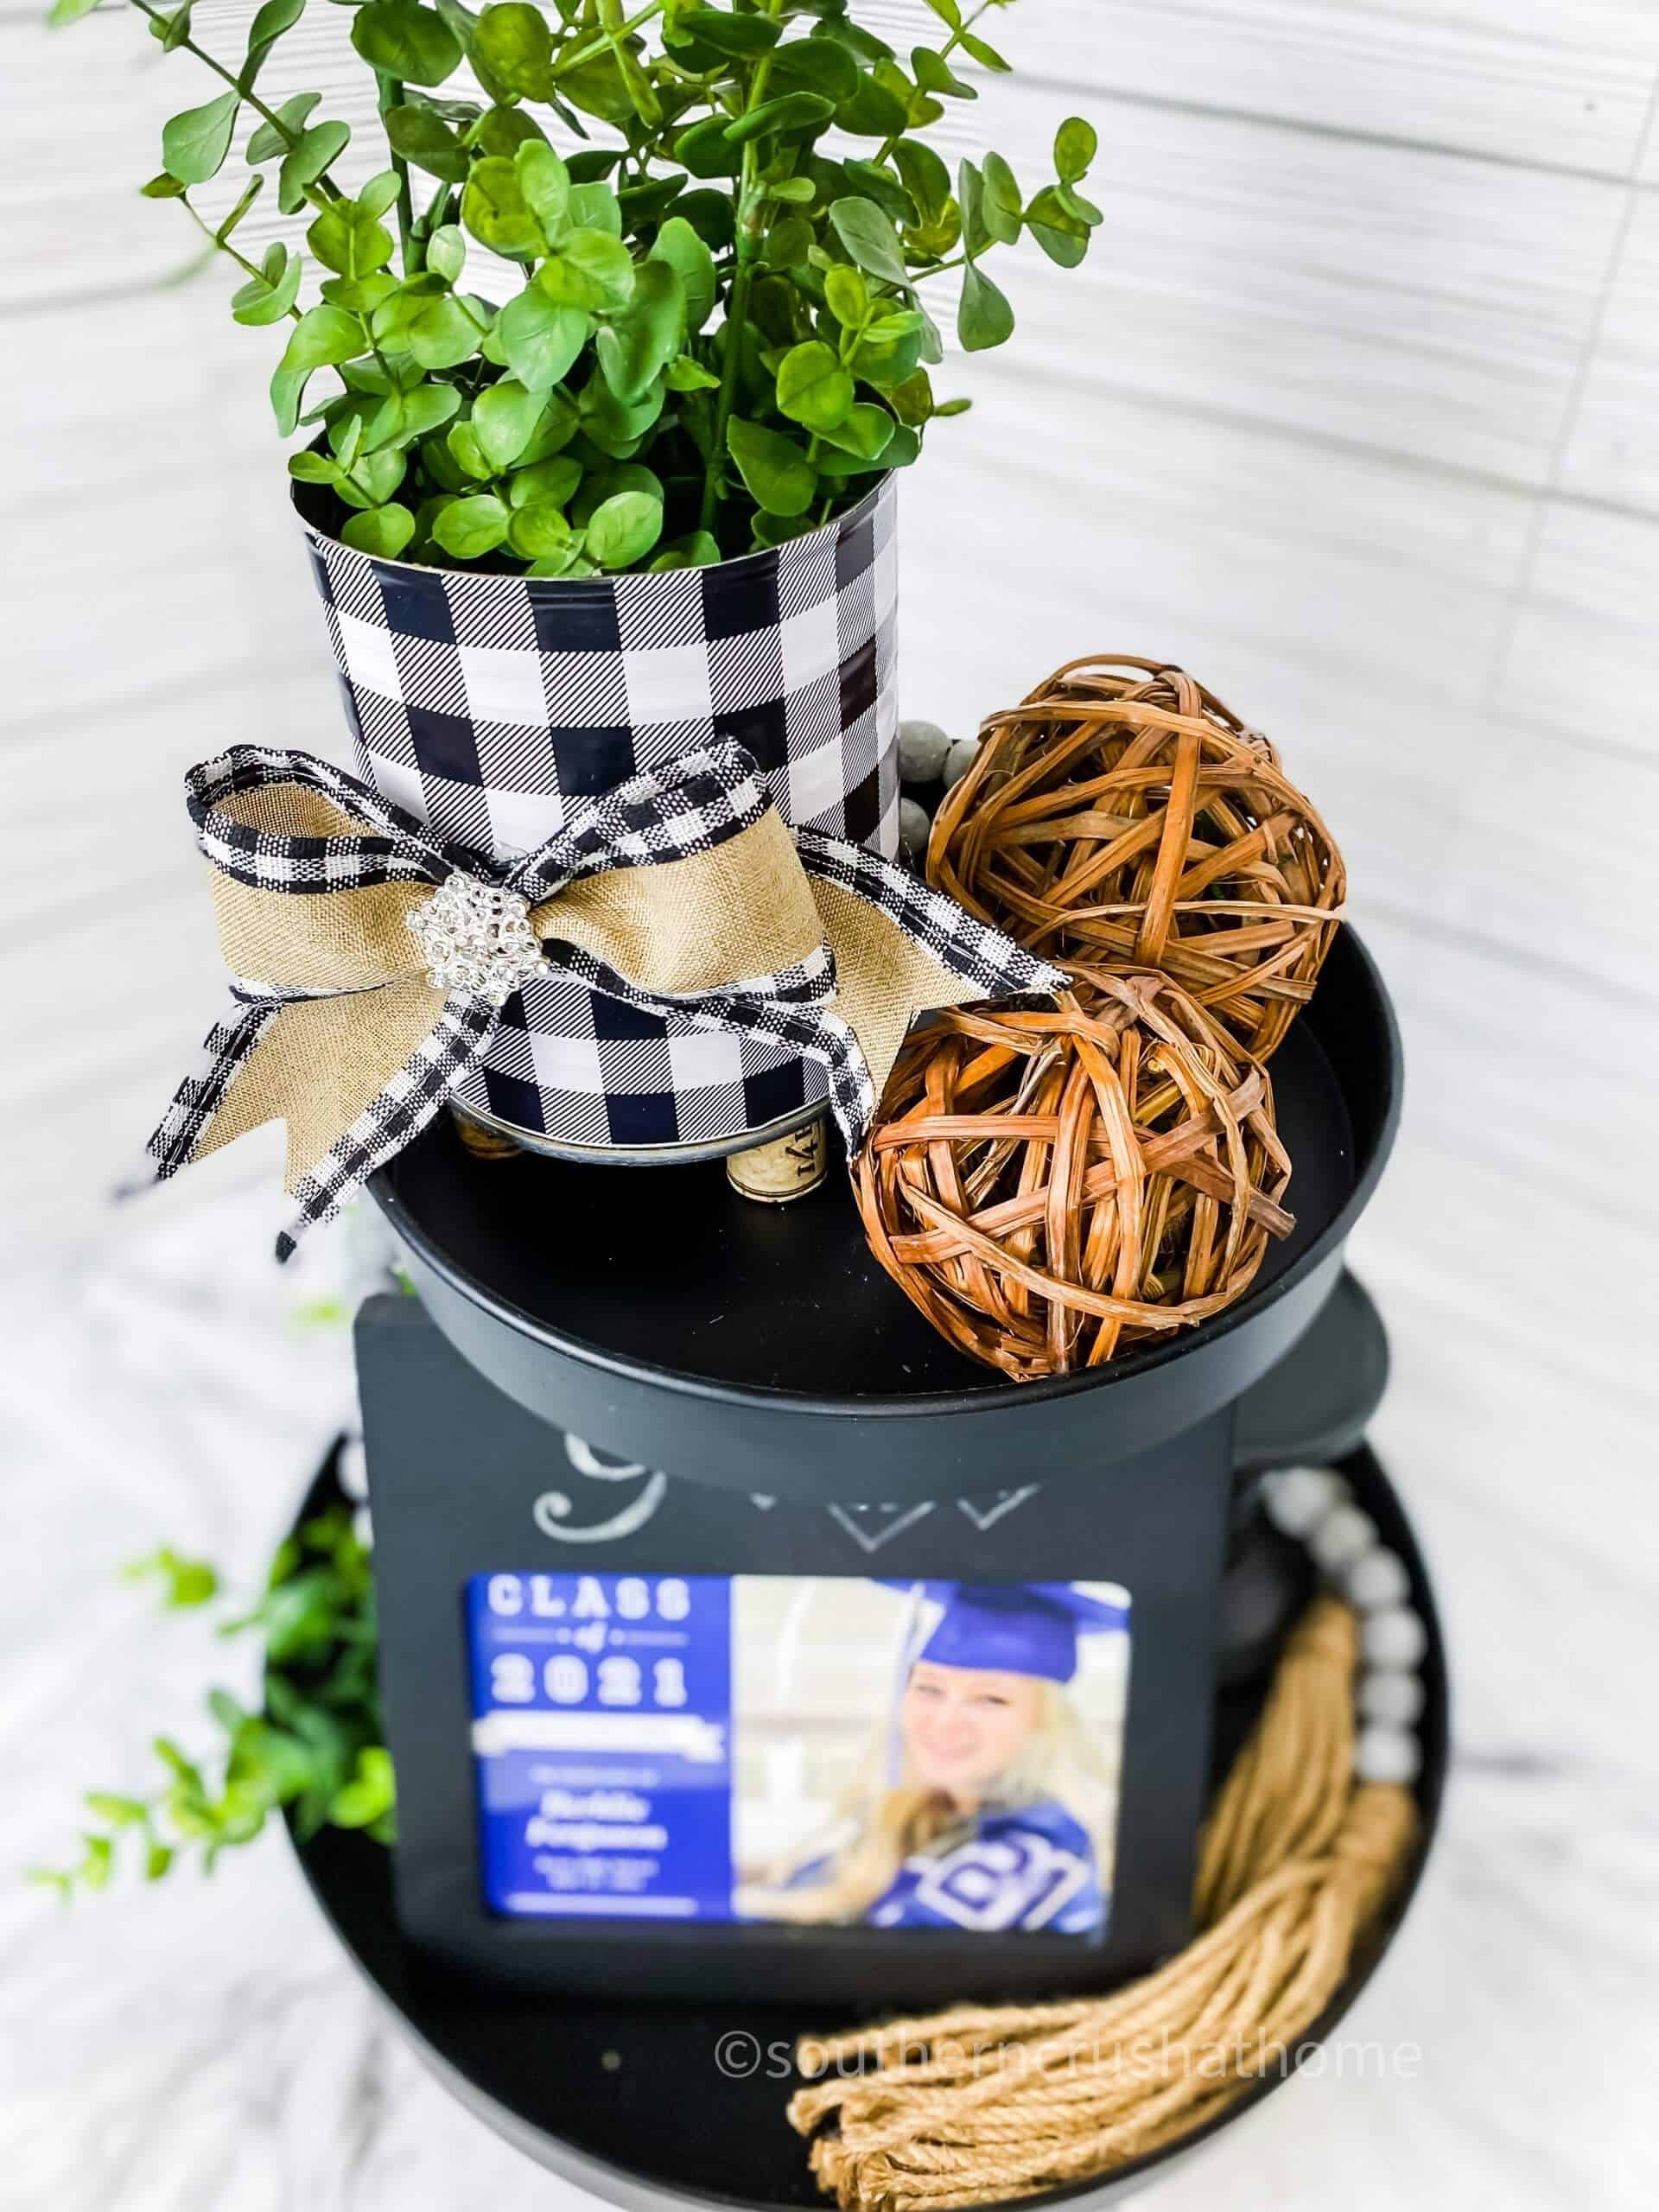
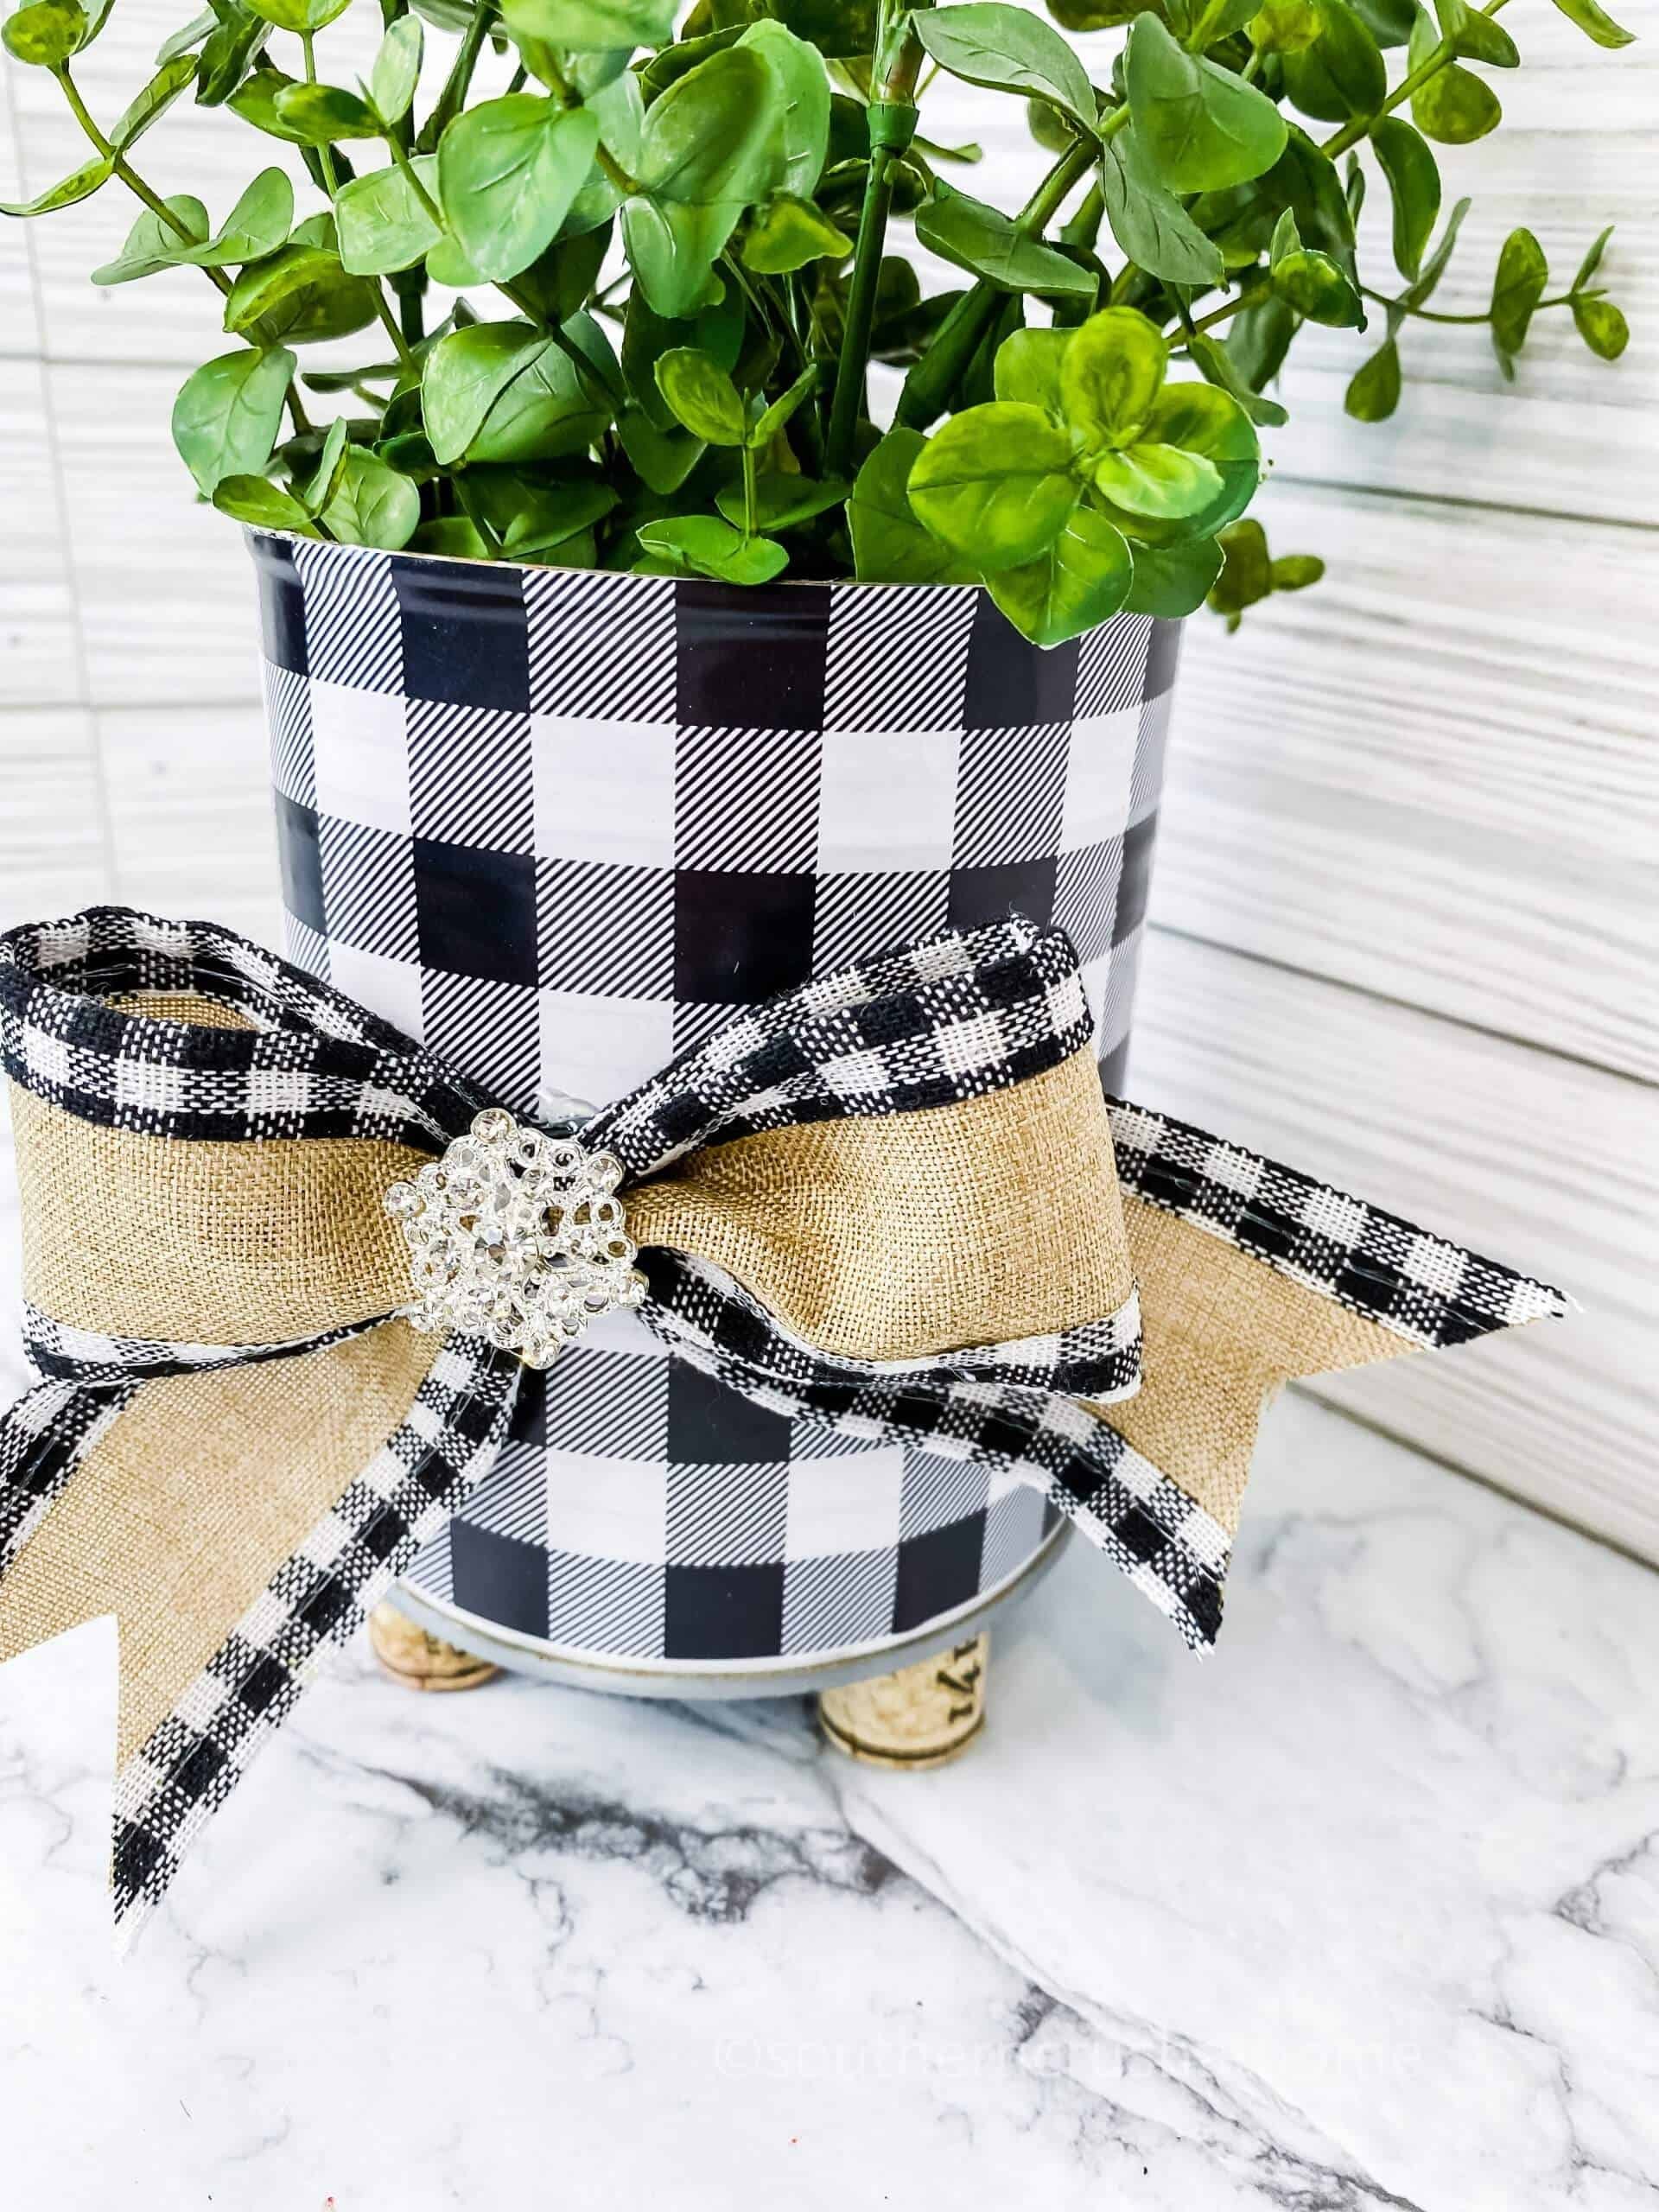
To add an extra touch of elegance, I attached a rhinestone embellishment to the center of the bow using hot glue, creating a stunning focal point. This versatile planter can now be filled with your choice of greenery or flowers, and I opted for faux boxwood that beautifully contrasts against the buffalo plaid pattern. For added visual interest, I placed the planter on a tiered tray, which adds depth and dimension to the overall design. The result is a charming piece that’s perfect for any room.
Would you consider making something similar? Next, we’ll explore another creative way to repurpose dollar store items as indoor planters.
Popcorn Bucket Vertical Planter Supplies
To create a rustic and charming decoration, start by gathering some affordable yet effective materials. The Dollar Tree is a great place to find items like popcorn buckets, which can be repurposed as planters or containers for small decorative items. Additionally, grab a few cans of Kilz spray paint to give your project a distressed or weathered look. From the Crafter’s Square section at the Dollar Tree, pick up some Buffalo Plaid vinyl, which can add a touch of rustic charm to your design.
A Wood Bunny Sign from the same store will also complement your overall aesthetic. To add some extra flair, incorporate rhinestone embellishments for a touch of elegance. Finally, use hot glue gun and burlap or buffalo plaid trimmed ribbon to bring all your elements together and create a unique piece that reflects your personal style.
How to Make Popcorn Bucket Vertical Indoor Planters
Step 1.
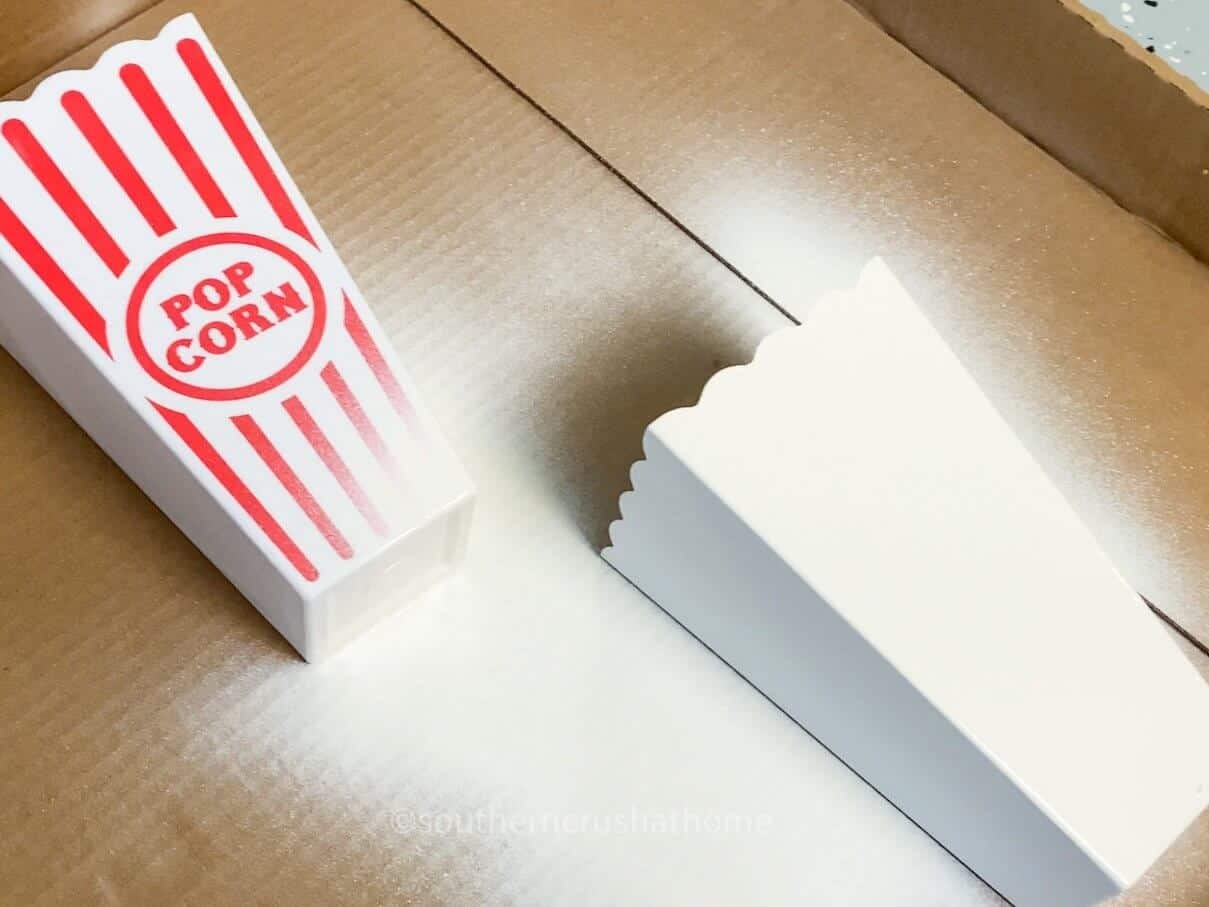
To prepare your popcorn buckets for painting, start by applying a coat of primer to each bucket. A high-quality option like Kilz is recommended, but if you don’t have it on hand, you can also use a good quality chalk paint as a substitute. Allow the primer to fully dry before moving on to the next step.
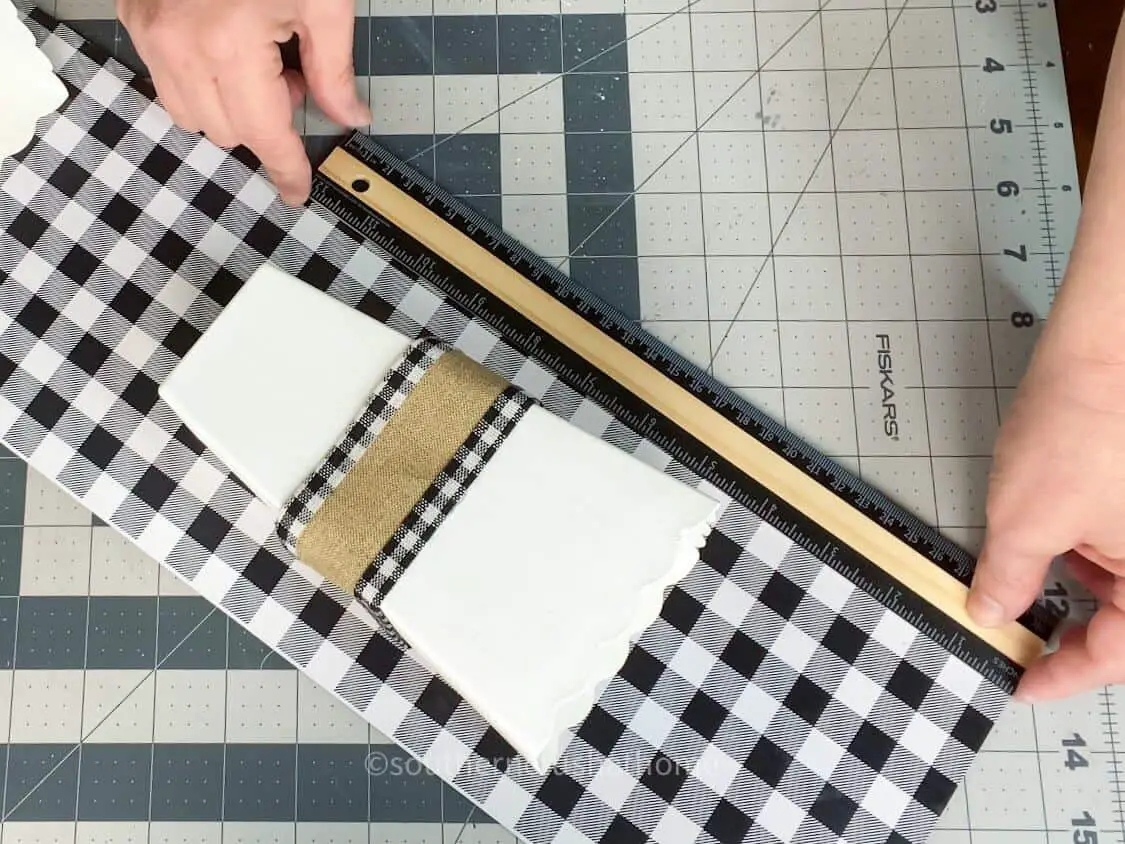
Step 2.
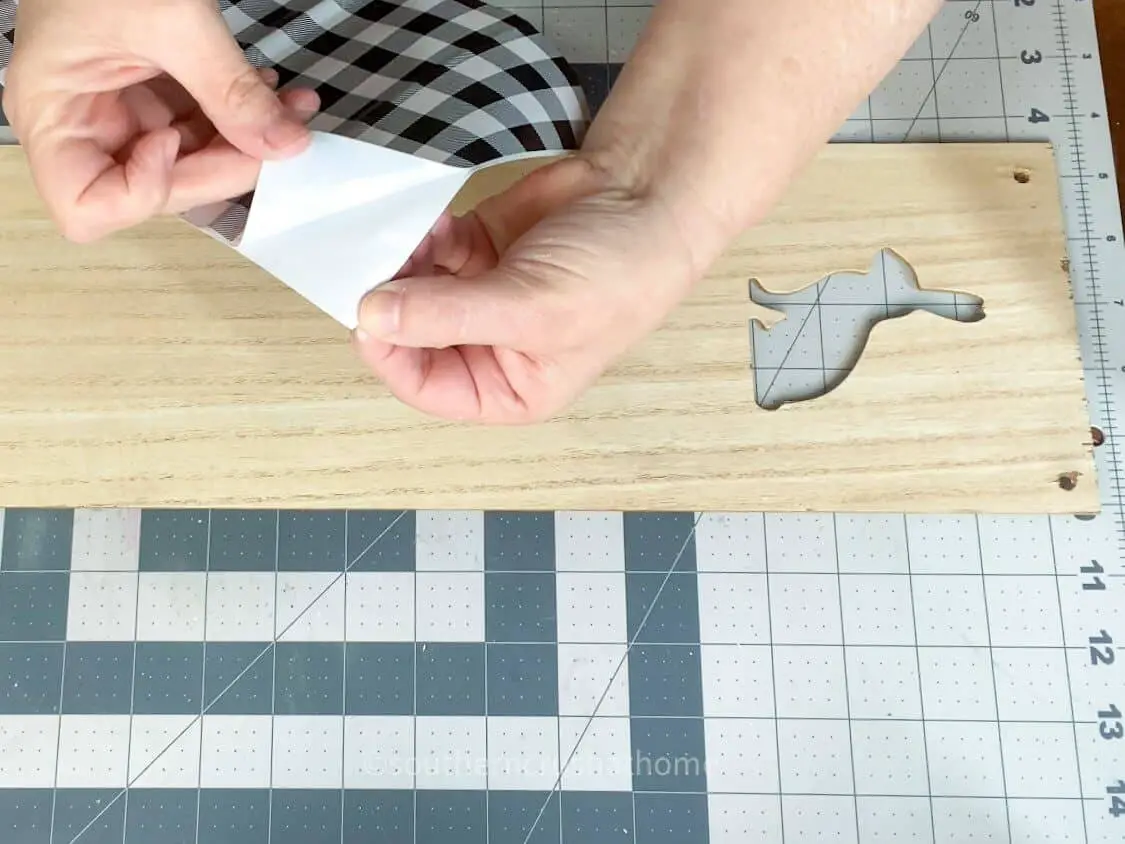
To get started, remove the jute twine tag from the Dollar Tree wood sign. You won’t need to worry about the pre-drilled holes, as they’ll be concealed once you’ve completed your design. Next, use your buffalo plaid vinyl to cover the entire sign. While accuracy isn’t crucial at this point, simply eyeball the cut to ensure it’s large enough to cover the wood surface. When applying the vinyl, work in small sections, slowly peeling away the backing as you go.
Use a craft knife to tidy up any excess material and achieve a crisp, clean edge.
Step 3.
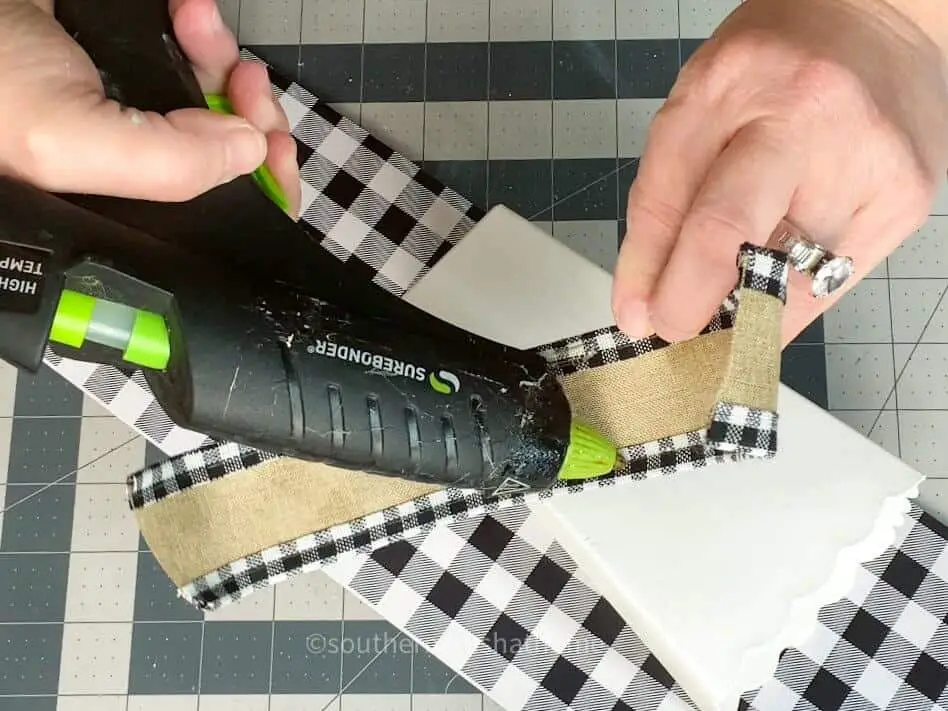
To add a touch of whimsy to your movie night setup, consider adorning the popcorn containers with decorative ribbons. Simply wrap the ribbon around the bucket, ensuring it is evenly spaced and not too tight or loose. For added security, apply a small amount of hot glue to hold the ribbon in place.
Step 4.
When incorporating two buckets into a vertical planter, precision is key to achieving balance. To begin, take precise measurements between the buckets and carefully mark the points where they’ll be secured, guaranteeing an even and aesthetically pleasing arrangement.
Step 5.
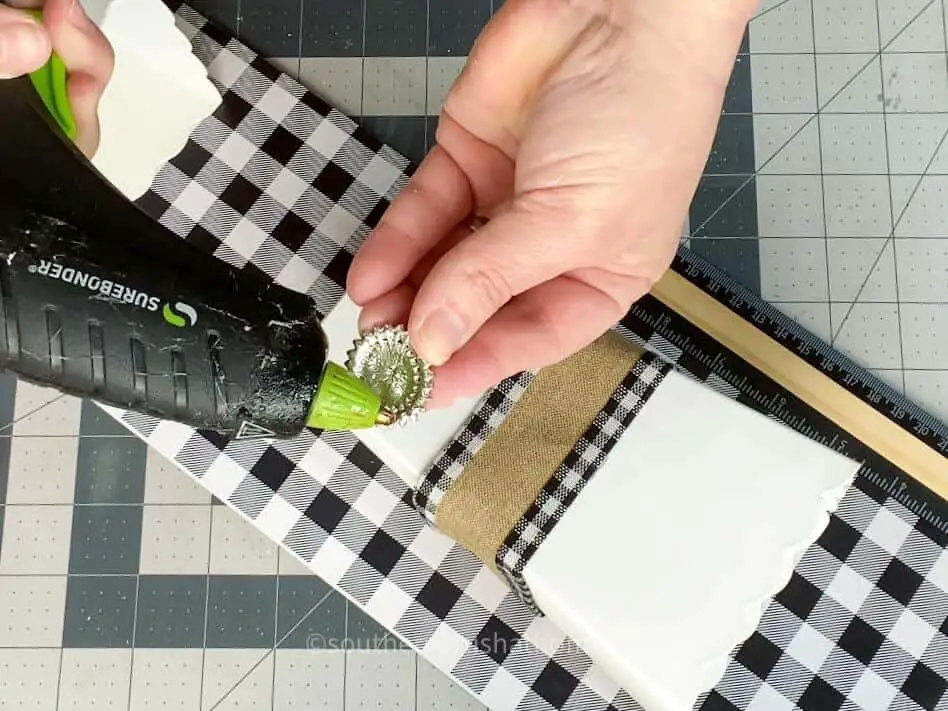
Secure the popcorn buckets to the vertical planter by applying hot glue, ensuring they’re firmly attached. To add a touch of elegance, embellish the center of each ribbon with an attractive feature. In keeping with my personal style, I also incorporated my signature flair into this indoor planter design.
Step 6.
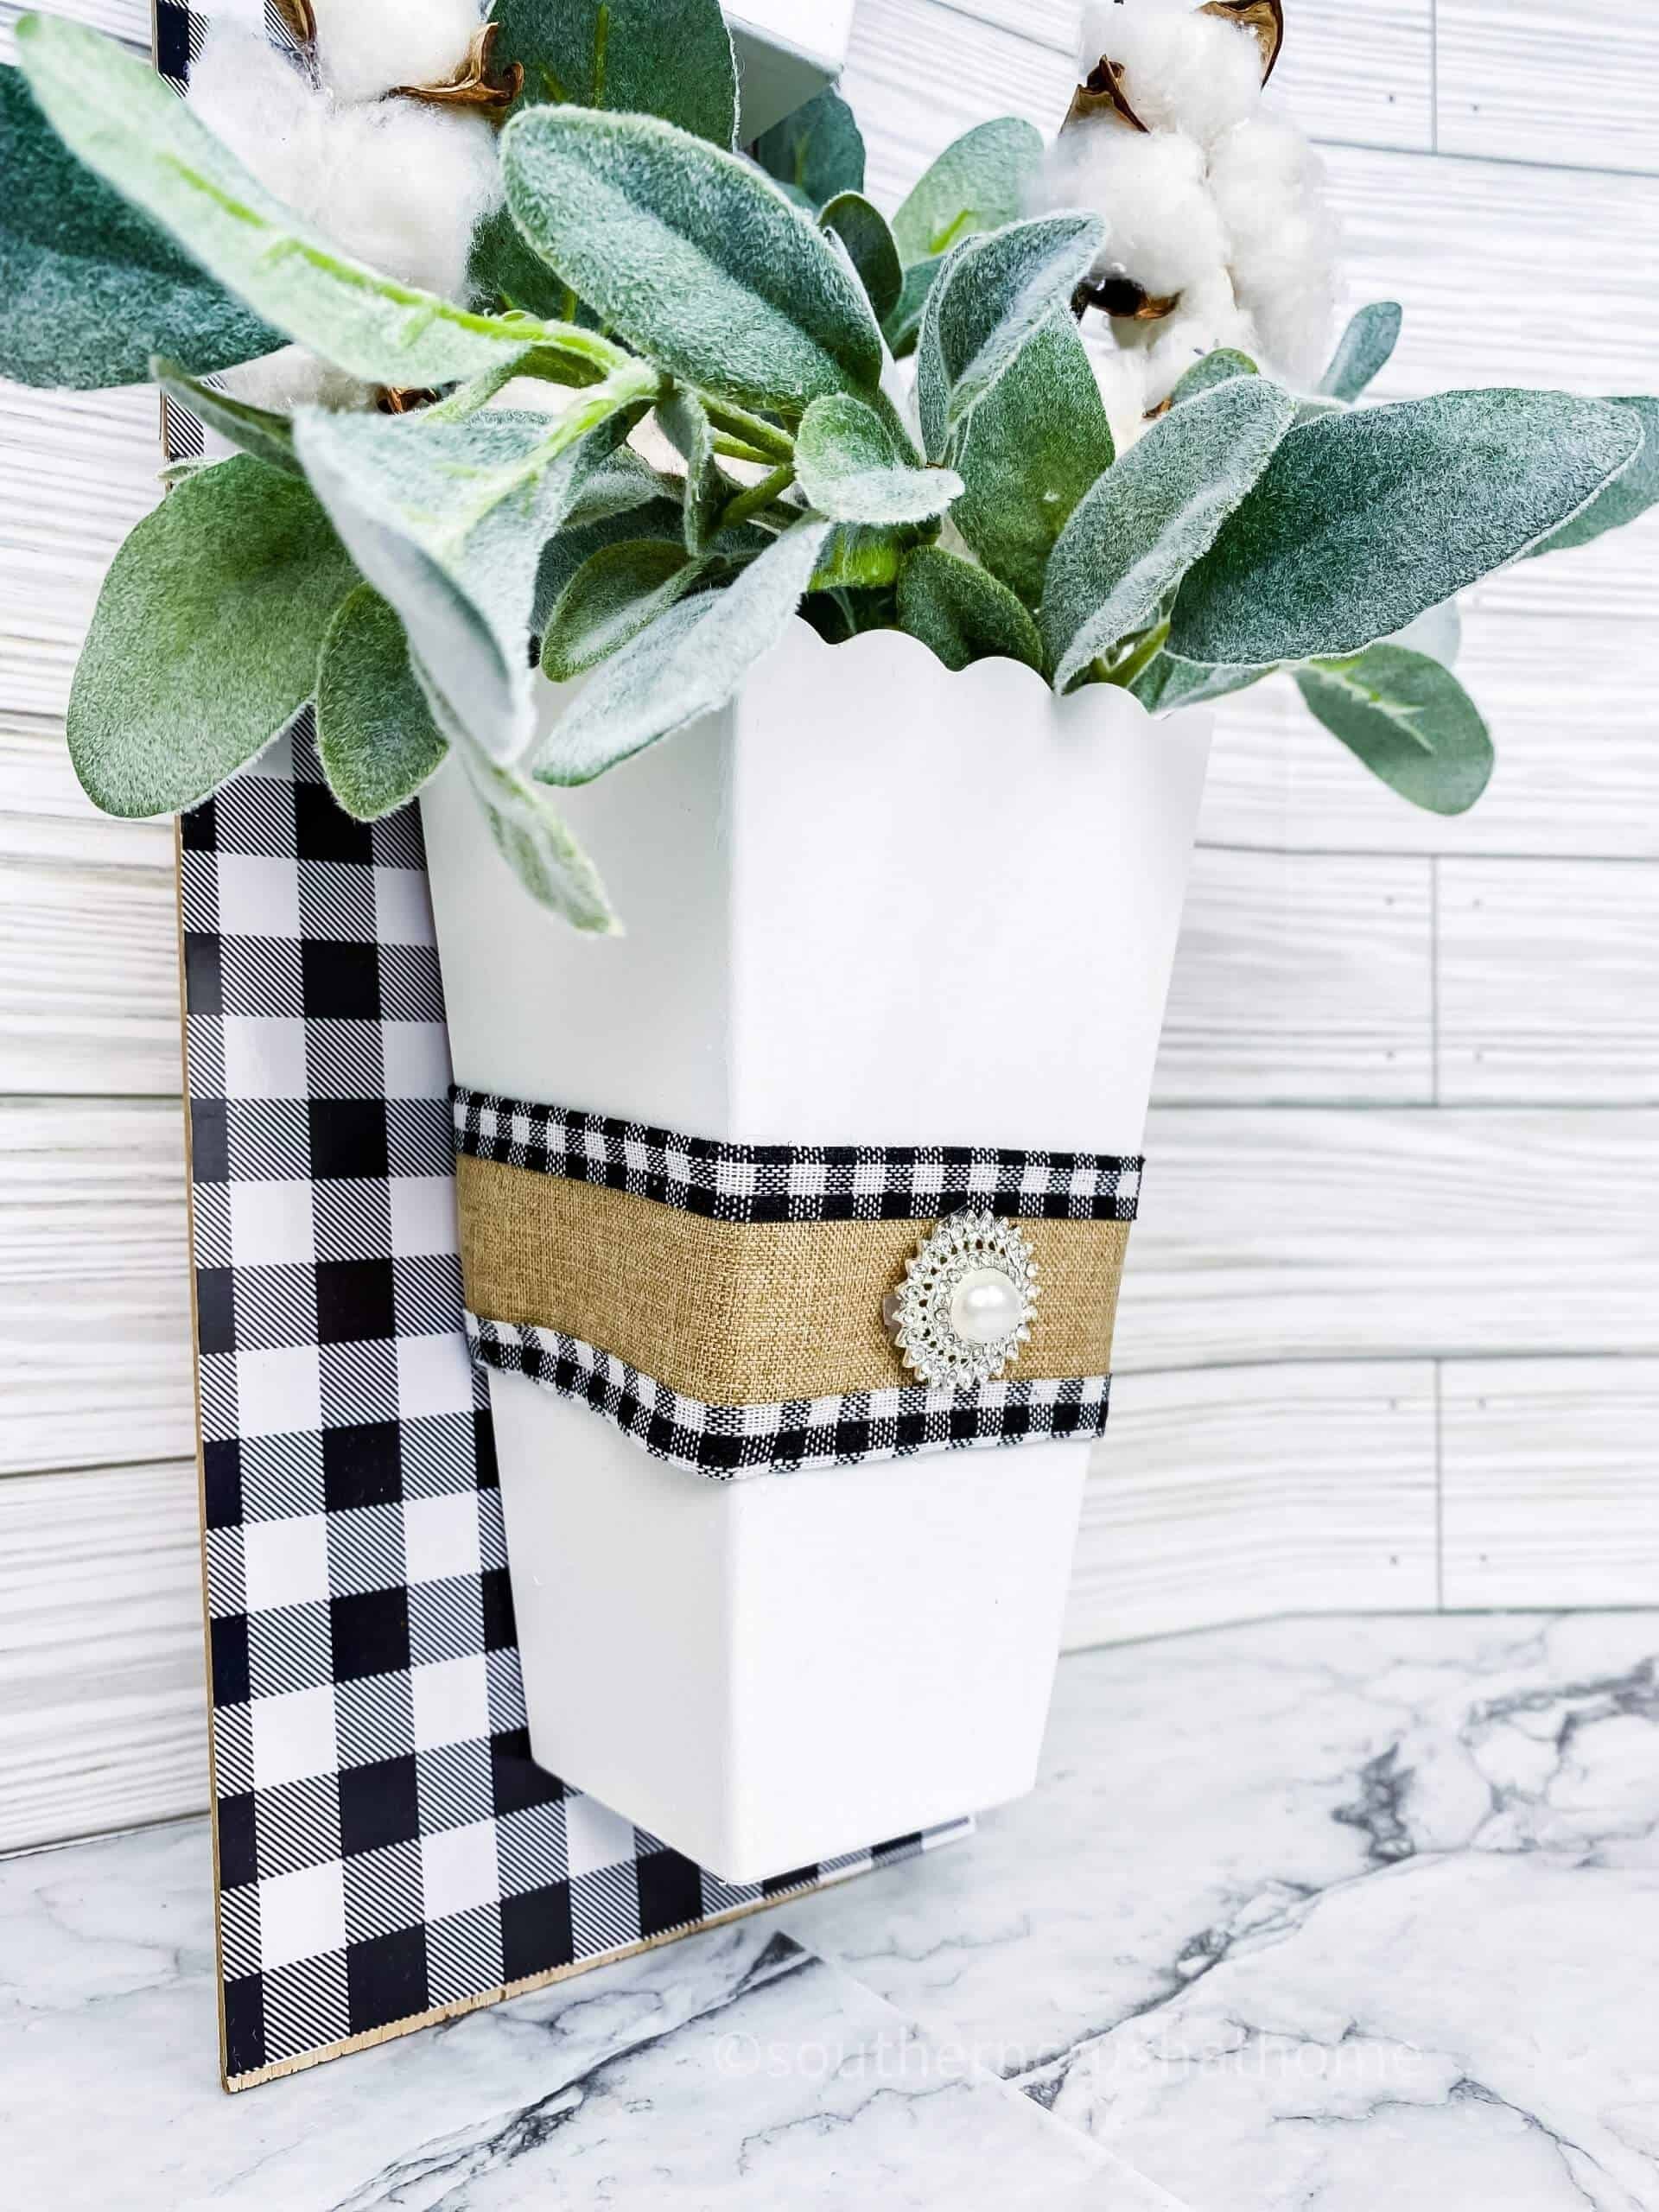
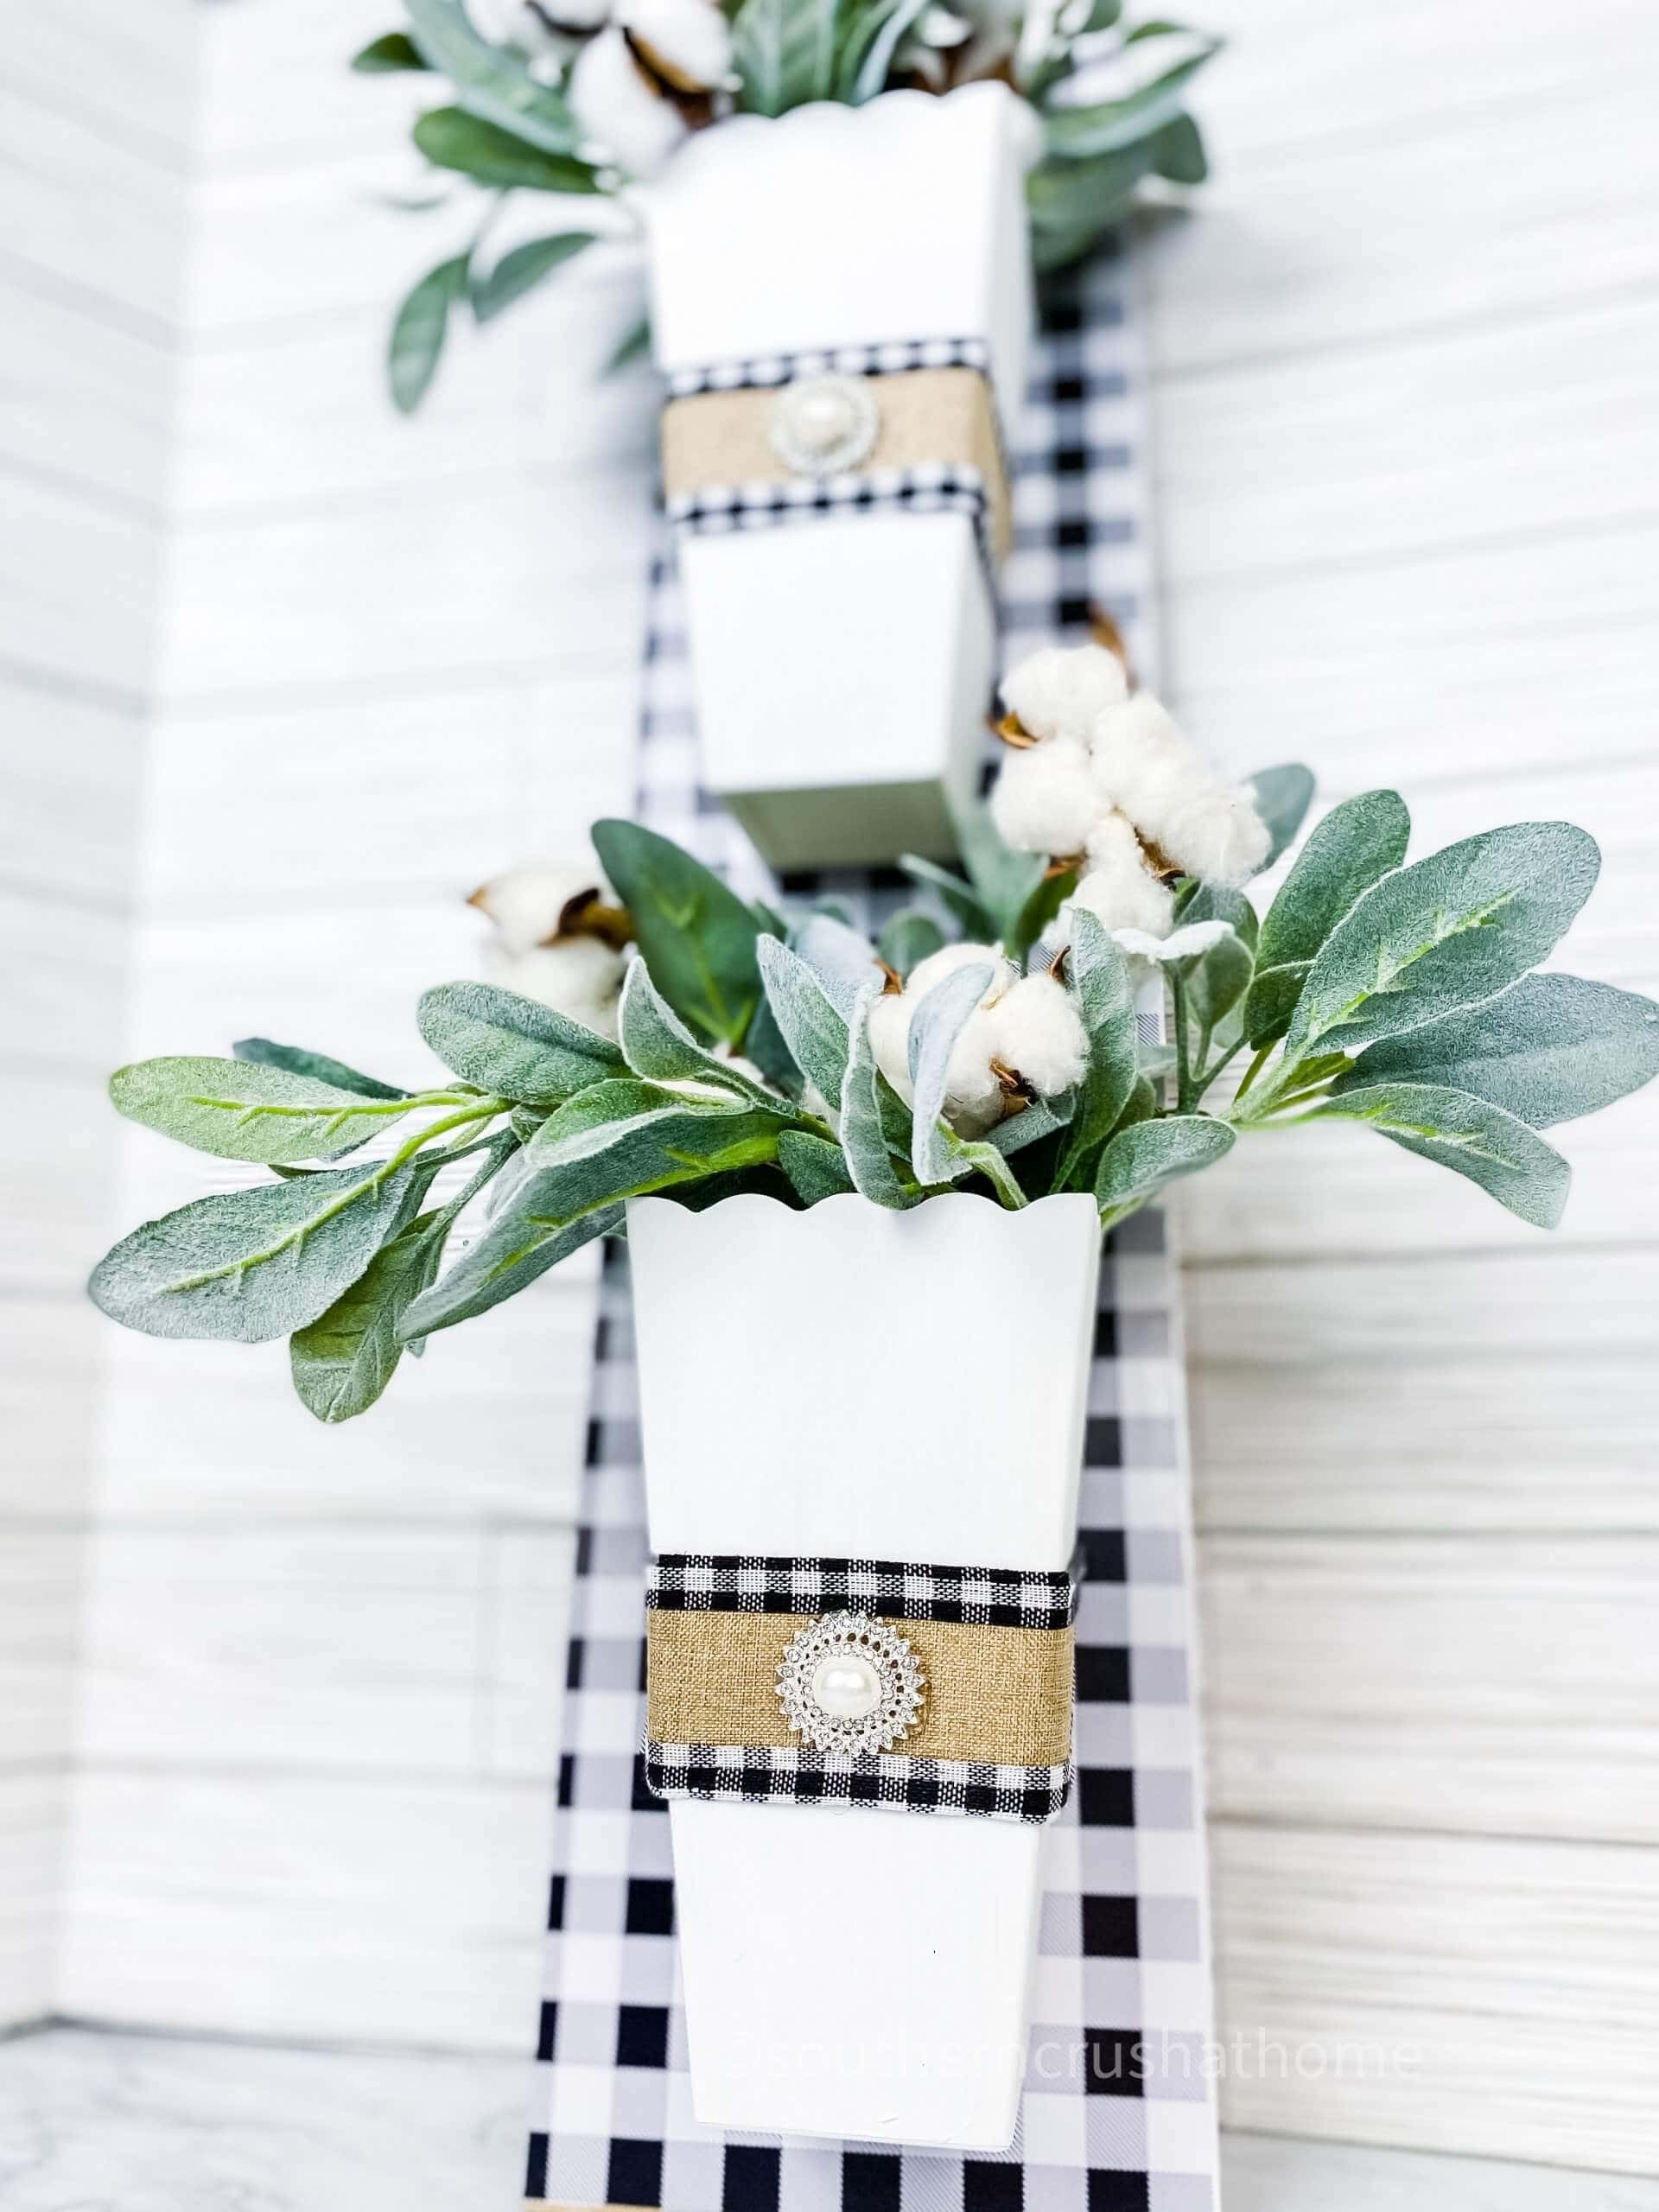
To create this charming indoor vertical planter, start by adding a small amount of floral foam to the interior of each bucket. Then, fill the buckets with lush greenery, such as lamb’s ear. The result is a visually appealing display that can be easily hung using command strips, making it perfect for any room in your home. What’s more impressive is that this entire project can be completed on a budget-friendly note, all for just a few dollars.
Supplies Needed for Plant Stand
To give your home a touch of rustic charm, you can combine some affordable finds with a few crafting supplies. Start by gathering materials like galvanized bottlecaps and glass candlesticks from the Dollar Tree. For a unique accent, look for buffalo plaid vinyl in the Crafter’s Square section. You can also use buffalo check ribbon to add texture and visual interest. To create a blingy centerpiece, gather some decorative items like bling embellishments.
Before you start crafting, make sure your surface is prepared with Kilz primer. For added durability and flexibility, consider using E-6000 or hot glue.
How to Make a Dollar Tree Plant Stand
Step 1.
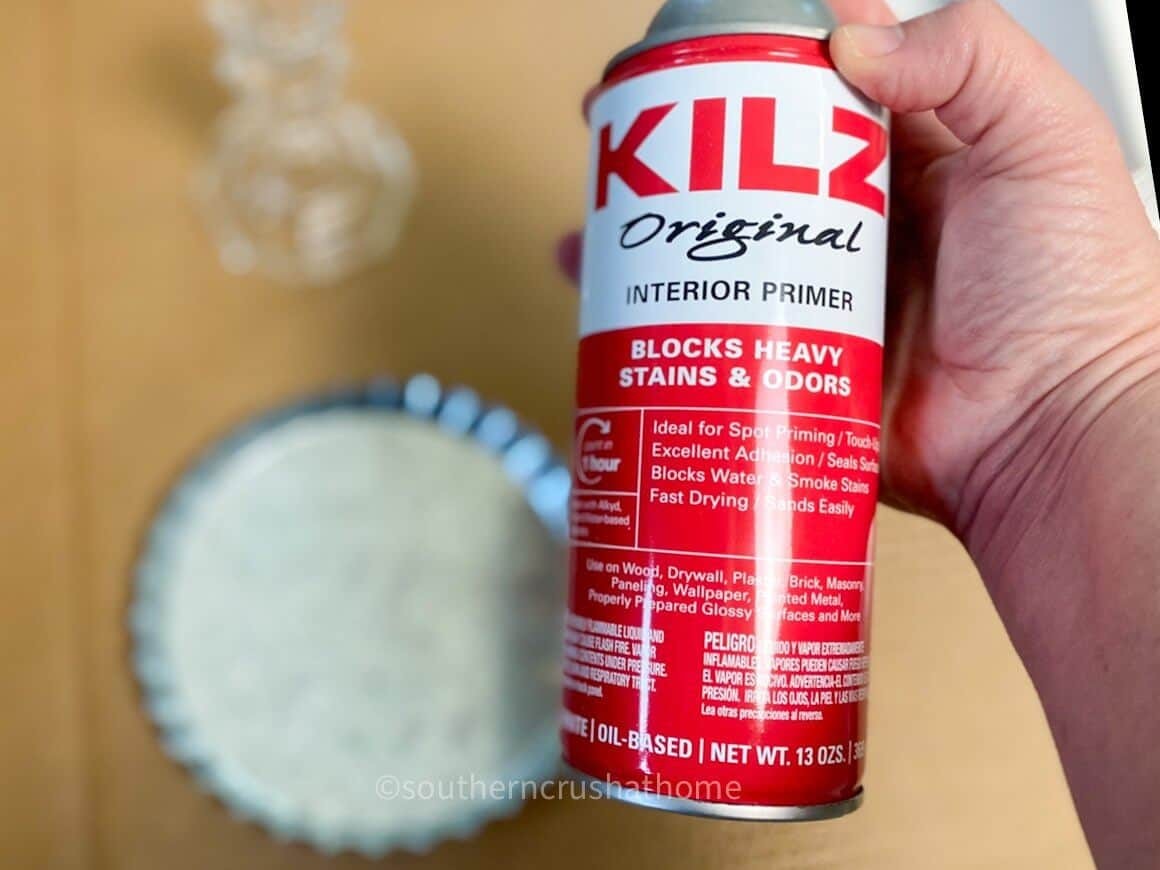
To prepare the candlestick and tray for painting, apply a coat of Kilz primer using a spray bottle to ensure even coverage. This will help create a smooth surface for your chosen finish.
Step 2.
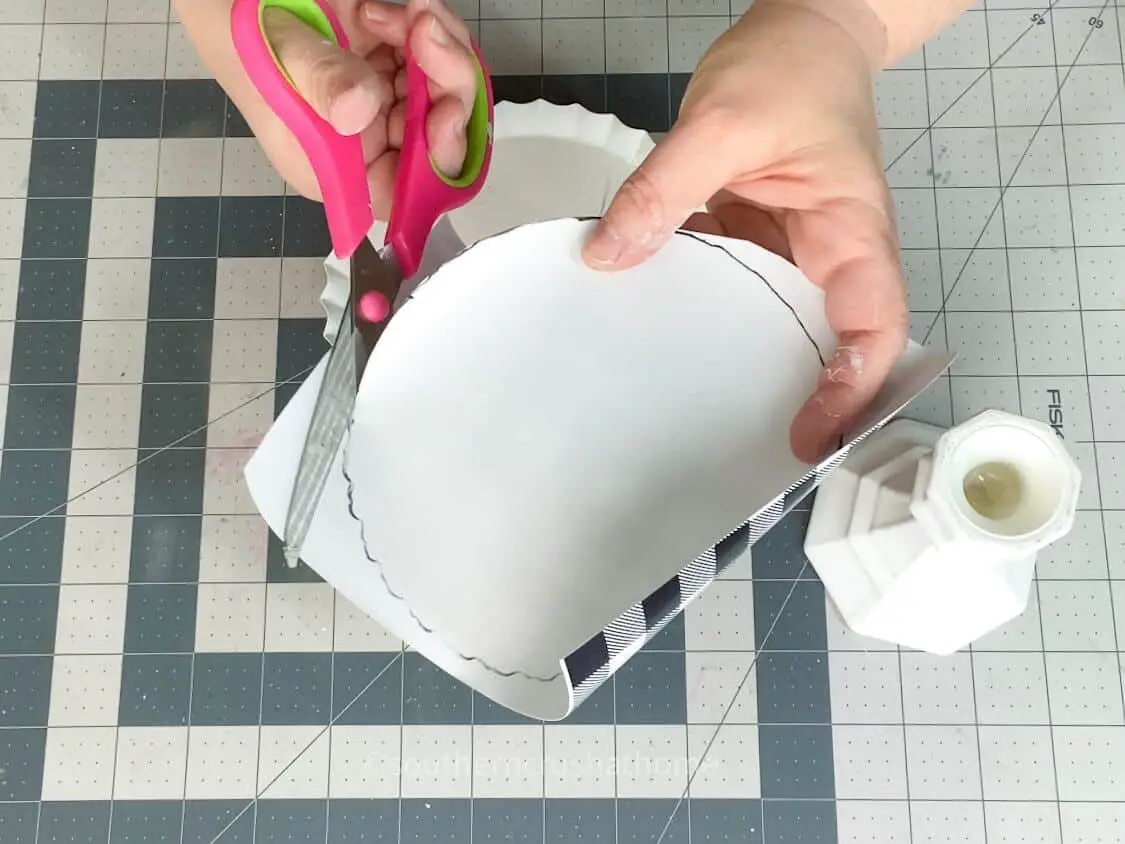
Position the tin can upside down directly onto the buffalo plaid vinyl, ensuring accurate alignment for tracing purposes. Utilize a fine-tip Sharpie to carefully outline the tin’s shape, and then proceed with cutting out the circular design along the marked lines. Although precision isn’t crucial since you’ll be trimming the edges anyway, it’s still essential to maintain a clear understanding of the overall shape and size.
Step 3.
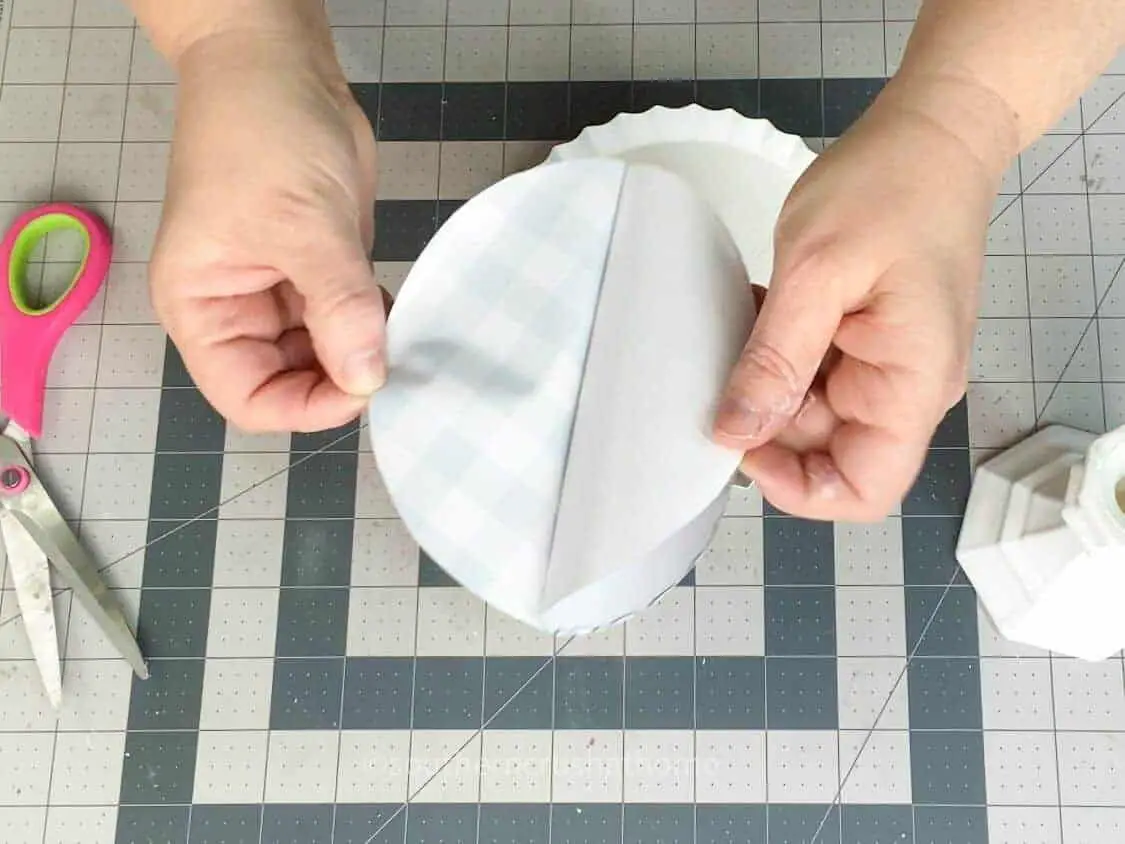
Begin by carefully removing the backing from the vinyl, then gradually apply it to the center of the tin using your fingertips to ensure a smooth and even adhesion. Once the vinyl is in place, use your craft knife to delicately trim away any excess material, taking care not to cut too close to the edge of the design.
Step 4.
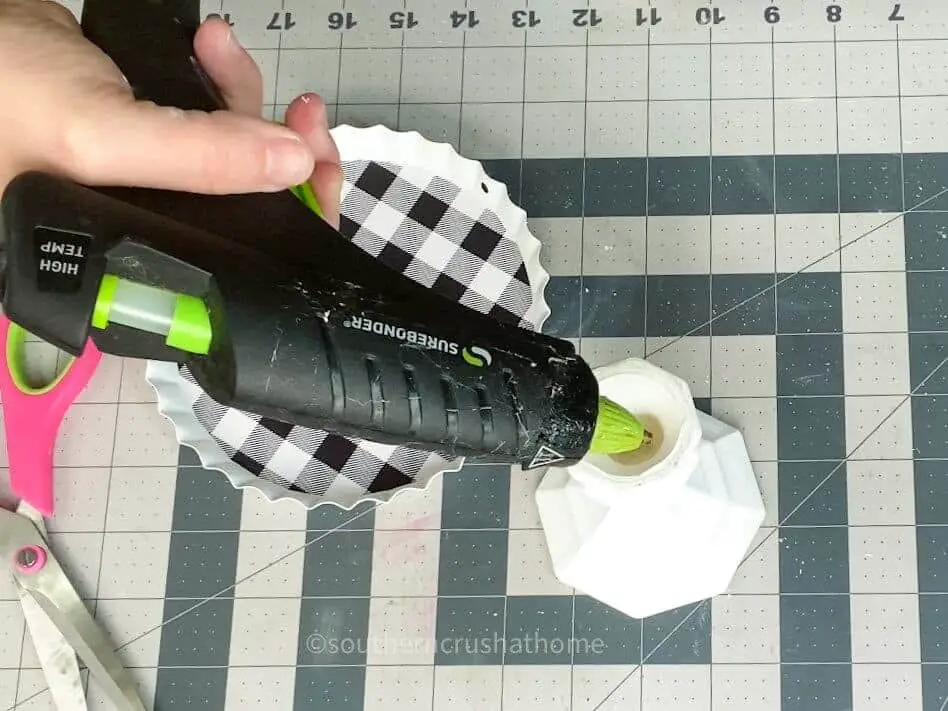
To ensure a sturdy attachment, combine the tin with the candlestick using a mix of E-6000 adhesive and a small amount of hot glue. This dual approach guarantees a reliable bond between the two components.
Step 5.
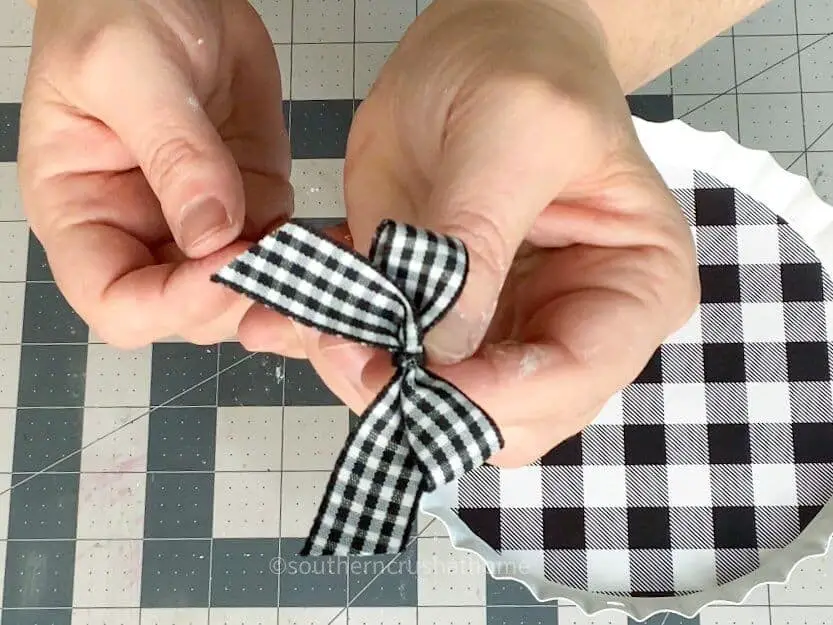
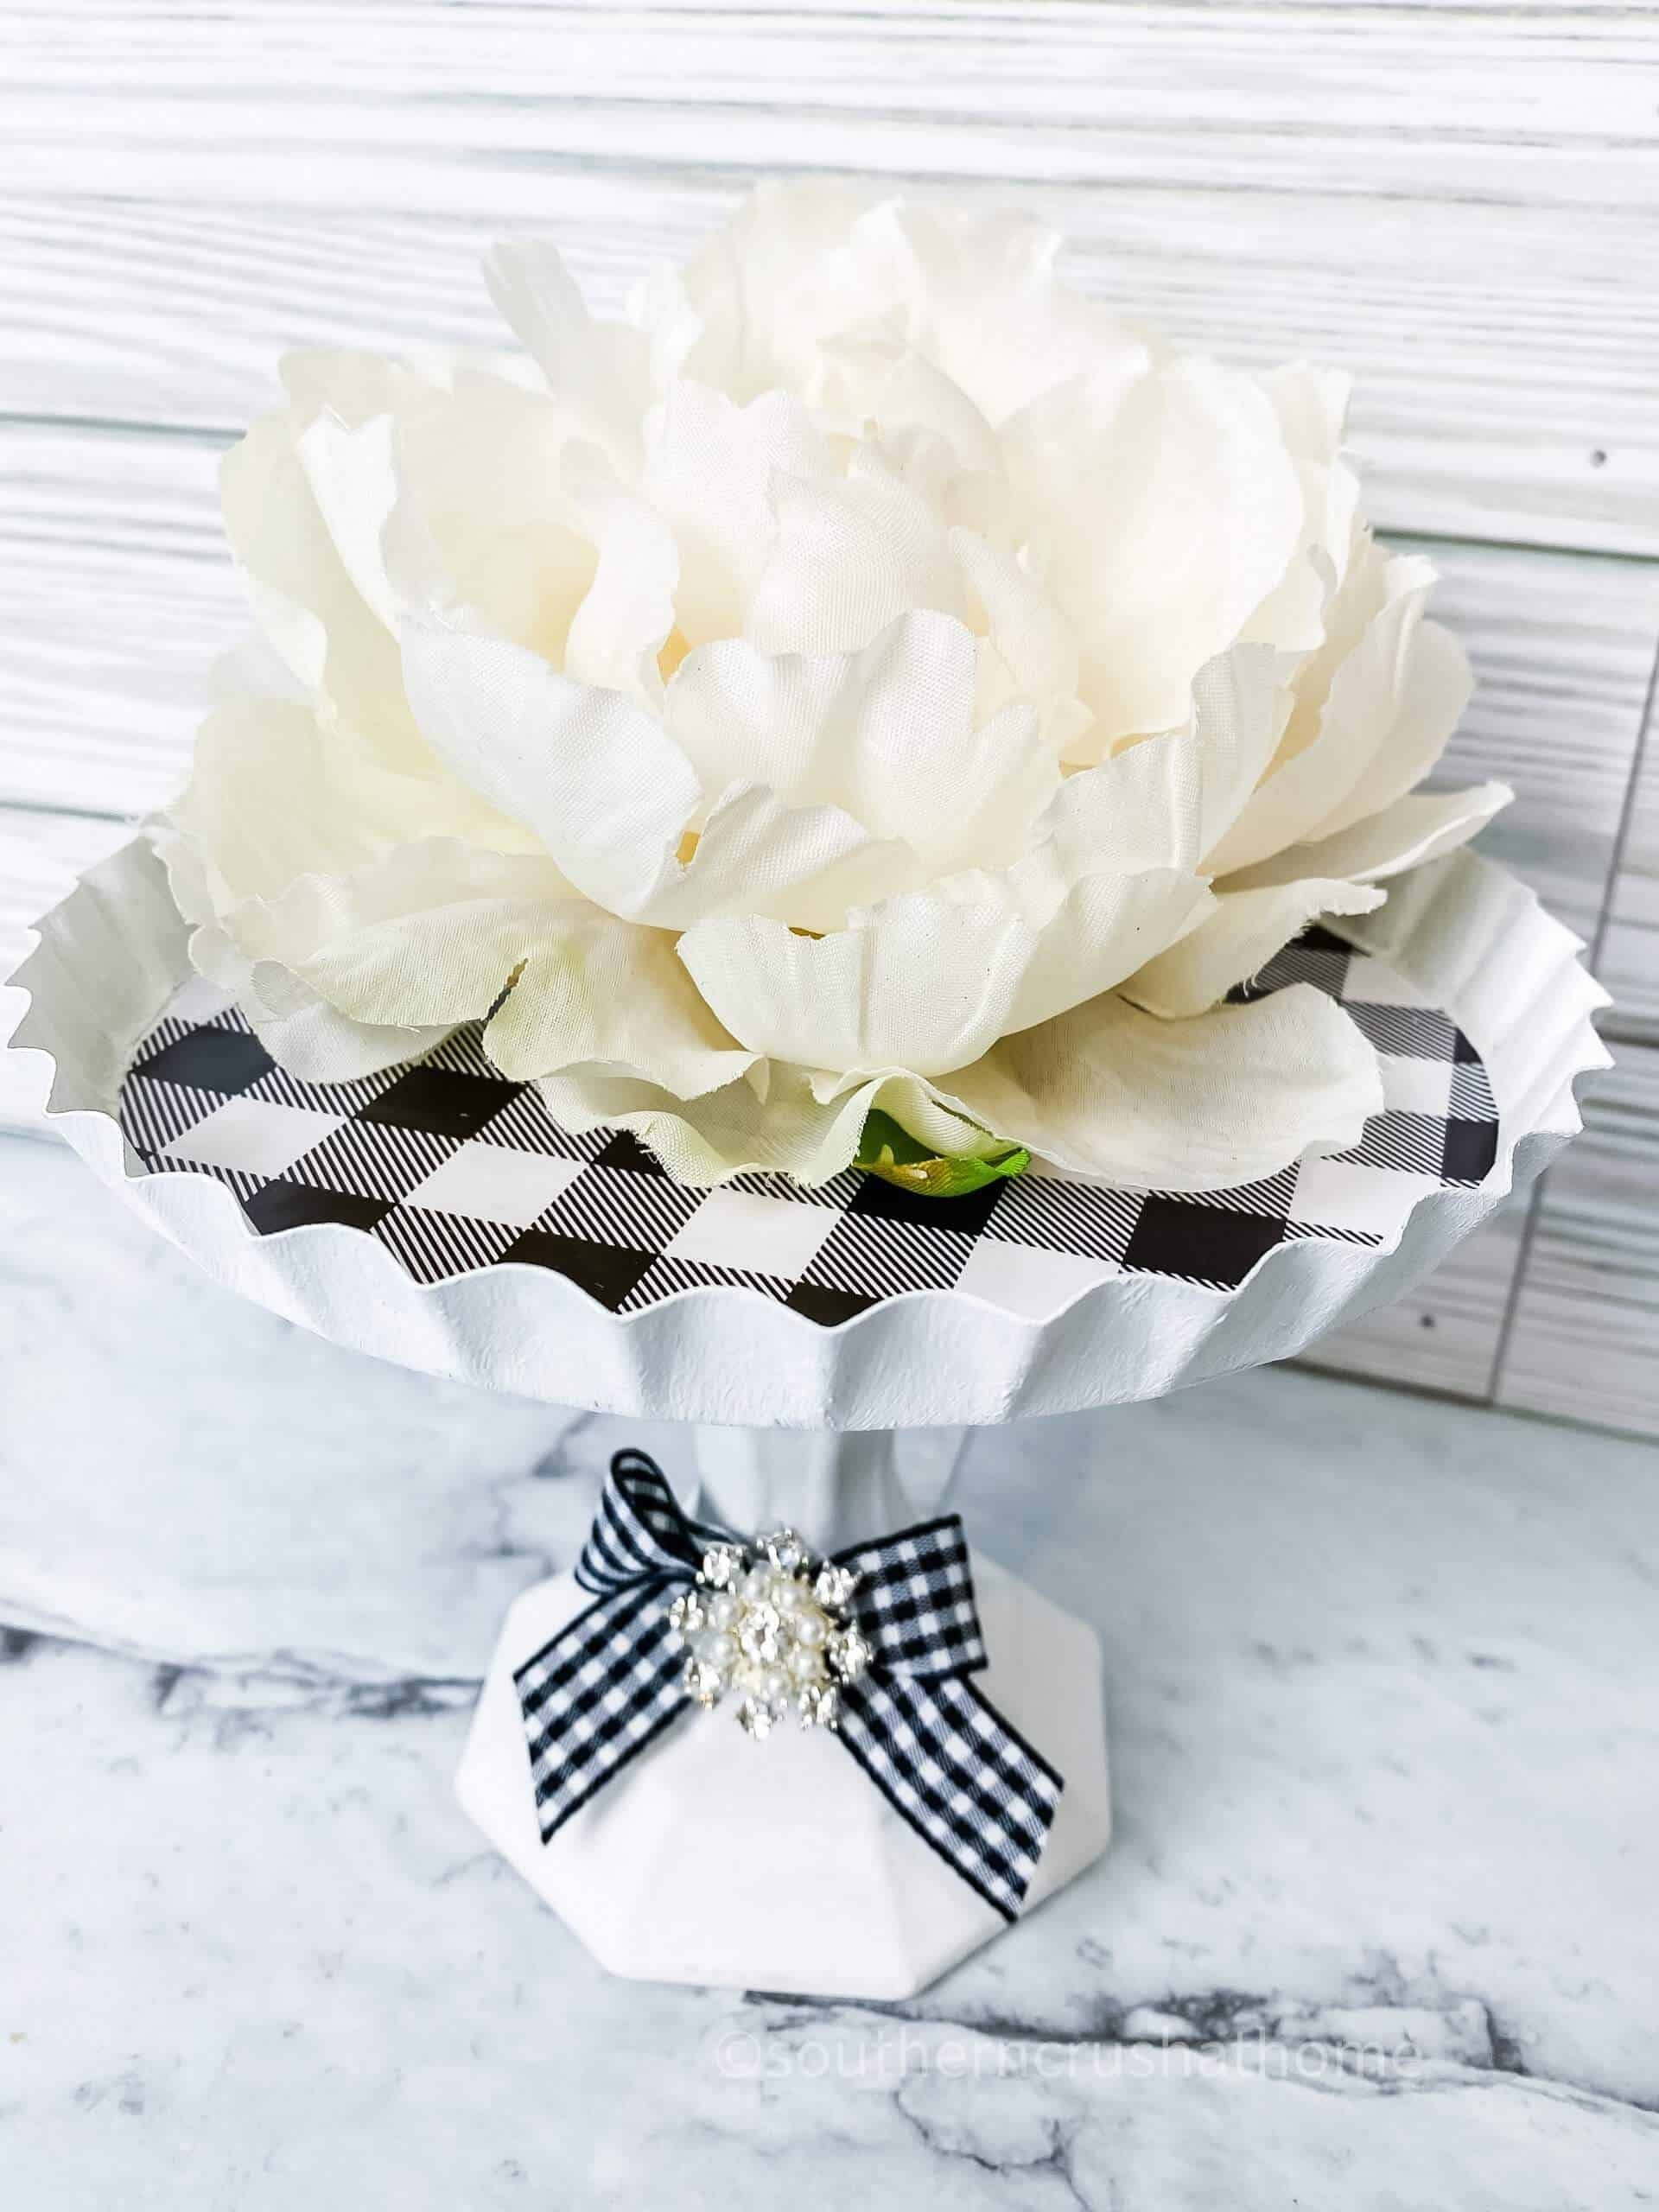
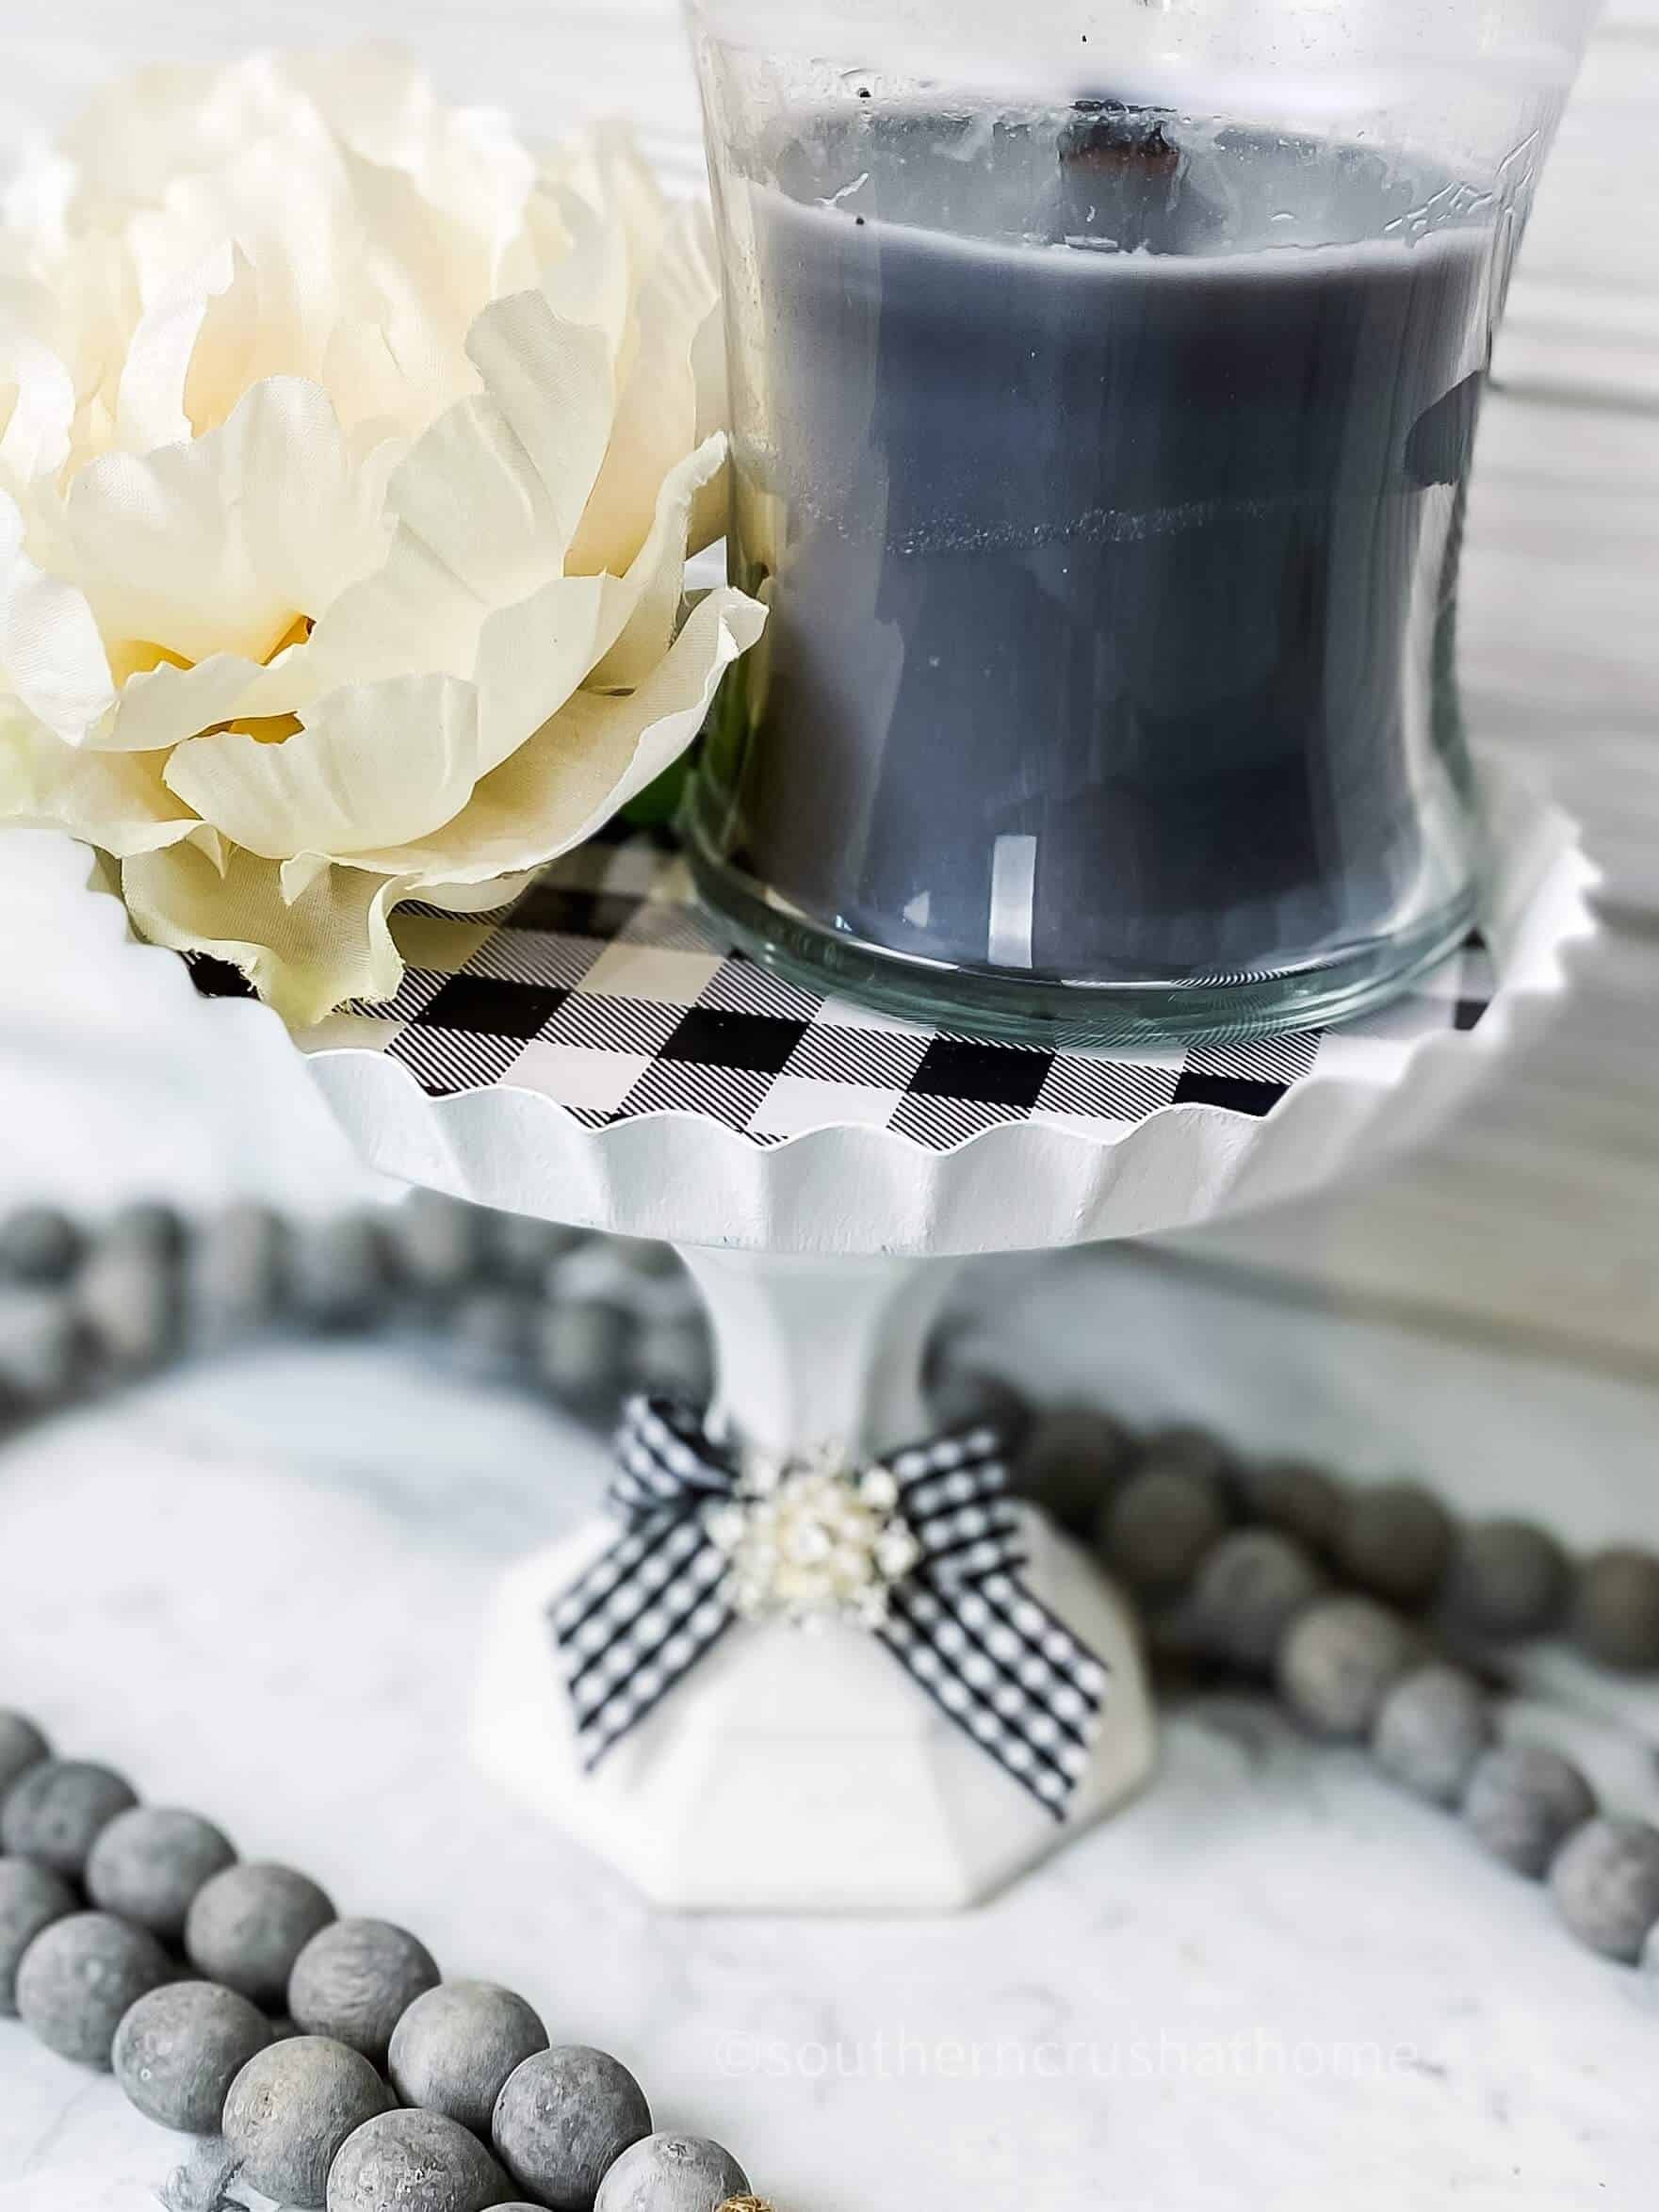
Transform your candle holder into a charming mini-greenhouse by attaching a buffalo plaid ribbon bow using hot glue and a zip tie. The added touch of bling from an embellishment elevates the overall aesthetic. This adaptable craft project allows you to incorporate real or faux plants, candles, or other decorative elements, making it perfect for indoor spaces. I’d love to hear about your favorite creation – feel free to share in the comments below!
Don’t forget to save this idea for later and come back to share your own indoor planter masterpiece.