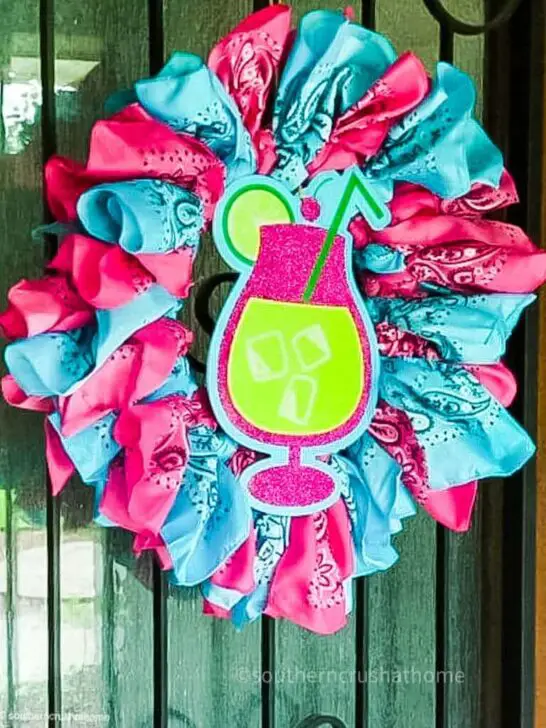
One of the simplest DIY projects I’ve undertaken is a bandana wreath for my front door – and it’s all thanks to the Dollar Tree! With minimal effort required, you can create this stylish addition in various color schemes. In fact, there are countless ways to make this wreath; however, I’m quite fond of my version. Let me walk you through how I did it…
SUPPLIES TO MAKE A BANDANA WREATH
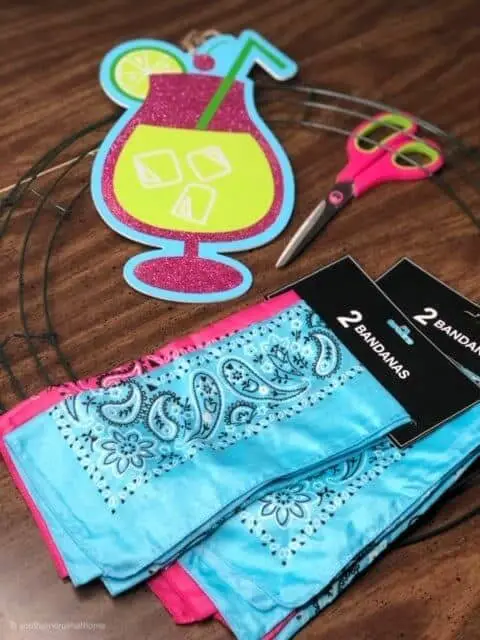
To get started, gather the following essentials: a selection of bandanas in your preferred color (I’ve used six packages of two, yielding a total of 12 bandanas from Dollar Tree), a Medium Wreath Frame also from Dollar Tree, and a centerpiece of your choice – mine is another find from Dollar Tree. Don’t forget to have a pair of scissors on hand. Believe it or not, this is the entirety of the required supplies! The real excitement begins as you dive into the creative process.
This project is perfect for those moments when you want to unwind and indulge in some mindless crafting while watching your favorite show, chatting with friends, or simply letting your imagination run wild. And the best part? There are no complex steps to follow, so sit back, relax, and let your creativity shine as you bring this easy-to-create masterpiece to life.
STEP BY STEP INSTRUCTIONS ON MAKING A BANDANA WREATH
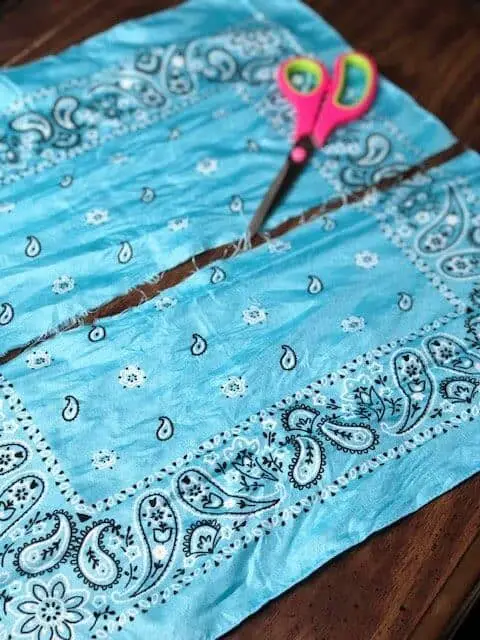

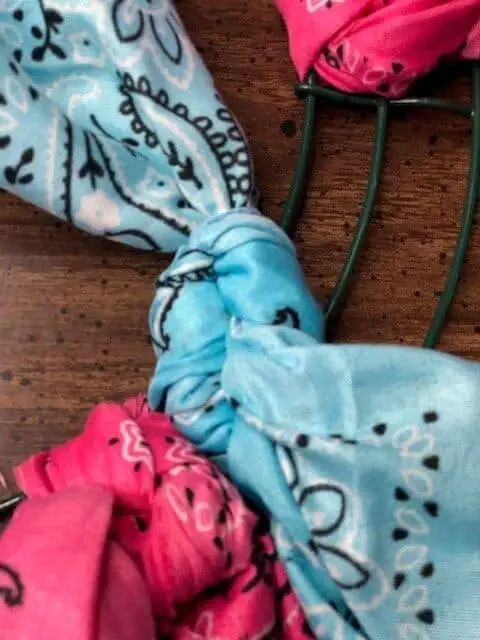
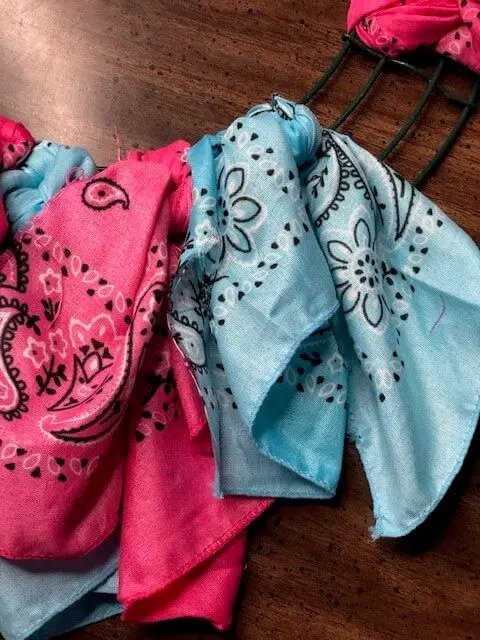
To create the wire wreath base, begin by cutting the bandanas in half along their diagonal. This will give you perfect squares that can be easily tied onto the frame. Start by attaching each bandana to the innermost ring of the wire wreath with a simple knot (as seen in the accompanying photo). Next, add an additional knot directly on top of the first one and gently pull the bandana towards the outer edge of the wreath.
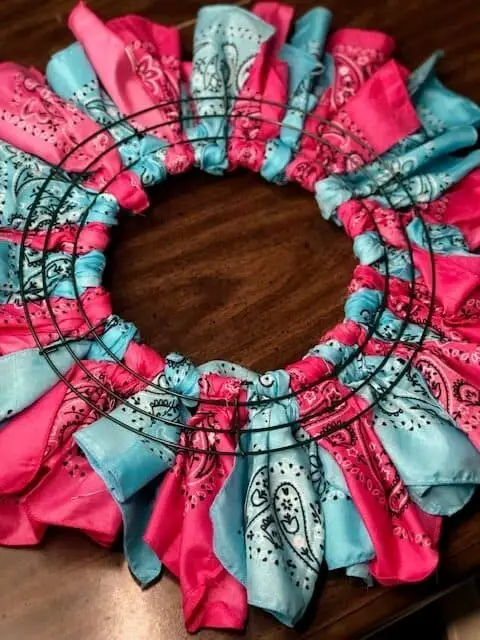
Repeat this process until you’ve completed the entire frame, at which point your wire wreath will be fully adorned. For added charm, consider inserting a small cut-out made from twine into the center of your wreath for an extra touch of whimsy. If you’d prefer to see these steps demonstrated in action, I invite you to view my Facebook Live tutorial, where I’ll guide you through each step in real-time.
By far the easiest front door wreath project I’ve ever done!


I’m planning to hang a DIY project on the inside of our hotel door during our beach vacation this summer, purely for entertainment purposes. What do you think? Are you willing to give it a try yourself? To make sure you don’t miss out on future projects like this one, please consider pinning this post for later reference. Your thoughts are valuable to me; feel free to share them in the comments section below. Remember, life is short and should be enjoyed with imperfections.
If you’ve enjoyed this project, you may also want to check out my recommended DIY crafts using Dollar Tree supplies. Finally, don’t forget to join us on our Facebook Page for a more immersive experience and to see even more fun projects in action. Oh, and look at that adorable wreath created by one of my followers – it’s truly inspiring!
YOU MAY LIKE THESE OTHER WREATH IDEAS
Transform your home with a touch of whimsy and creativity this spring. Two unique wreath ideas, perfect for adding a personal touch to any room, are the Embroidery Hoop BOHO Wedding Wreath featuring the Scorch Marker and the Dollar Tree Farmhouse Ping Pong Ball Wreath. Both projects showcase the versatility of DIY crafting, where ordinary materials can be transformed into extraordinary works of art.
For inspiration, look no further than our collection of 21 Beautiful And Budget-Friendly DIY Spring Wreaths that will spark your creativity and inspire you to get crafting.