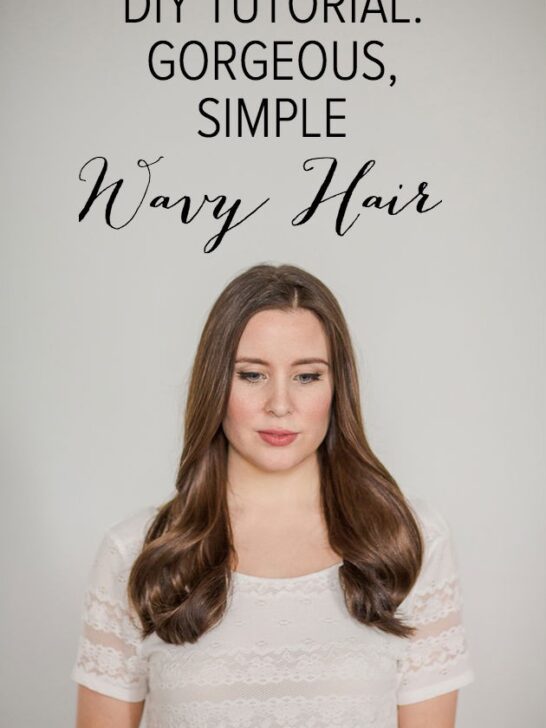
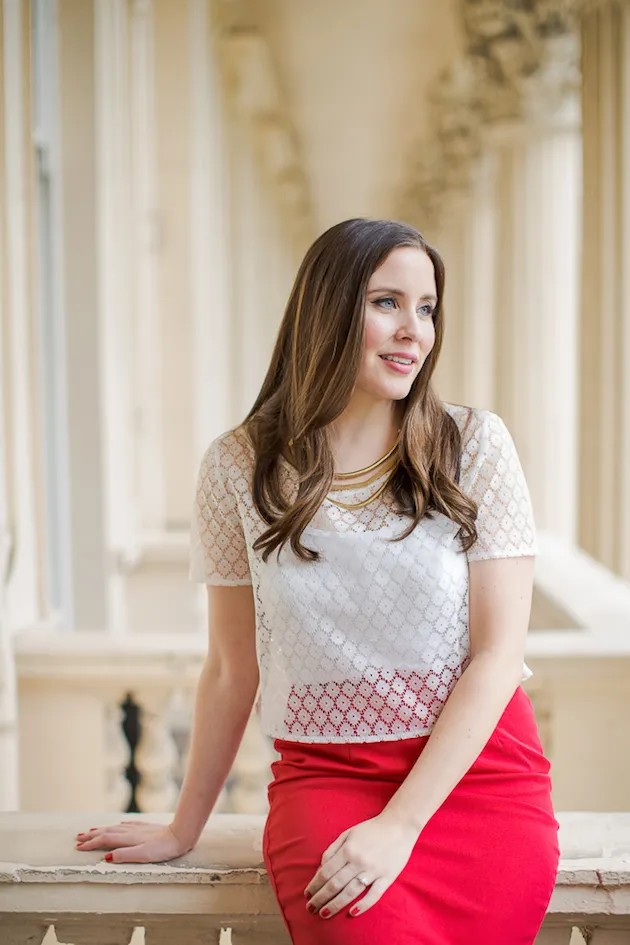
Get ready to unleash your inner bombshell! In this DIY tutorial, we’ll show you how to achieve the effortless, glamorous waves that every long-haired beauty adores. This stunning look was created for our recent Bridal Musings photoshoot with Marianne Taylor Photography, where it made a lasting impression on Elizabeth’s usually poker-straight locks. According to our resident hair expert, Sev of Hepburn Collection, this natural yet sophisticated style has become the go-to wedding day look among his clients – and we can see why! Pair it with a vintage hair slide, some charming blooms or a beautiful mantilla veil, and you’ll be the epitome of glamour on your big day. While a professional stylist might be needed to perfect this look on your wedding day (Sev actually styled Elizabeth’s hair for her own wedding!), our easy-to-follow DIY guide will give you all the know-how to achieve perfectly tousled tresses for an engagement shoot, rehearsal dinner or even just a regular Monday morning meeting.
What You Need:
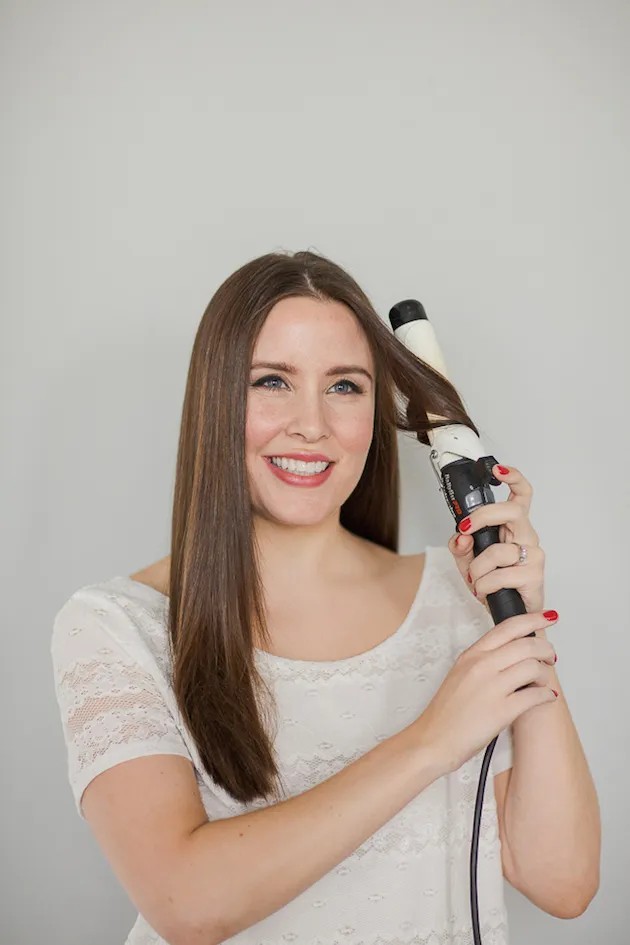
To achieve the desired look, we utilized three essential tools: a curling wand, a flat bristle hairbrush, and a light hold hairspray. The curling wand, which features a barrel measuring 38mm in diameter, was used to create voluminous waves that add texture and volume to the hair.
Start At The Front
Before embarking on the curling process, take a few minutes to prepare your locks by gently detangling any knots and tangles. For optimal results, it’s best to style your hair in day-old condition, rather than immediately after washing. This allows for better definition and hold.To create lush, bouncy curls, begin at the front of your head and work your way back, using your curling wand to generate semi-tight spirals that fall just below ear level.
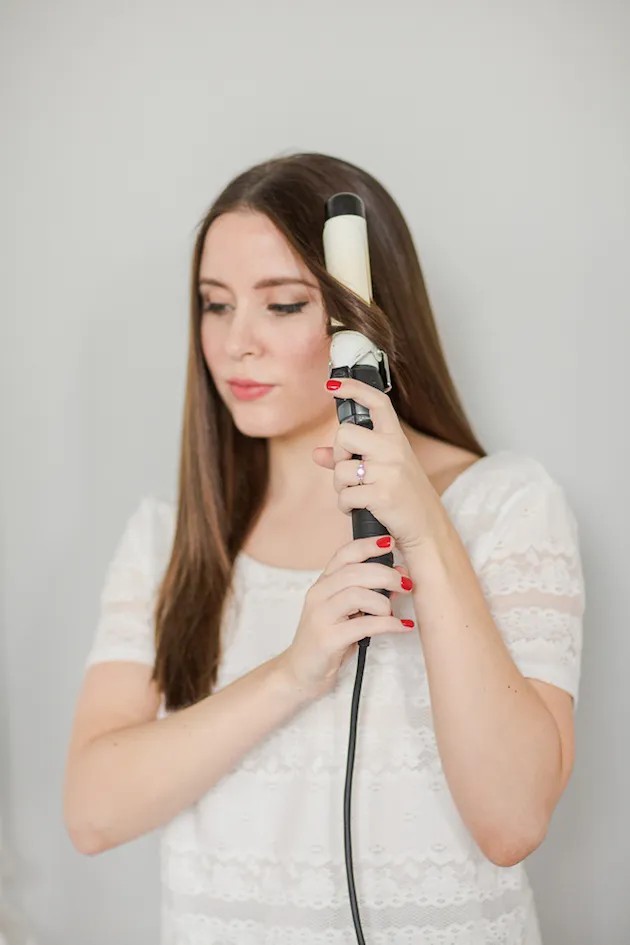
Pull the Wand Out Gently
To achieve optimal results with a curling wand, start by dividing your hair into one-inch sections. Take each segment and clamp the ends into the barrel, wrapping the length around the exterior in a smooth motion. As you do this, twist the hair about 180 degrees to create a defined curl. It’s essential to avoid applying too much pressure when clamping the end of your hair, as this can lead to unwanted creases. Instead, hold the clamp in place for approximately five seconds before gently releasing it, allowing the natural texture and bounce of your hair to shine through.
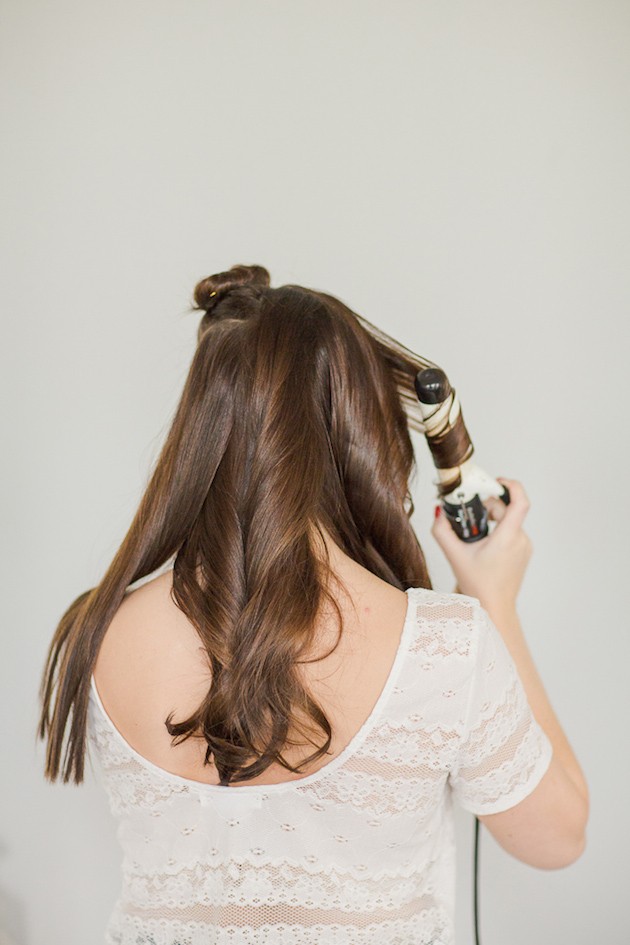
Curl The Rest of Your Hair in Sections
As you’ve completed curling the first section of your hair, proceed to tackle the remaining strands. If you’re working with thicker locks, consider dividing them into smaller sections to ensure an even finish. This will not only prevent any missed areas but also make it easier to manage as you work.
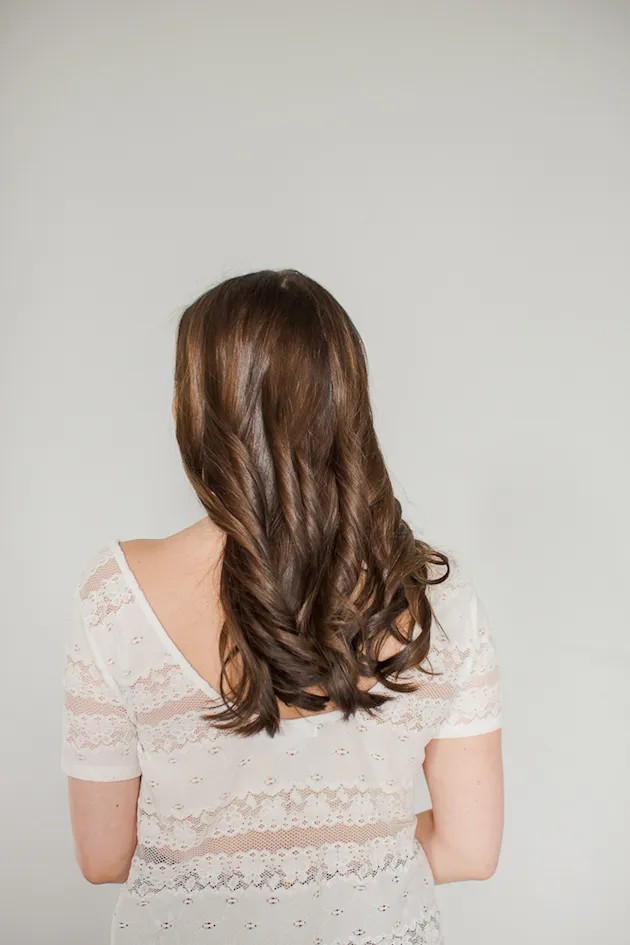
Keep Curling Until It’s All in Waves
After completing the wanding process, your hair should be transformed into soft, flowing ringlets that start at the base of your neck and cascade down to the ends.
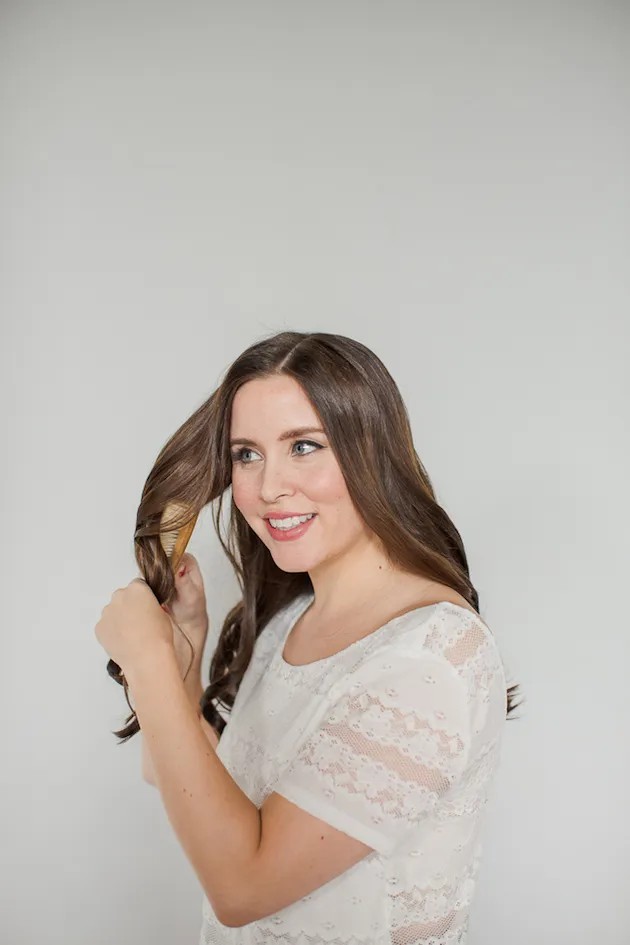
Brush It Out
To achieve the coveted soft bombshell waves, begin by gently sectioning your hair and working with small segments at a time. Utilize a flat, soft-bristled brush to carefully detangle each segment, smoothing out any kinks or tangles as you go. Aim for loose, flowing curls that exude effortless elegance rather than stiff, coiffed ringlets.
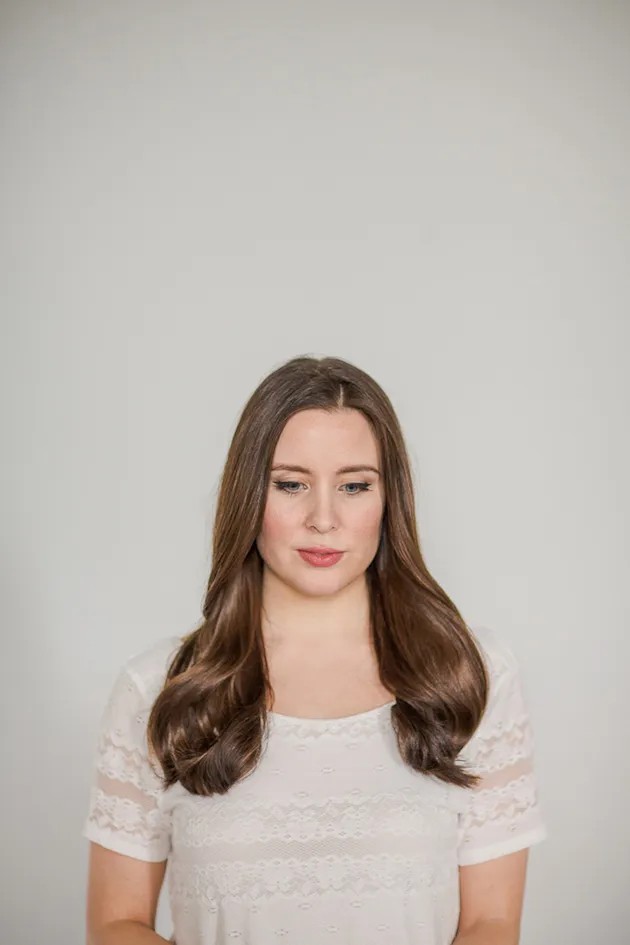
Spray To Finish
To maintain the polished finish, use your go-to hair or finishing spray. Claire’s latest obsession is Moroccan Oil Luminous Hairspray, which not only smells incredible but also provides long-lasting hold without ever becoming stiff or sticky. While it may come with a higher price tag, its benefits make it well worth the investment. Elizabeth’s luscious locks are truly breathtaking, and we adore bridal styles that seamlessly blend glamour with everyday elegance.