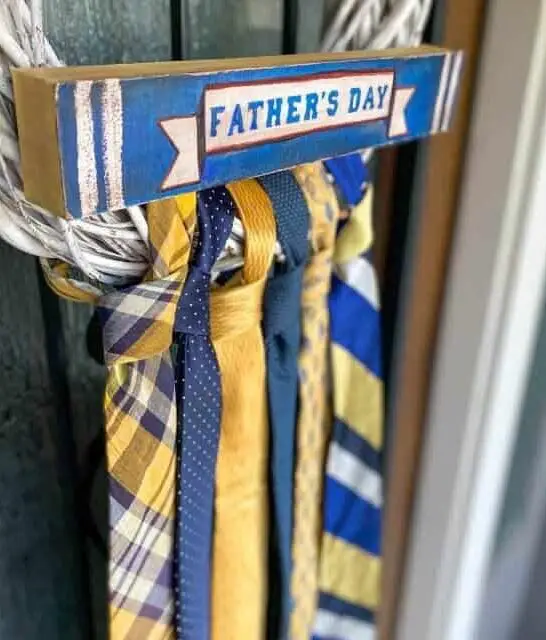
Transform a vintage necktie into a one-of-a-kind wreath, ideal for celebrating Dad on Father’s Day. Scour local thrift shops, antique markets, and yard sales to uncover the perfect tie – an eclectic combination of patterns and textures that will make your DIY project truly stand out.
Be sure to PIN this for later!
Be Sure to PIN this for Later!
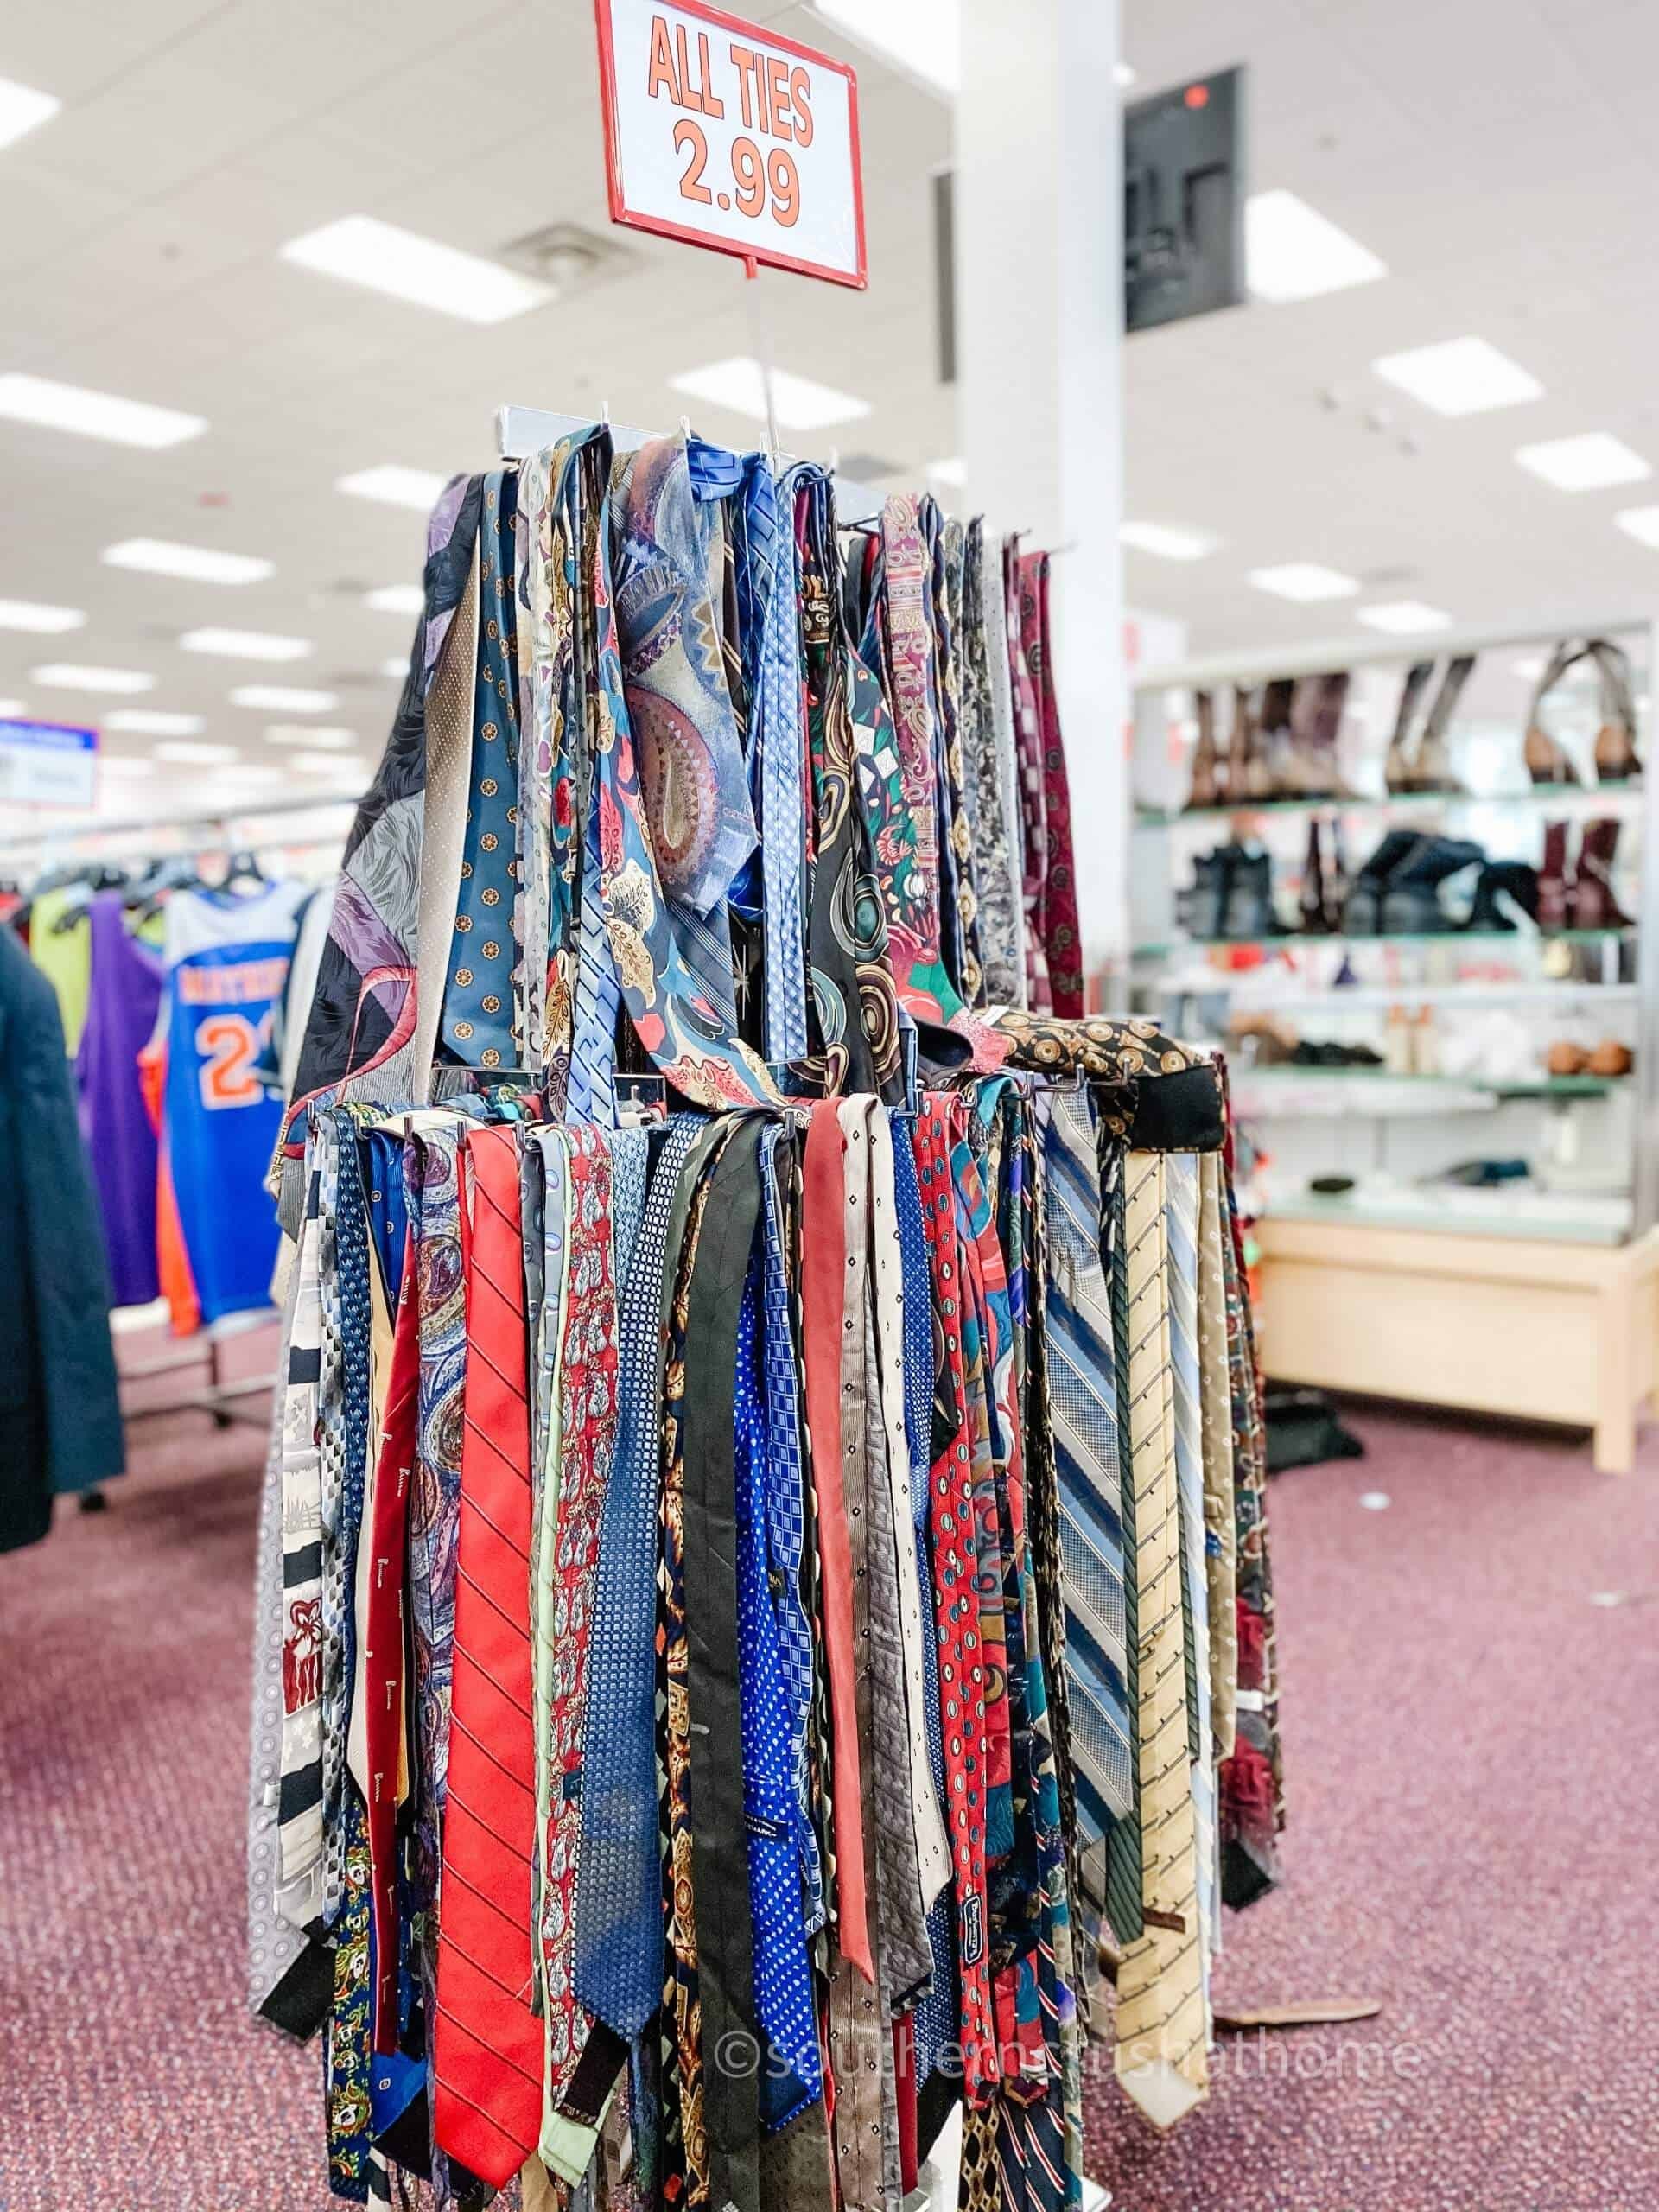
One of the joys of crafting is that you can create unique and thoughtful gifts for special occasions without breaking the bank. On my latest thrift store haul, I stumbled upon a treasure trove of vintage neckties at the Salvation Army in Mansfield, TX. The array of colors and patterns sparked an idea – what if I transformed these humble ties into a festive wreath for our front door?
With Father’s Day just around the corner, I knew it would be a thoughtful touch to welcome visitors with this upcycled DIY masterpiece.
WHAT YOU’LL NEED TO MAKE a DIY Necktie Wreath
When it comes to creating a cohesive look for your home decor, accessorizing with a variety of neckties in similar color families can be a great way to add visual interest. For instance, you could choose different designs featuring grapes or wine-themed patterns, but all in shades of purple, red, and green. This subtle touch can bring together various decorative elements and create a harmonious atmosphere.
For the grapevine wreath, consider using a combination of real and artificial foliage to achieve the desired look. Alternatively, if you’re looking for a more rustic or whimsical design, you could opt for an entirely artificial arrangement. To access a wealth of free svg Cricut cut files, explore the Cricut Design Space platform. Here, you can discover a vast array of designs, from intricate patterns to fun and playful shapes, all available for instant download.
When it comes to adding color and texture to your project, craft paint is an excellent medium to work with. If you’re on a budget, consider shopping at the Dollar Tree, where affordable paints can be found in a range of colors. For added depth and dimension, incorporate wooden blocks into your design, also available at the Dollar Tree.
HOW TO MAKE A DIY Necktie Wreath
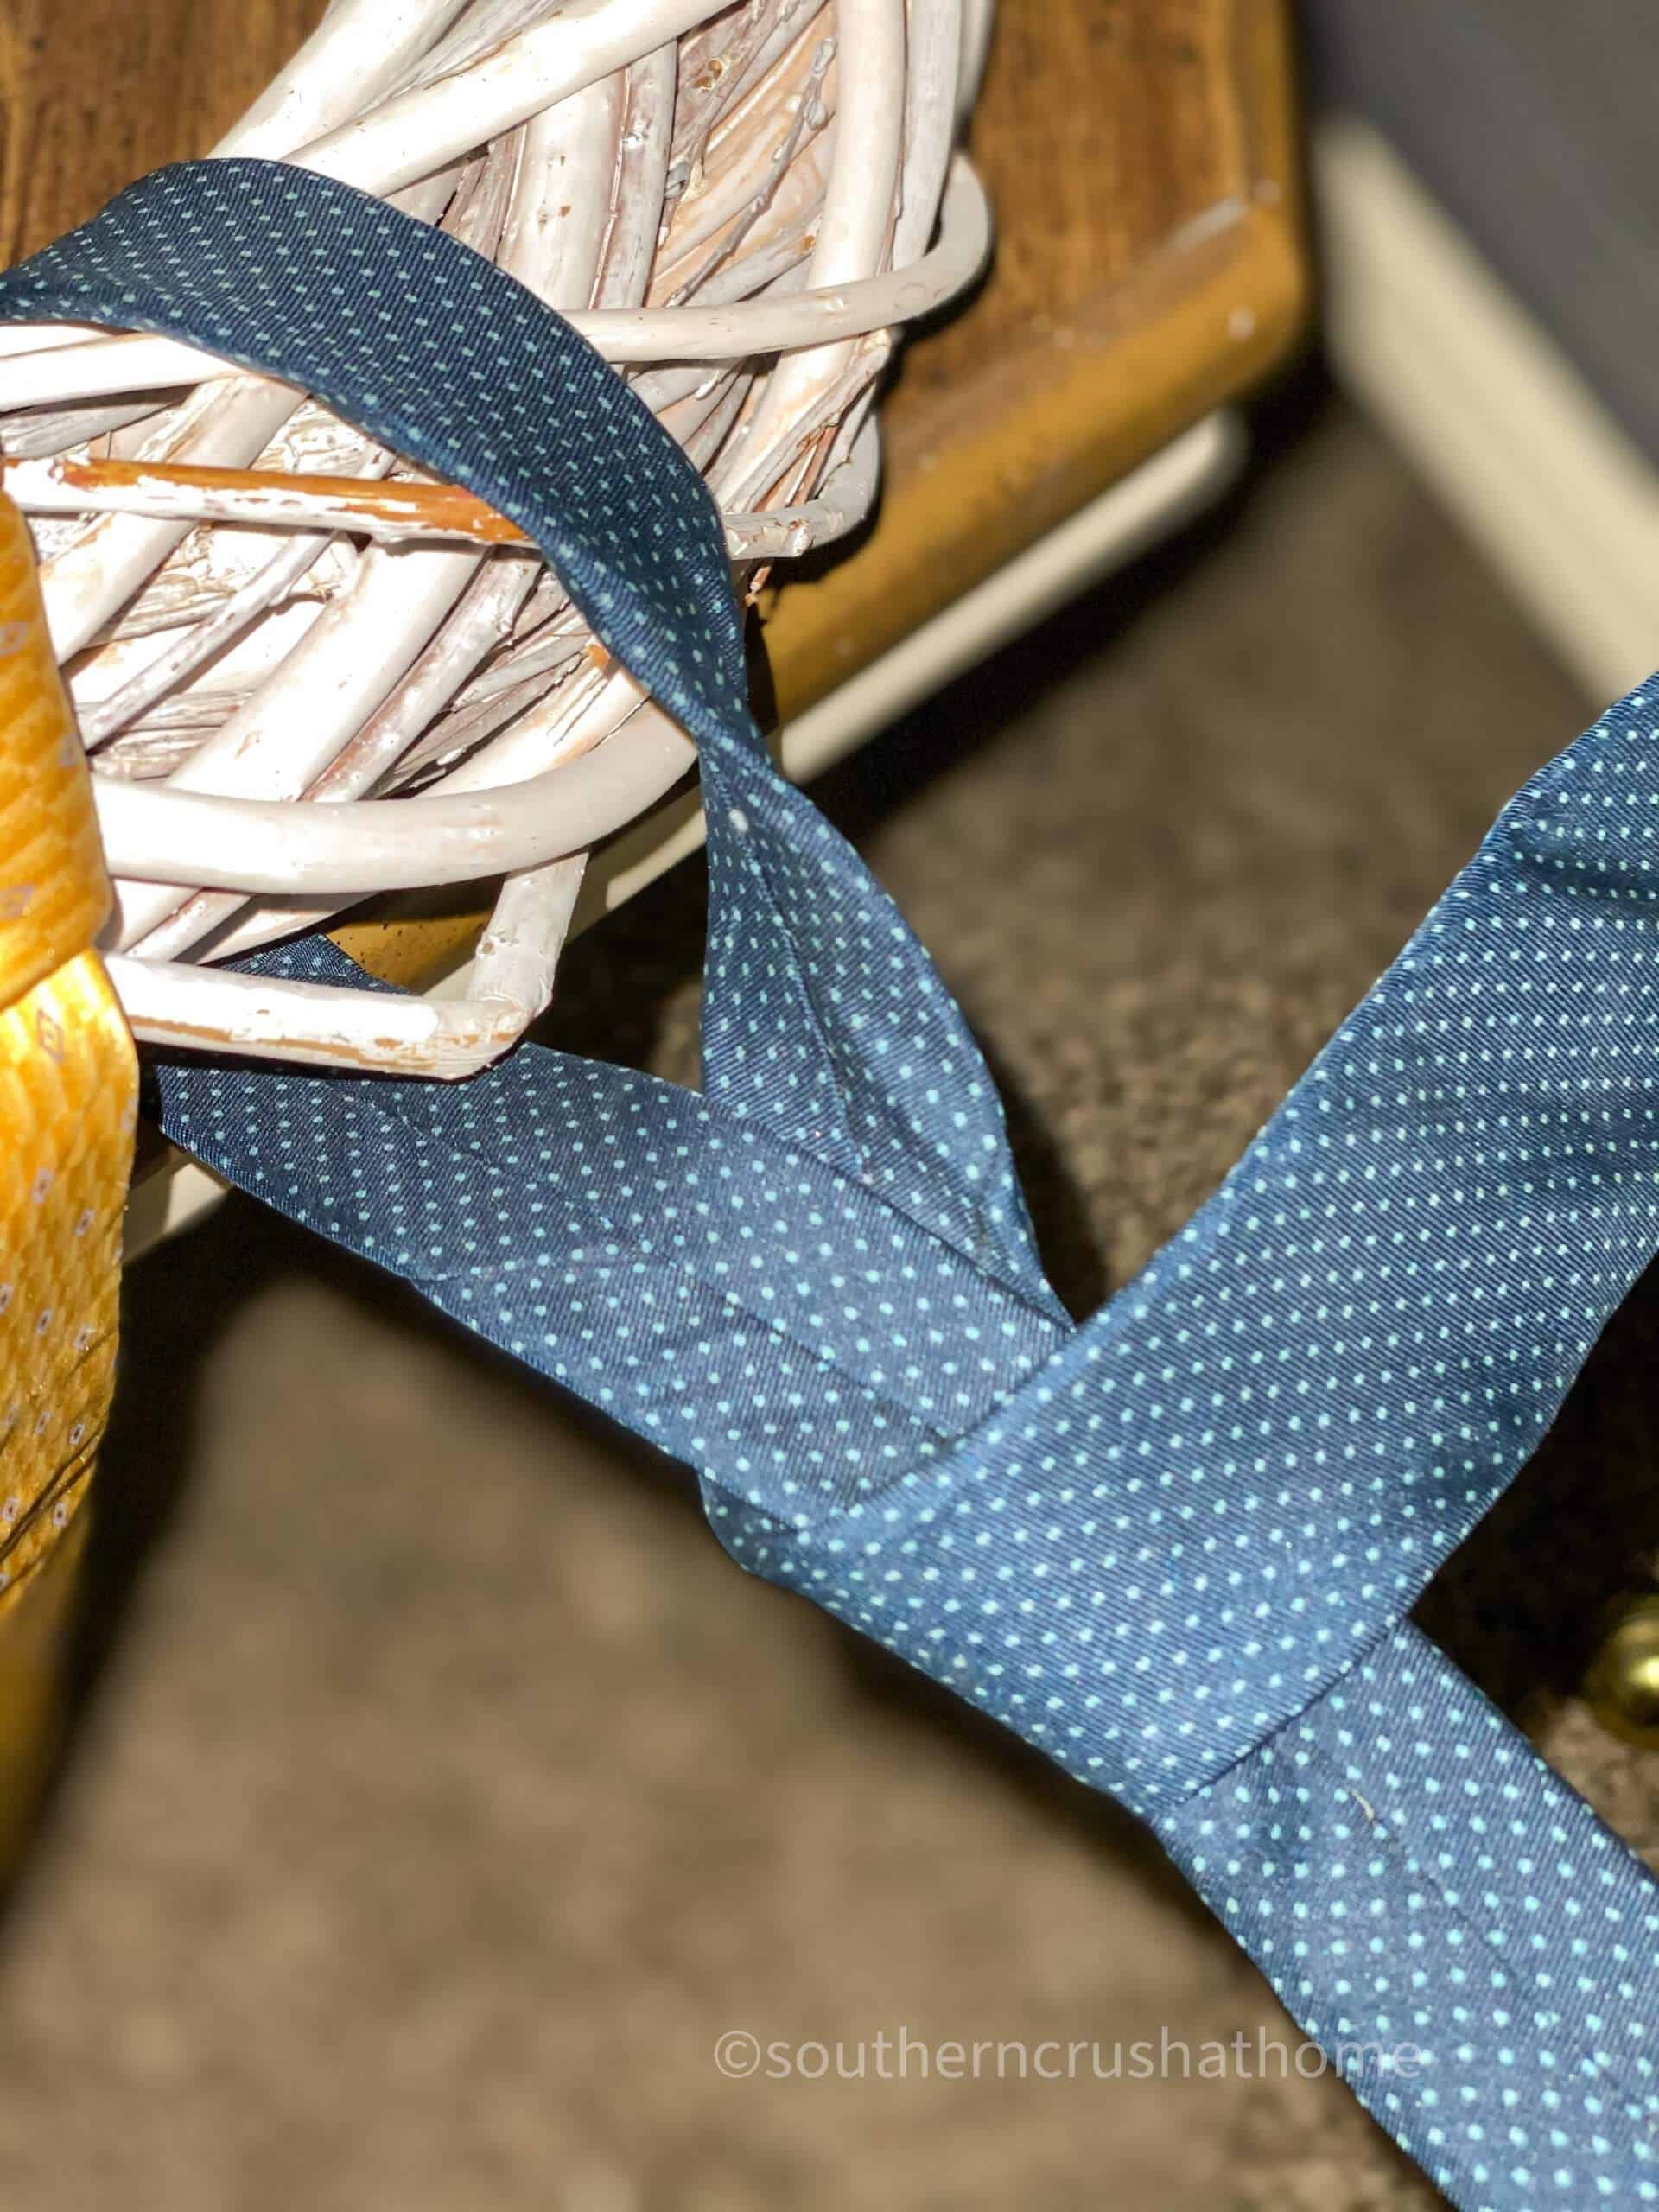
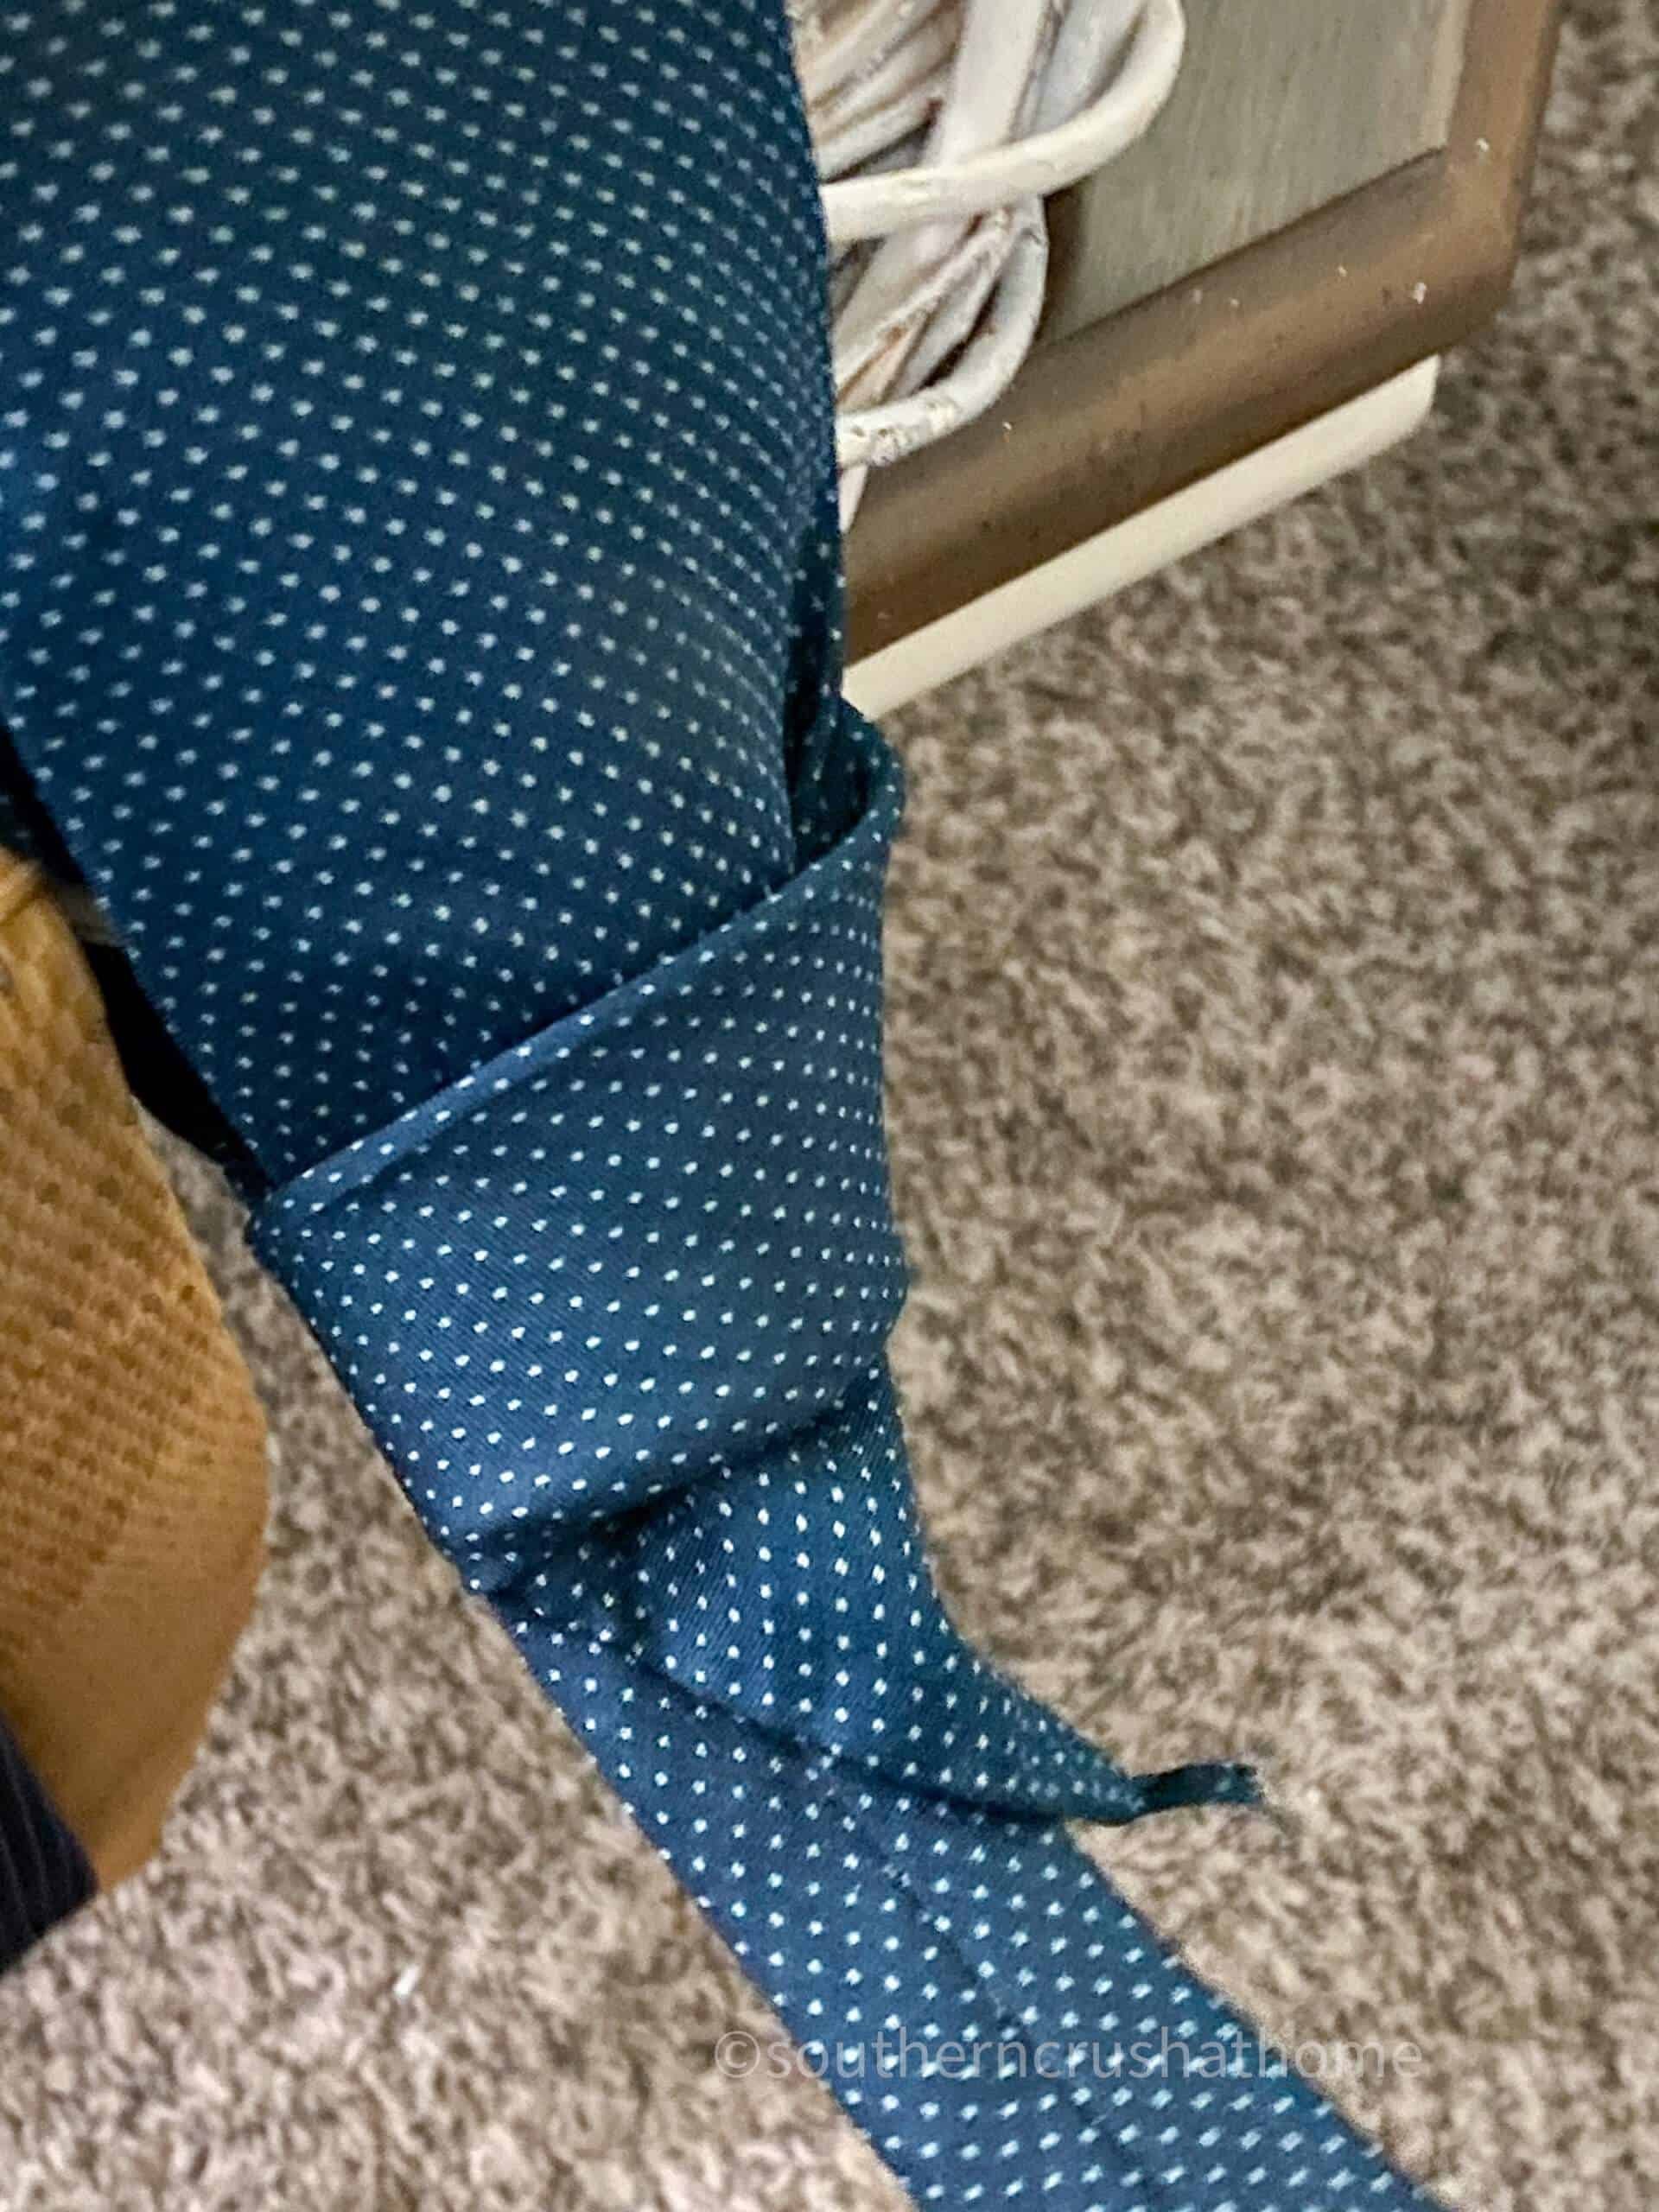
While a natural grapevine wreath can be used, painting it white allows for better visibility against the door. The choice ultimately comes down to personal preference. To begin, wrap the tie around the wreath and secure it with a simple slip knot. This enables the neckties to dangle elegantly from the structure. Continue this process until all the desired neckties are attached, taking care not to over-cover the wreath.
In my instance, I utilized six neckties, opting for a tasteful arrangement where only the lower portion of the wreath is adorned with ties.
DIY Necktie Wreath
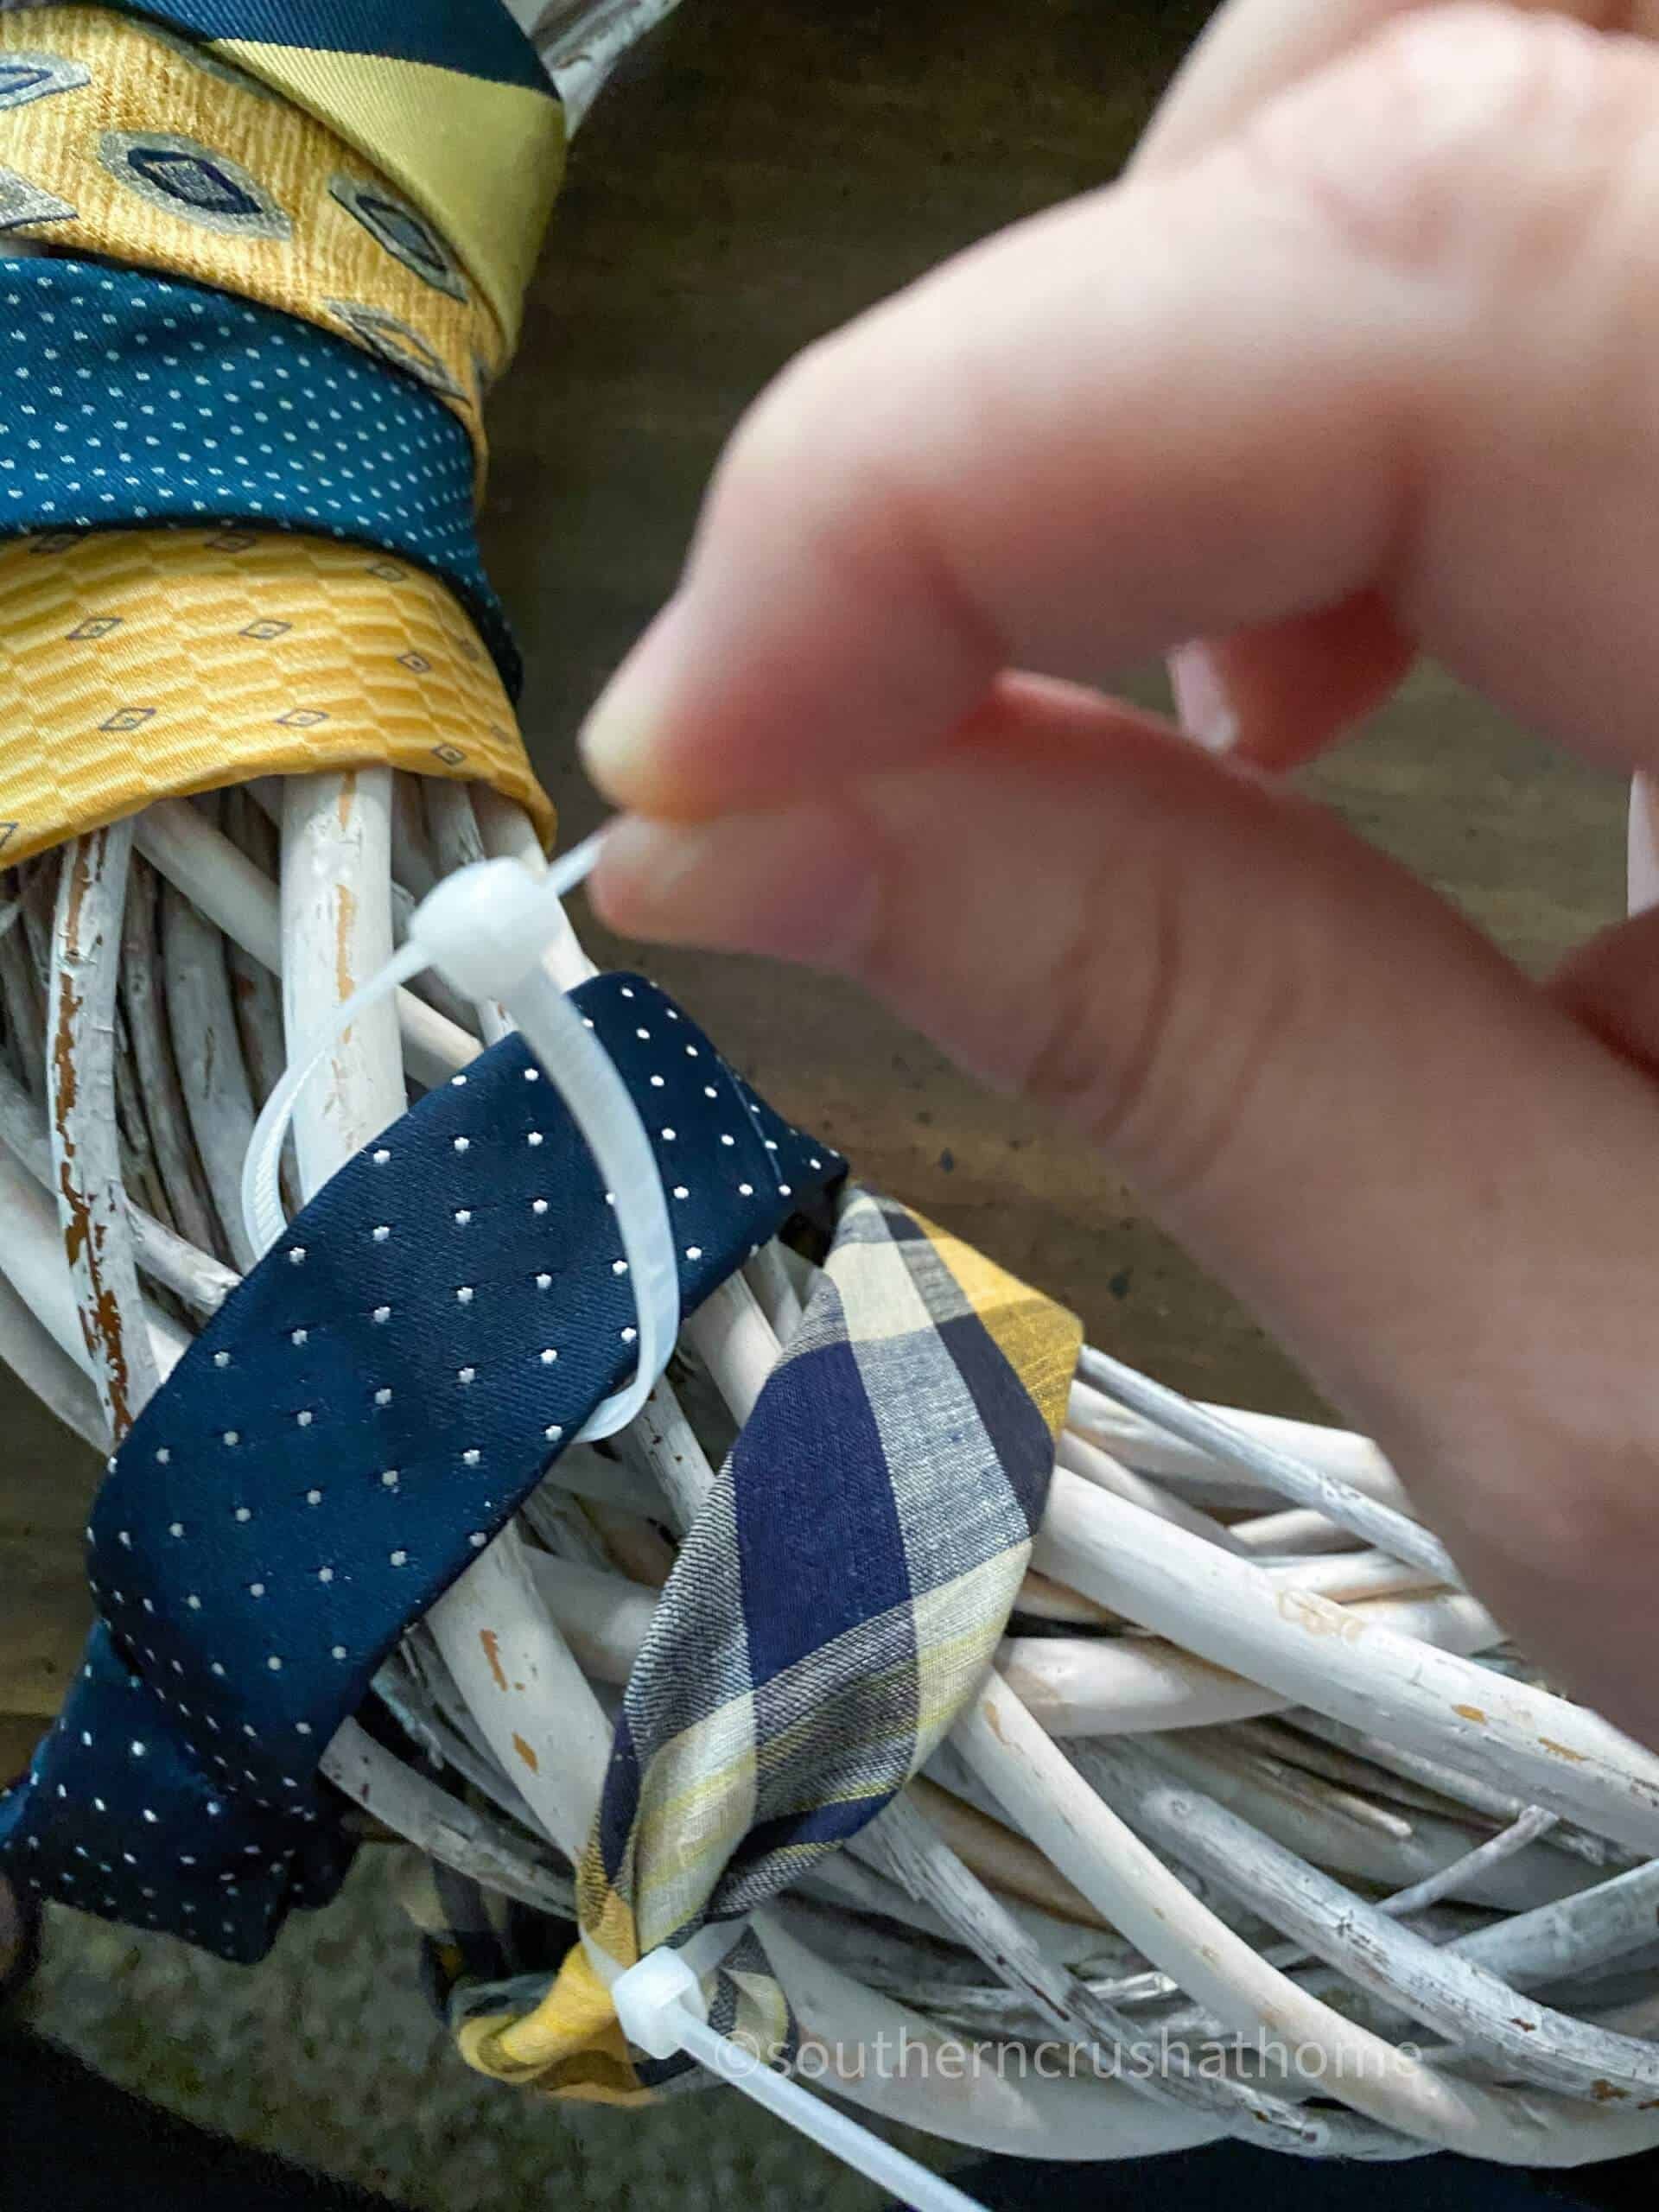
To prevent the tie from coming undone in case of inclement weather, I took an additional step by securing it with a zip tie at each neck. This added extra stability and ensured the tie wouldn’t slip off or come loose during any unexpected storms.
NEXT…
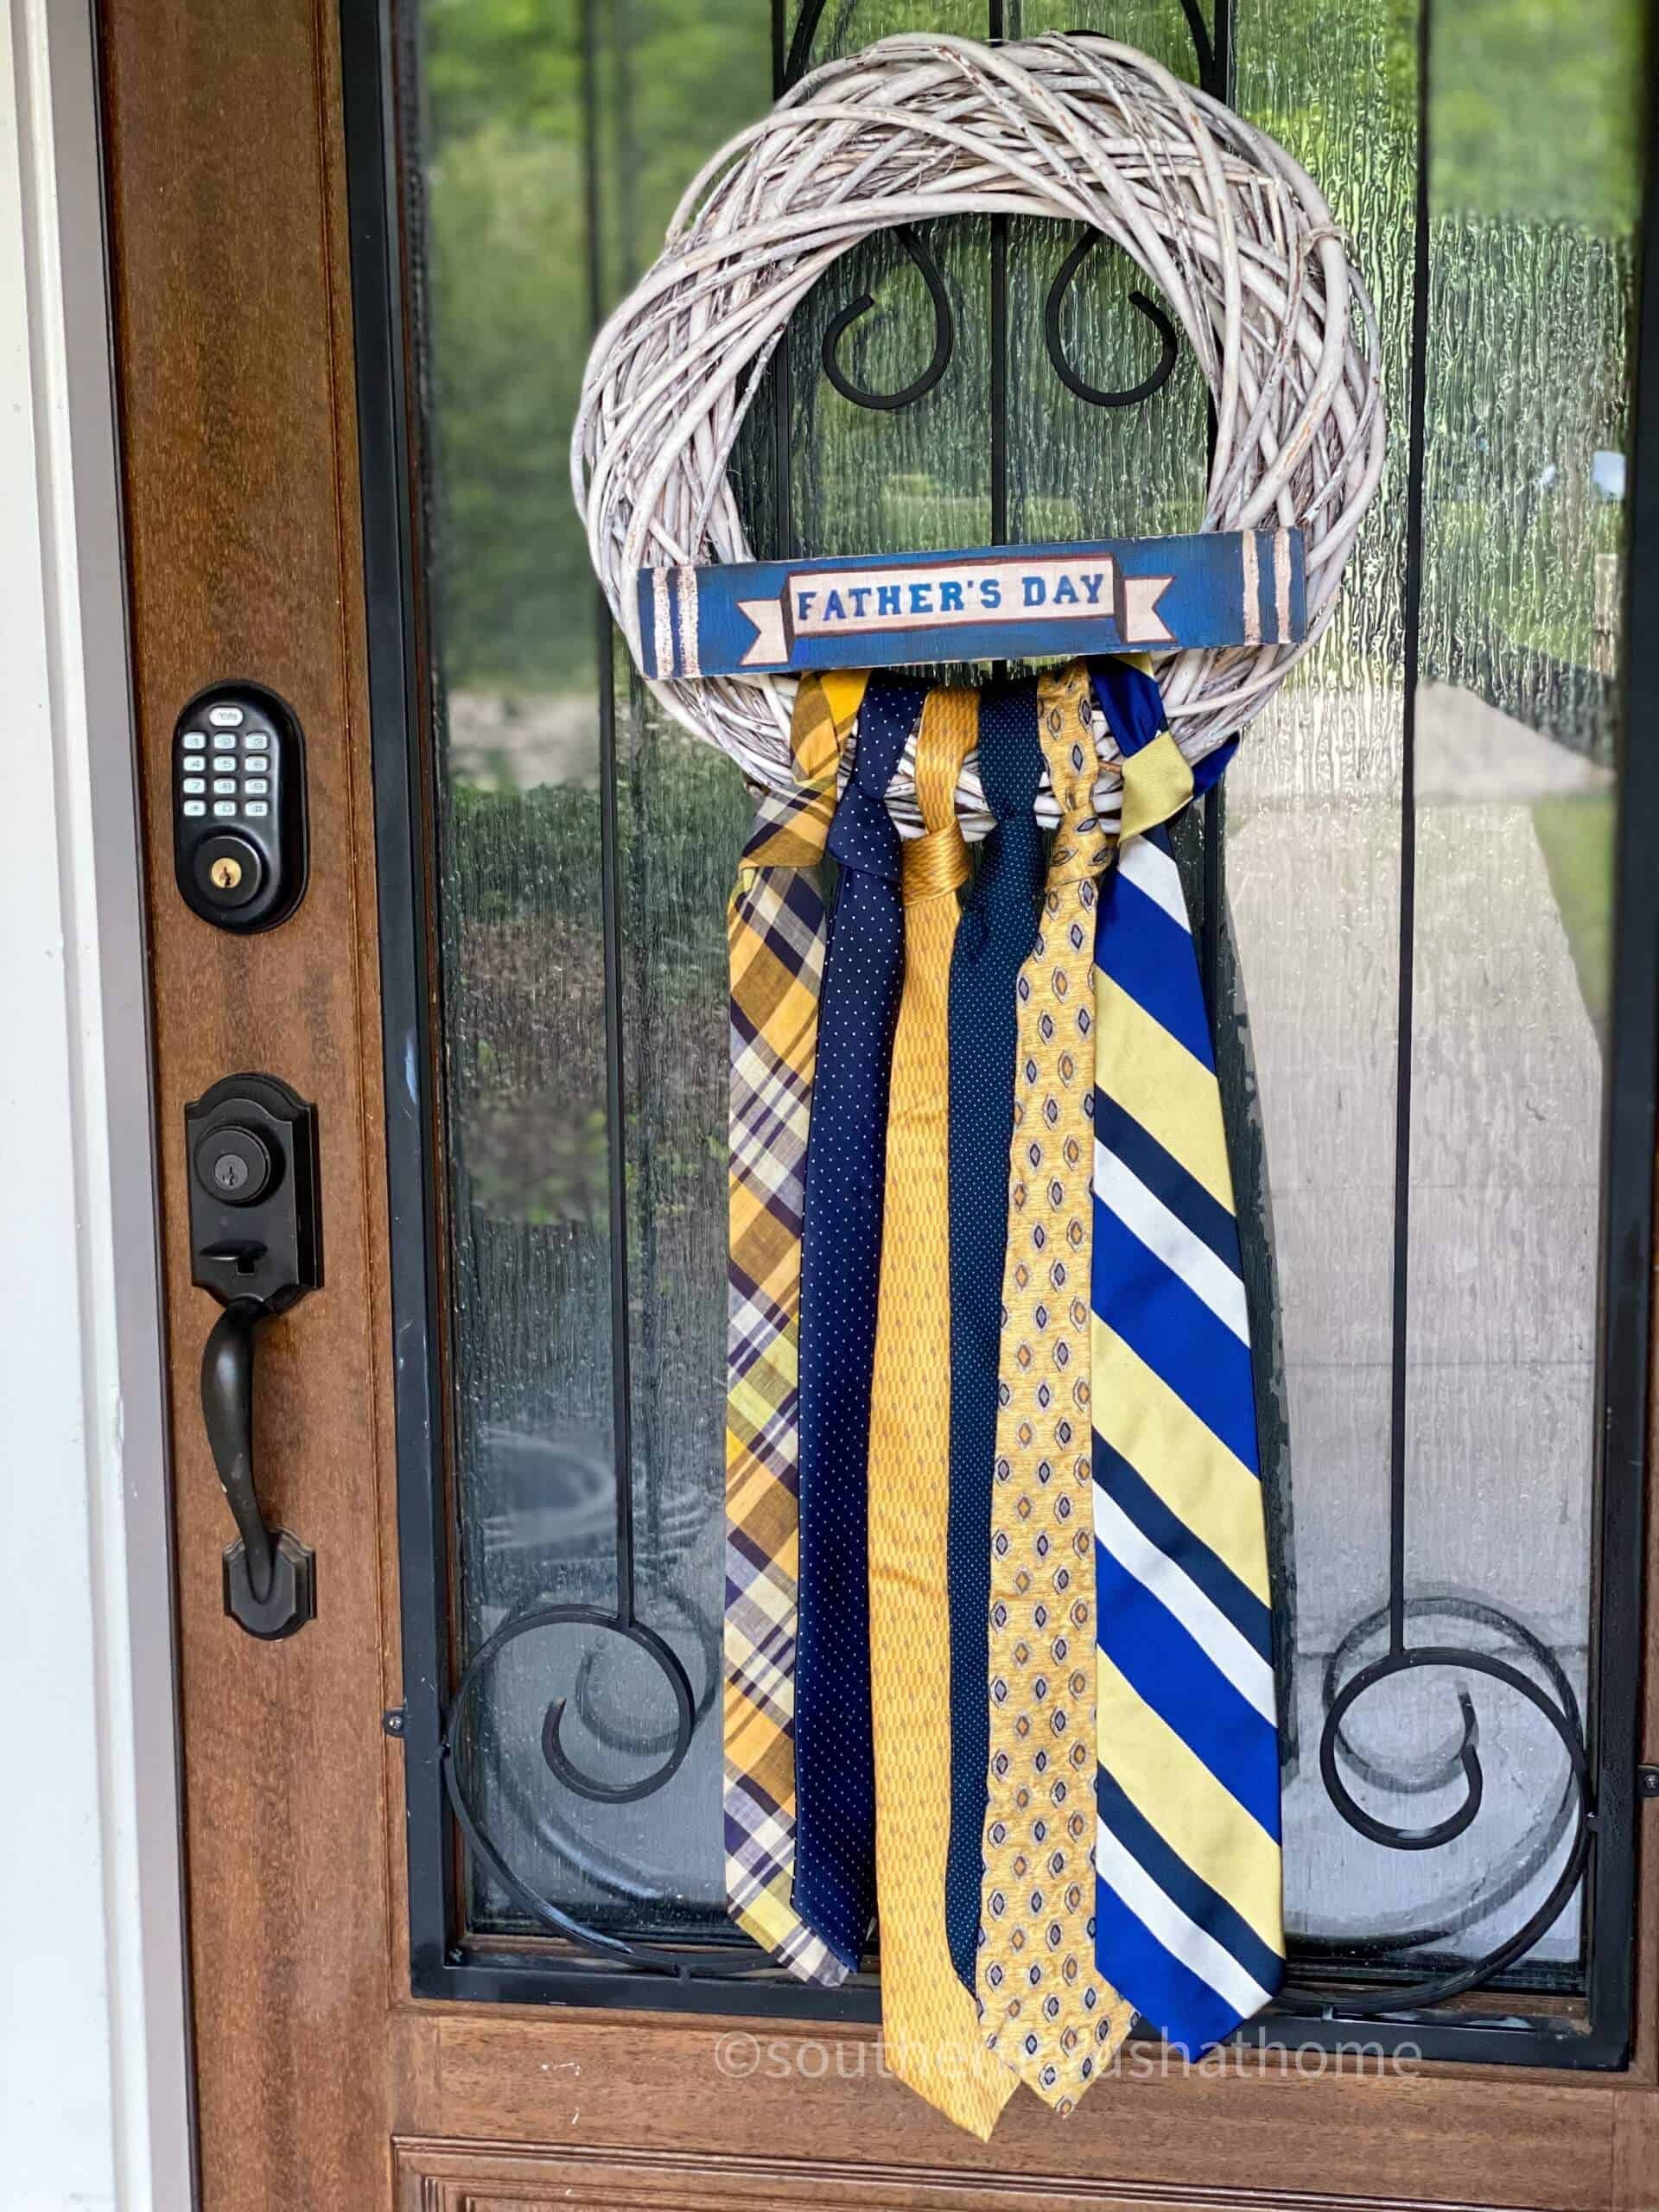
Now that we’ve secured the neckties on the wreath, it’s time to add the finishing touches with some festive flair. For this Father’s Day-themed project, I used craft paint to bring the wood sign to life. You can download a free SVG template from Cricut Design Space to make the process even easier. Once the sign is painted and dry, attach it to the wreath using your trusty hot glue gun. This unique combination of elements truly makes this wreath stand out, don’t you agree?
I’ve already had friends and family commenting on its charm when they see me hang it on my front door. And let’s be honest, it’s not every day you see a thrift store necktie wreath in the neighborhood! But that’s what makes it such a great conversation starter. Plus, this project has the added benefit of being versatile – you can reuse it year after year to celebrate Father’s Day, or adapt it for other special occasions.
that’s it!
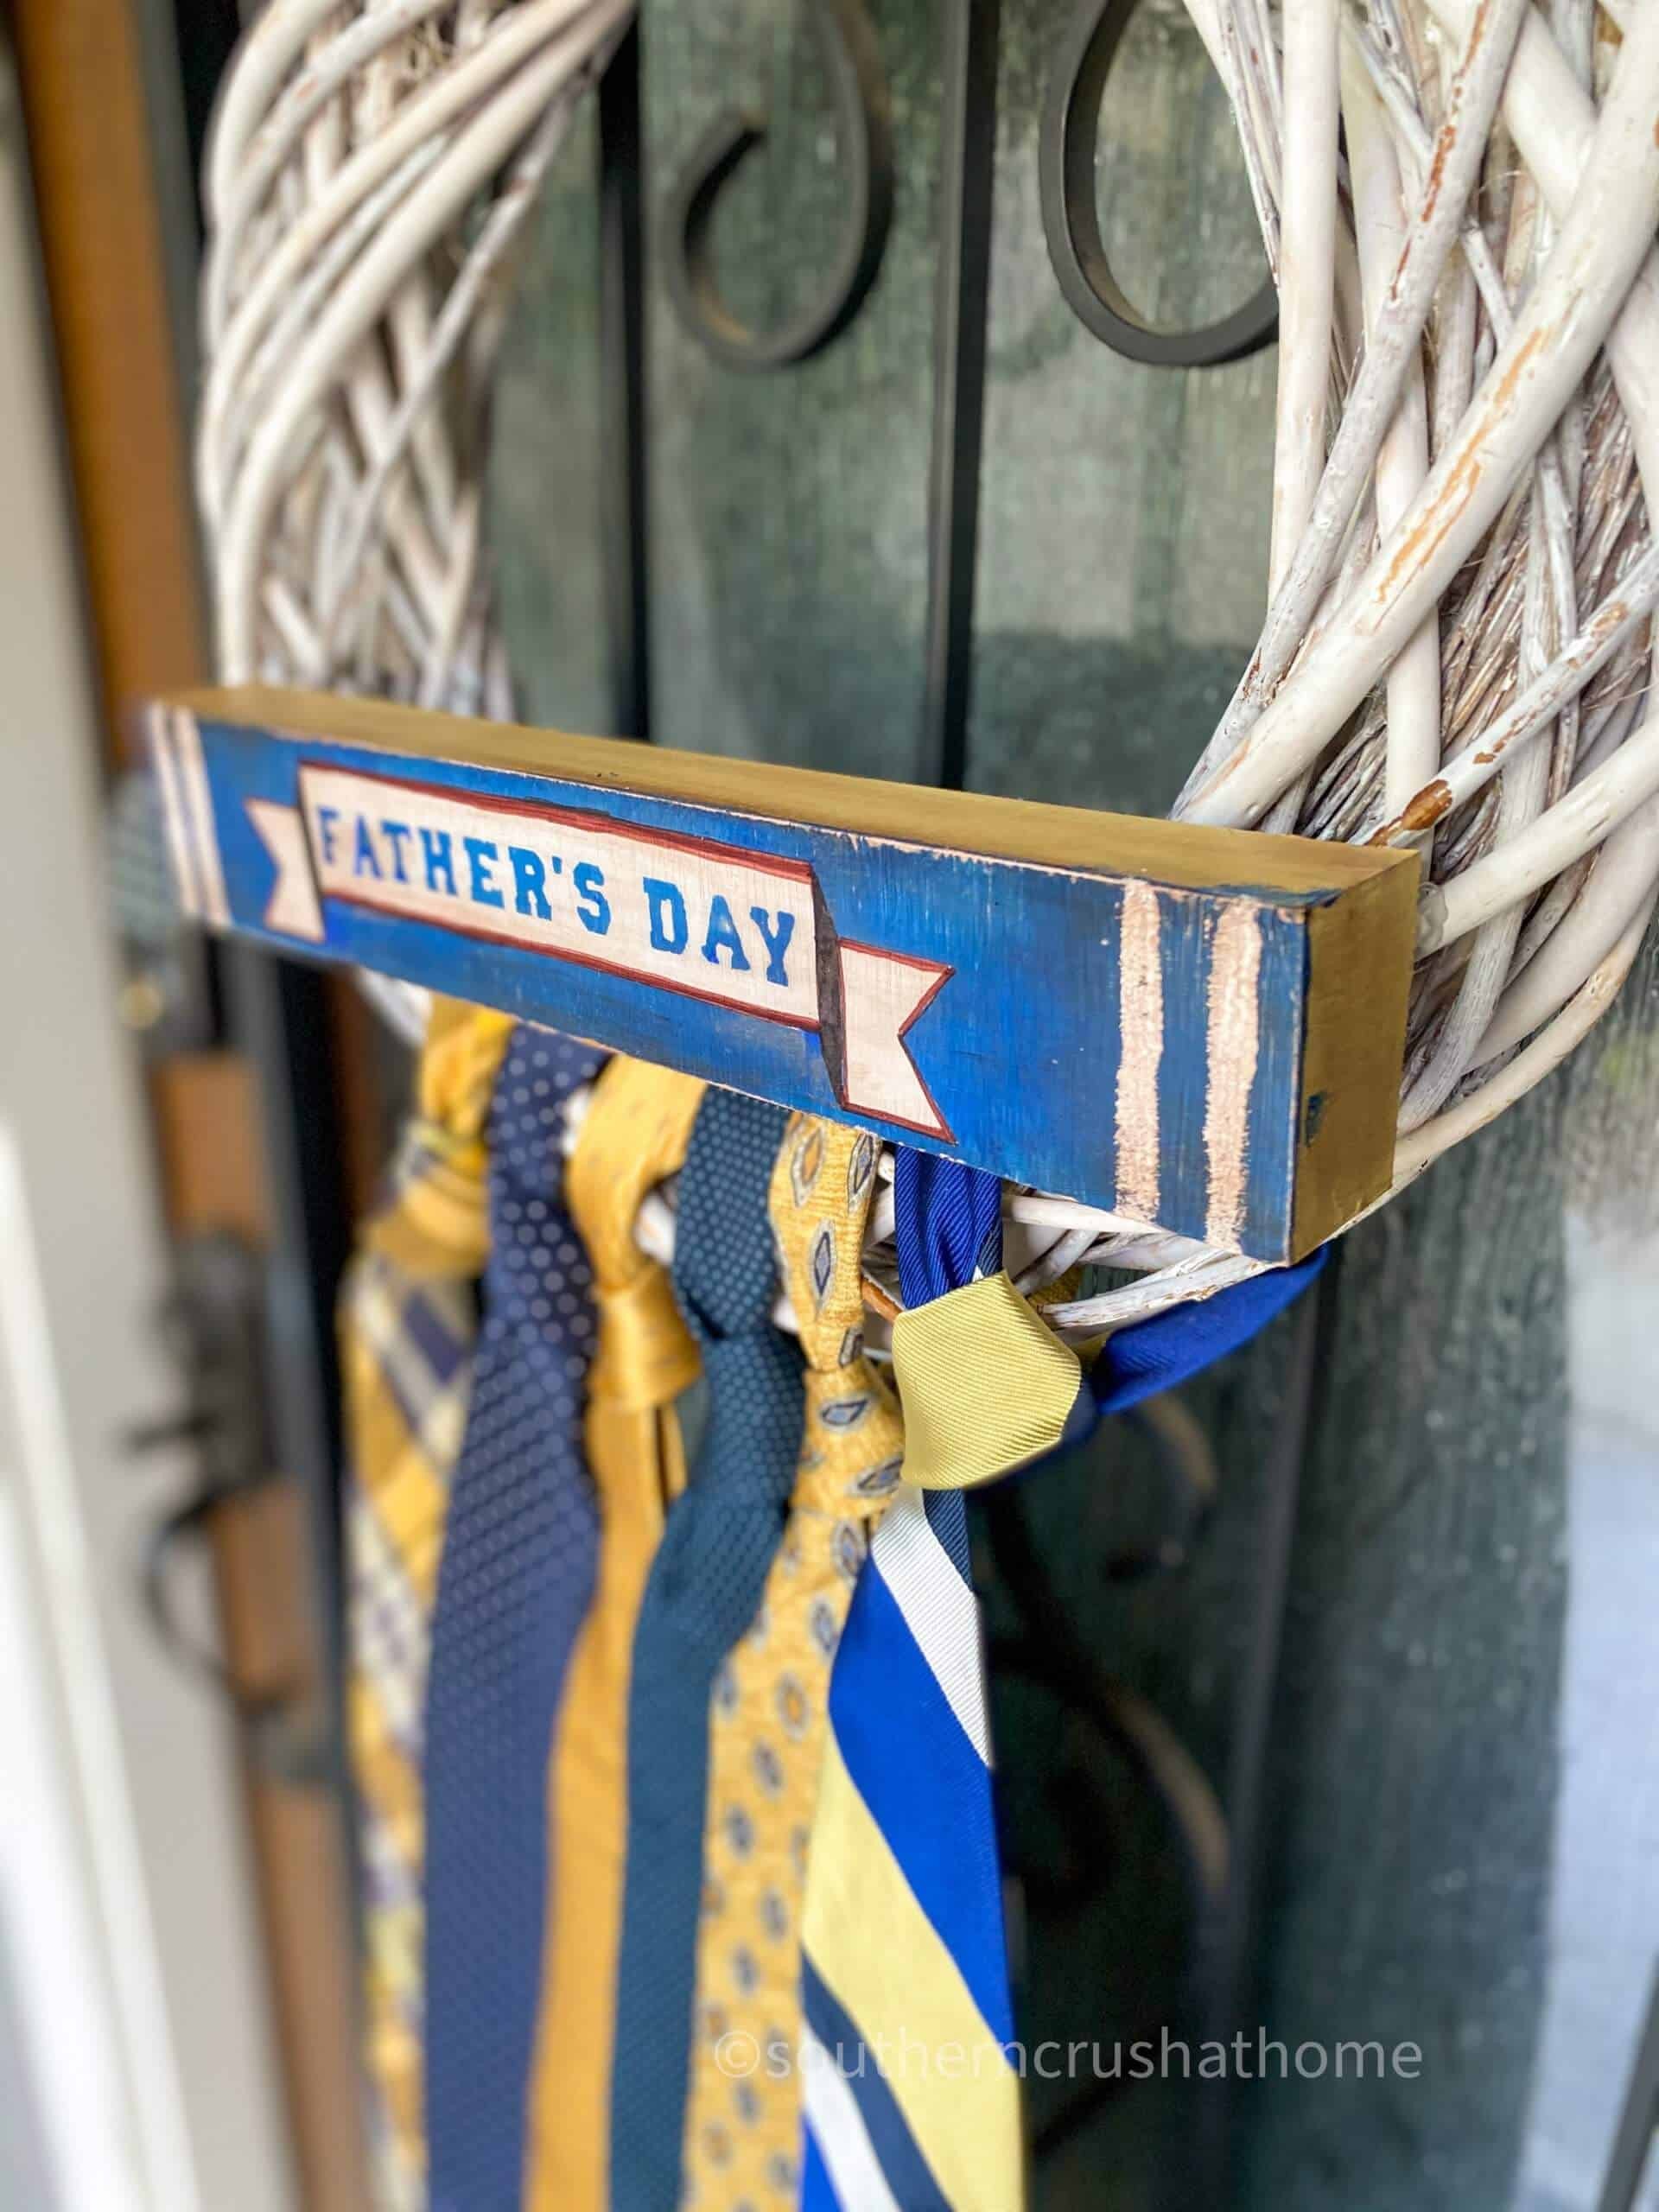

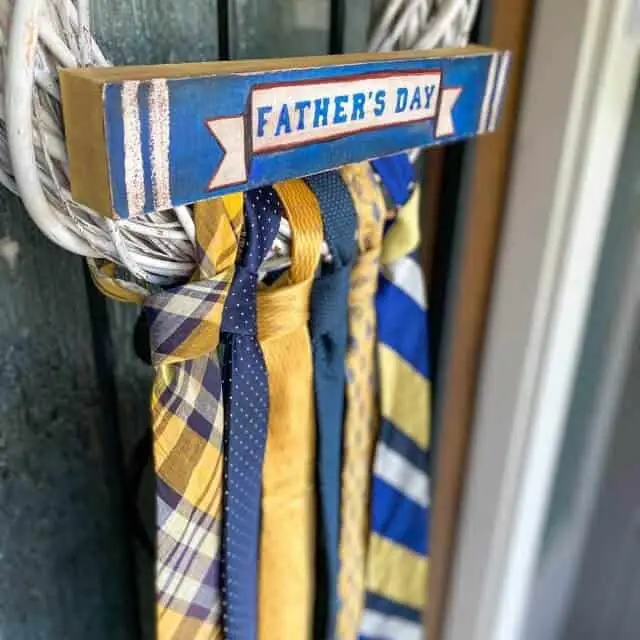
This craft project was not only quick, but also budget-friendly, with a total cost of under $20. Its affordability makes it an attractive option for those looking to create something special without breaking the bank. The idea lends itself well to personalization, and using neckties from a grandfather or father as a wreath could add a touching sentimental value. This concept could be adapted to celebrate other special occasions, such as birthdays, by simply swapping out the sentiment and theme.
Upcycled DIY Necktie Wreath
Transform thrift store cast-offs into a one-of-a-kind Father’s Day gift with this creative upcycled DIY necktie wreath tutorial. Unleash your inner crafter and breathe new life into vintage accessories, turning them into a stylish yet meaningful tribute to the special dads in your life.
Equipment
Materials
A unique and creative combination of materials, the grapevine wreath features a charming necktie design. The cricut machine is used to cut out intricate patterns from the assorted neckties, which are then arranged on the dollar tree wood block to create a one-of-a-kind piece of art. The contrast between the rustic wood and the vibrant colors of the neckties adds depth and visual interest to this decorative arrangement.
Instructions
To create the unique and festive holiday decor, begin by securing the neckties around the wreath using a simple slip knot. Continue this process until all the neckties are tied to the wreath, creating a visually appealing pattern. Next, add a zip tie to each necktie, ensuring a secure and sturdy connection. Use wire cutters to trim any excess zip ties, preventing them from becoming tangled or obstructive.
Meanwhile, take a moment to transform the wooden sign into a beautiful and eye-catching focal point by applying craft paint. Once the sign is painted and dry, use hot glue to attach it firmly to the wreath, completing the design and adding an extra layer of depth and character.
BE SURE TO CHECK OUT THESE OTHER DIY ideas!
Embracing the rustic charm of farmhouse decor, three delightful DIY projects have caught my attention. The first is a Dollar Tree farmhouse wreath that can be easily crafted with a few simple materials and some creative flair. Next, I’m excited to share a DIY farmhouse kitchen scale project that adds a touch of vintage whimsy to any culinary space.
And finally, I’m featuring a charming farmhouse photo frame design that’s perfect for displaying cherished memories in a cozy, country-inspired setting.

