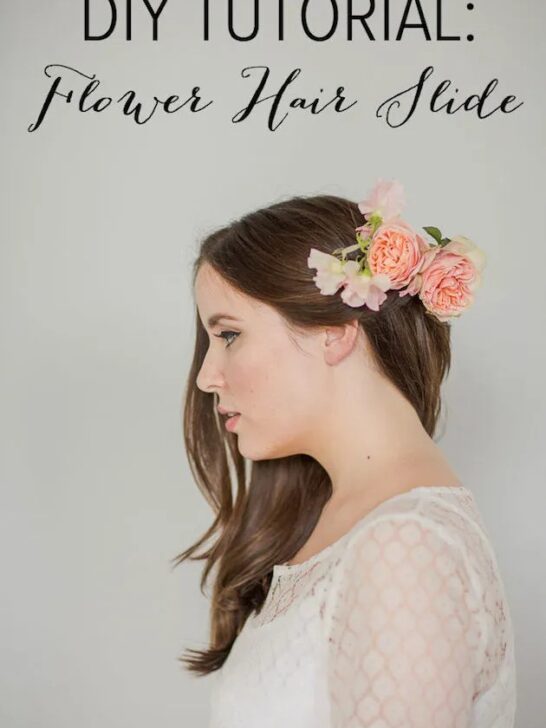
Imagine our excitement as we share with you a delightful DIY project that’s not only stunning but also effortlessly easy to create at home. Take Elizabeth, for instance, who crafted this gorgeous hair slide in just 15 minutes during our recent Bridal Musings photoshoot, with the guidance of Louise Beukes from B.Loved. As Marianne Taylor Photography snapped away and Sev from Hepburn Collection styled her tresses, we knew we had to share this gem with you. This charming hair accessory is so simple to create that it would look fabulous paired with either a down or upstyle. Its delicate beauty lends itself to a romantic, feminine aesthetic while offering an alternative to more bohemian flower crowns.
What You Need:
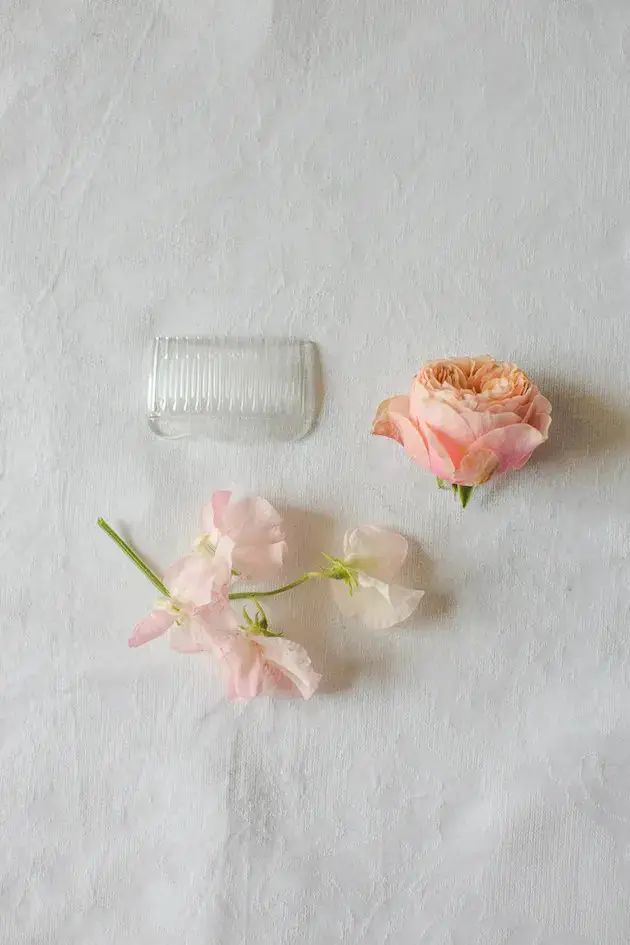
In the world of upcycling, creativity knows no bounds. One can transform ordinary items into extraordinary works of art. Take, for instance, a bouquet of flowers, which can be used to create a unique and eco-friendly gift wrapping material. Alternatively, a plain hair slide can become a beautiful brooch or pendant with some imagination and resourcefulness. Then there are the humble tools, such as a pair of scissors and a glue gun, which, when put together, can give life to a plethora of DIY projects, from crafts to home decor. The possibilities are endless when you think outside the box.
How To Make a DIY Flower Hair Slide:
Gather Your Tools
When crafting your wedding flowers, consider combining one or two statement blooms with smaller petals on a single stem to create a trailing effect reminiscent of our design. For a bouquet that will last throughout the day, discuss the hardiest options with your florist to ensure a long-lasting arrangement. In terms of selecting a hair slide, plastic is a good choice as it holds glue well, while metal can also work (our own slide was sourced from Claire’s Accessories). To get started, simply heat up your glue gun and you’ll be ready to begin!
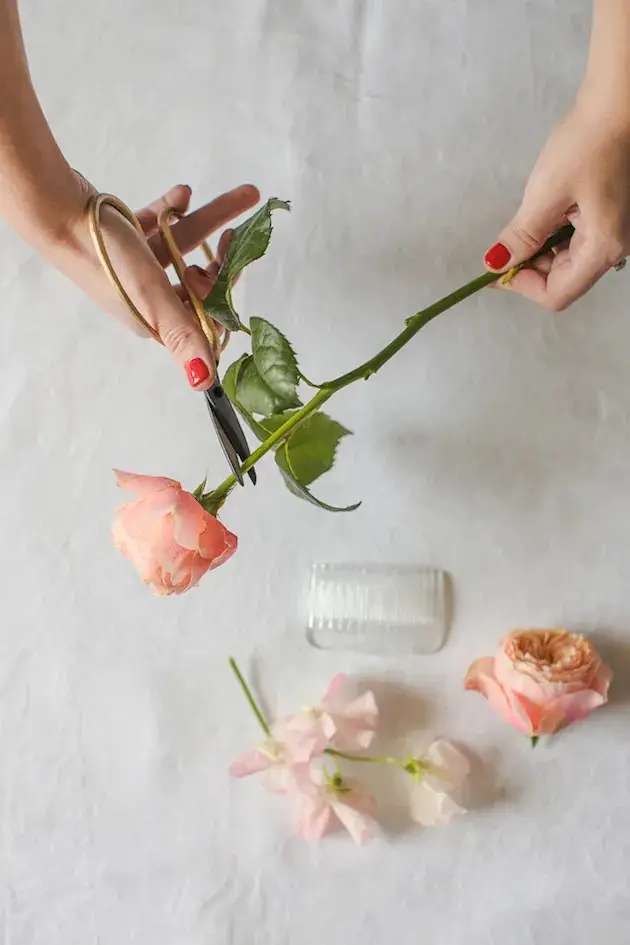
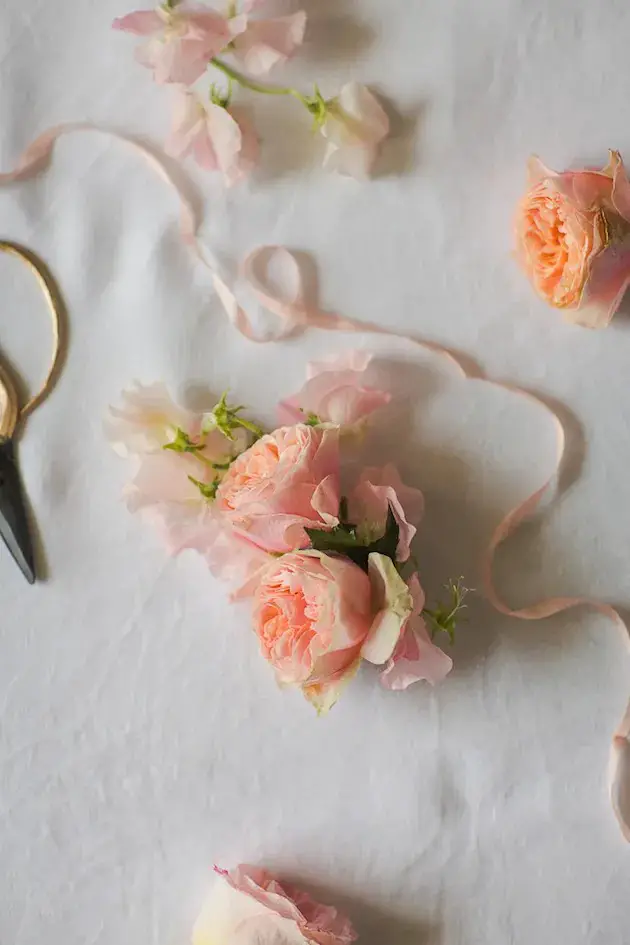
Cut Your Flowers
When pruning stems to encourage larger blooms, aim to cut as close as possible to the bud, especially if the stem is sturdy. Leave a small buffer of about 1 centimeter for any subsequent gluing or attachment needs. In contrast, trailing flowers require slightly longer stems, approximately equal in length to the width of your desired display area.
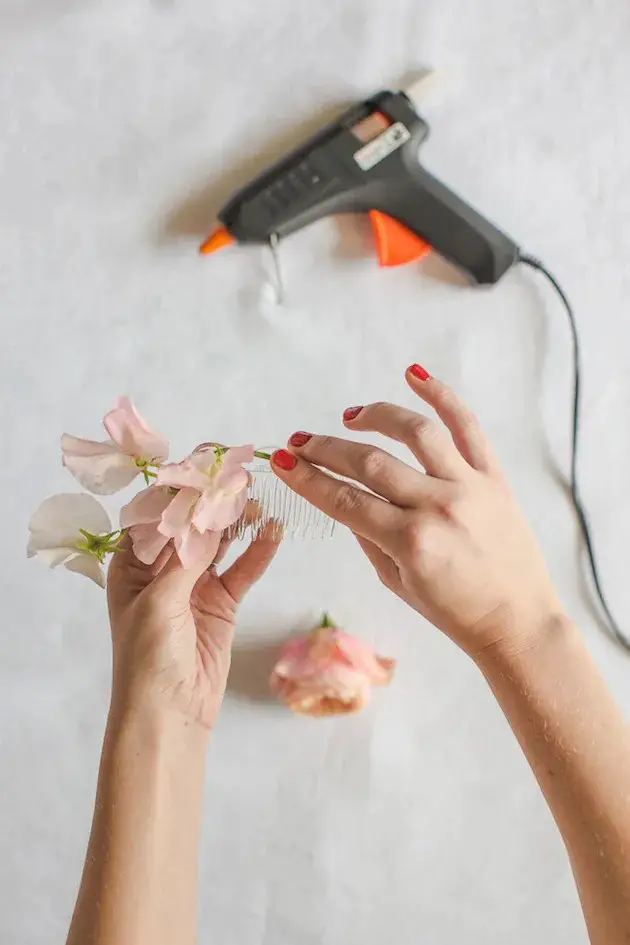
Glue Your Flowers
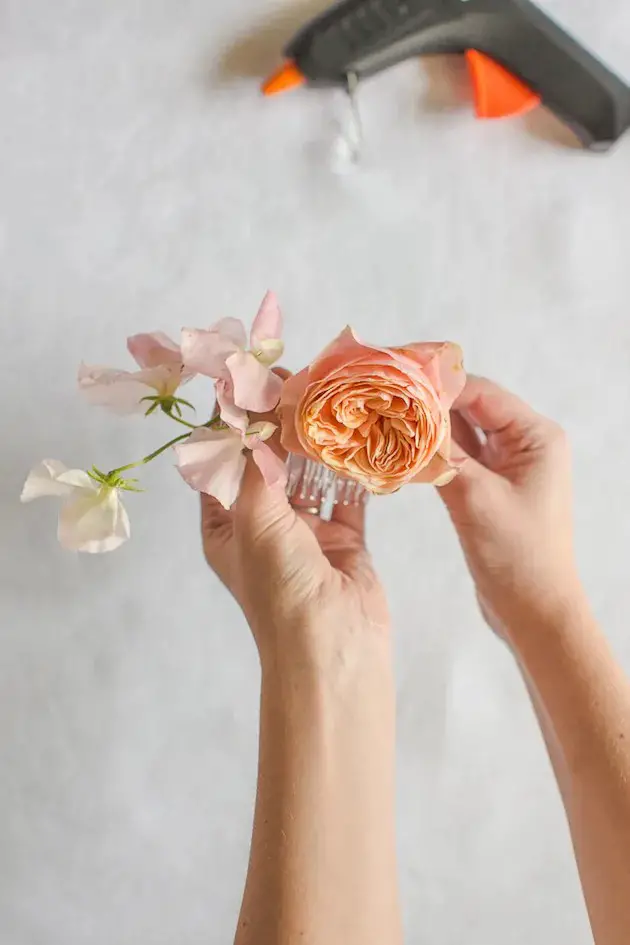
Start by securing the longest stem of your flowers, followed by the larger buds. A crucial consideration is the amount of glue to apply, as excessive amounts can lead to unnecessary mess and waste. Begin with a light touch, gradually adding more adhesive as needed for the bigger blooms.
As you attach each flower, hold it firmly in place for about a minute to ensure a strong bond. Be cautious during this process, however, as the glue can reach extremely high temperatures.
Fix The Flowers
As you add each flower, consider making slight adjustments to ensure they nest together harmoniously. This can be done with gentle manipulation prior to the adhesive fully setting. It’s essential to maintain an organic appearance, avoiding a too-perfect or manufactured look.
Allow to Set
Before attempting to wear your finished slides, ensure the glue is completely dry and cool. Any premature use can result in an unpleasant experience, similar to having sticky, gooey hair that’s difficult to manage.
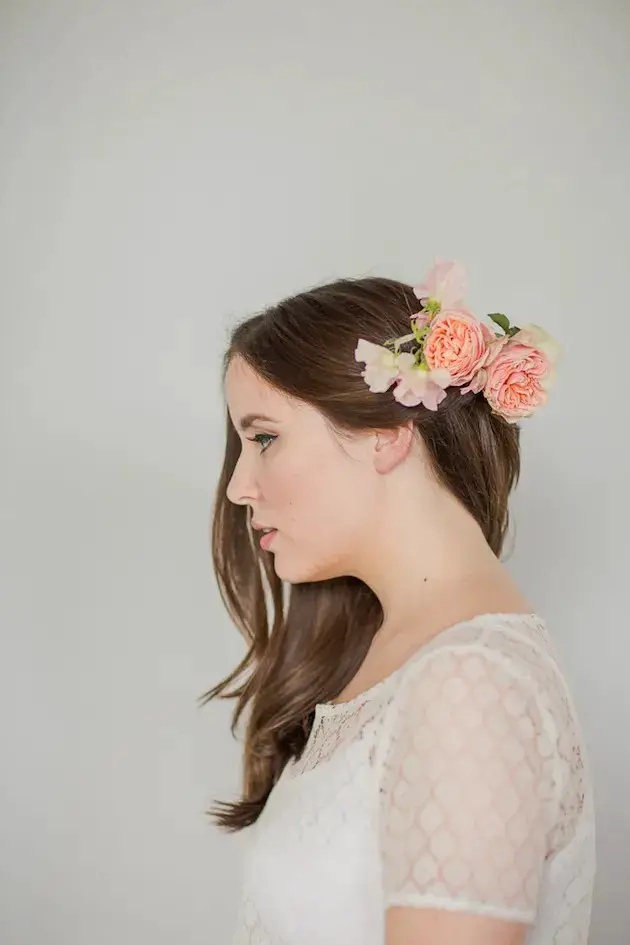
Et Voilà!
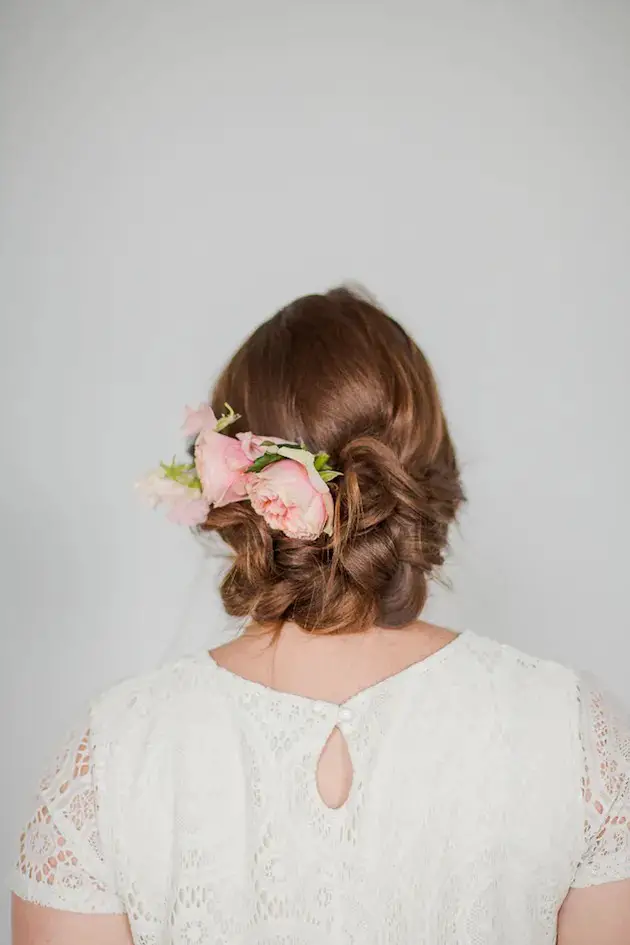

Admire the beauty of your new flower hair slide! Its versatility is truly stunning. This delicate piece looks radiant when paired with effortless waves, but it would equally complement a tousled updo, Gibson roll, or intricate braids. To make the most of your styling experience, consider creating the slide ahead of time during your hair trial. Not only will you get to experiment with different wear styles alongside your stylist, but you’ll also gain valuable insight into how long your chosen blooms will retain their charm.