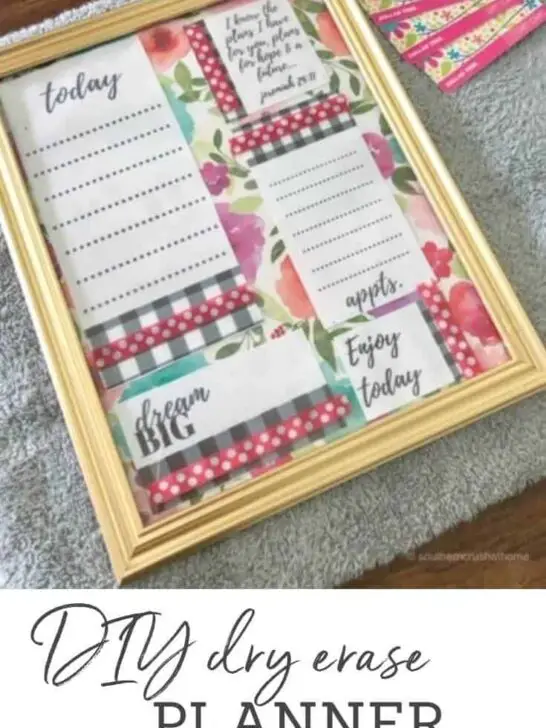
As creative individuals, we know how easily life can become overwhelming and our focus can stray. Despite utilizing multiple planners – both physical and digital – I’ve found myself struggling to stay on track during the day. This realization led me to seek a solution that would serve as a constant reminder, and I stumbled upon an ingenious idea: transforming a picture frame into a DIY dry erase planner.
The beauty of this setup lies in its simplicity.
The glass front allows for effortless use with dry erase markers, while the stand on the back provides a convenient means of propping it up on my desk, ensuring it remains a constant presence throughout the day. I’m thoroughly enamored with this solution…
Y’ALL DON’T FORGET TO PIN THIS PROJECT FOR LATER!
dry erase planner SUPPLIES
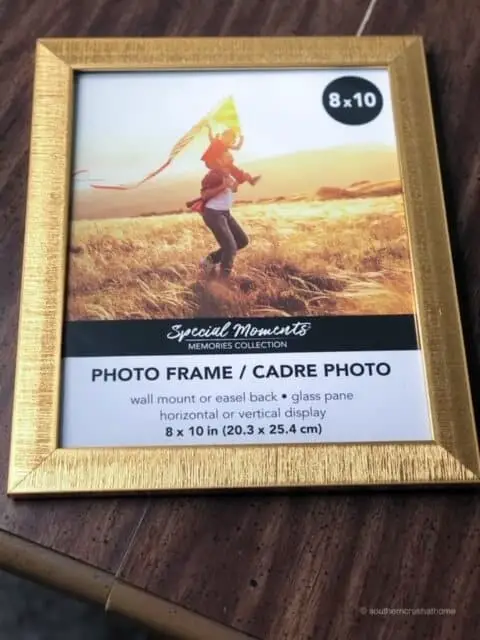
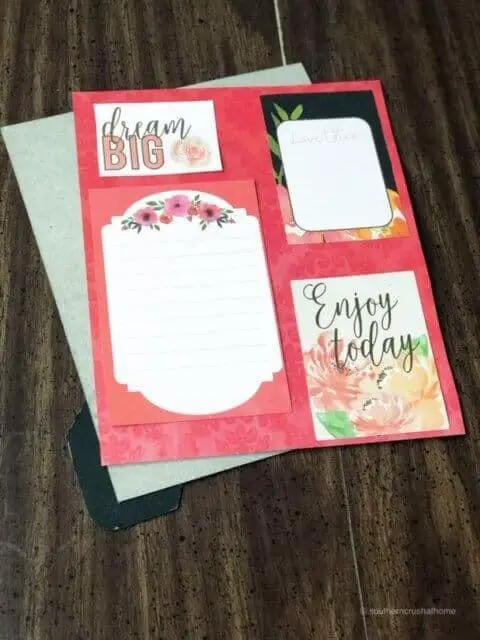
This DIY project is incredibly versatile, allowing you to tailor it to suit your unique needs. The combination of an 8×10 picture frame with glass, along with various embellishments like scrapbook paper, colorful fabric, washi tape, and cute printables, provides a blank canvas for creativity. You can transform the frame into a DIY planner, menu planner, scripture reminder, habit tracker, or anything else you envision.
The best part is that you may already have many of these materials at home, making it a quick, easy, and inexpensive way to boost your organization skills.
Here are the easy steps:
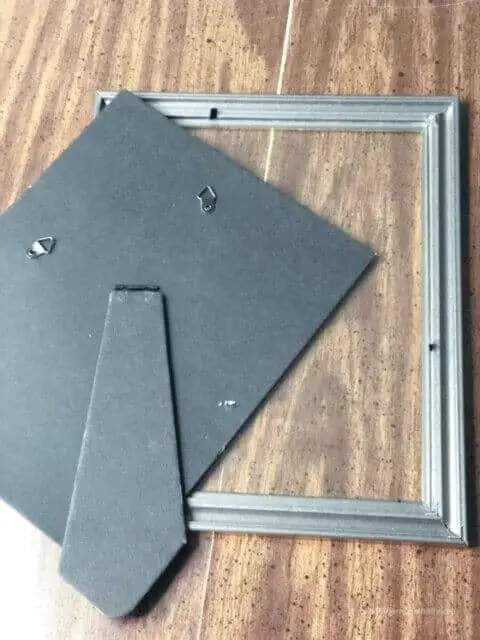
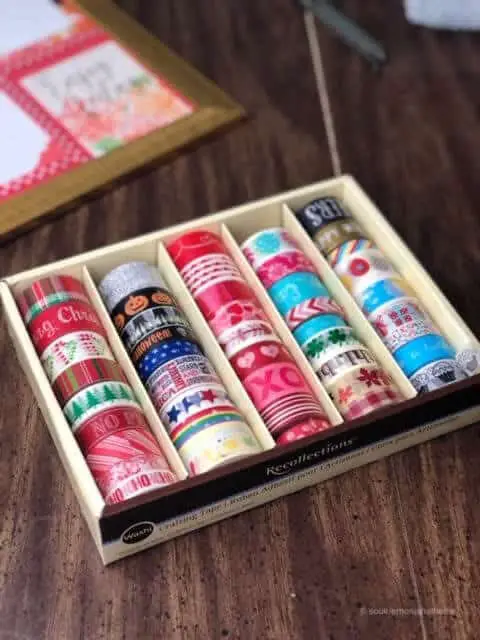
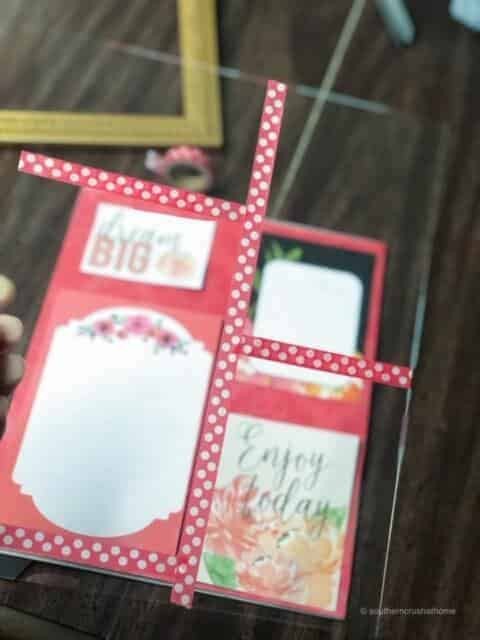
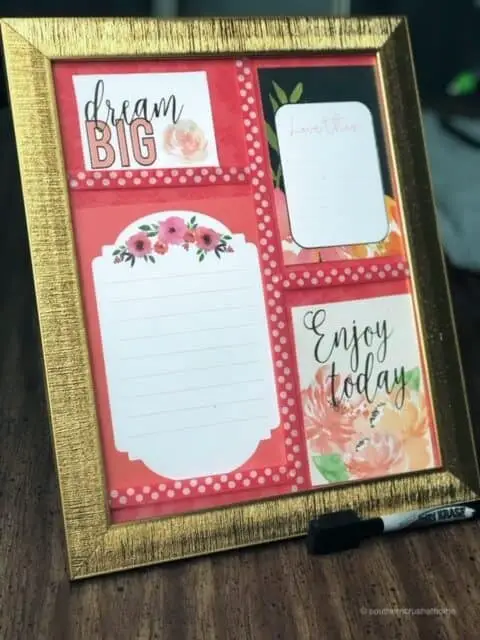
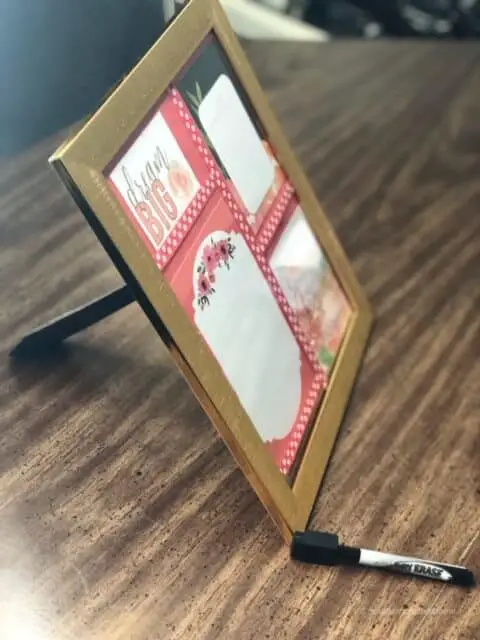
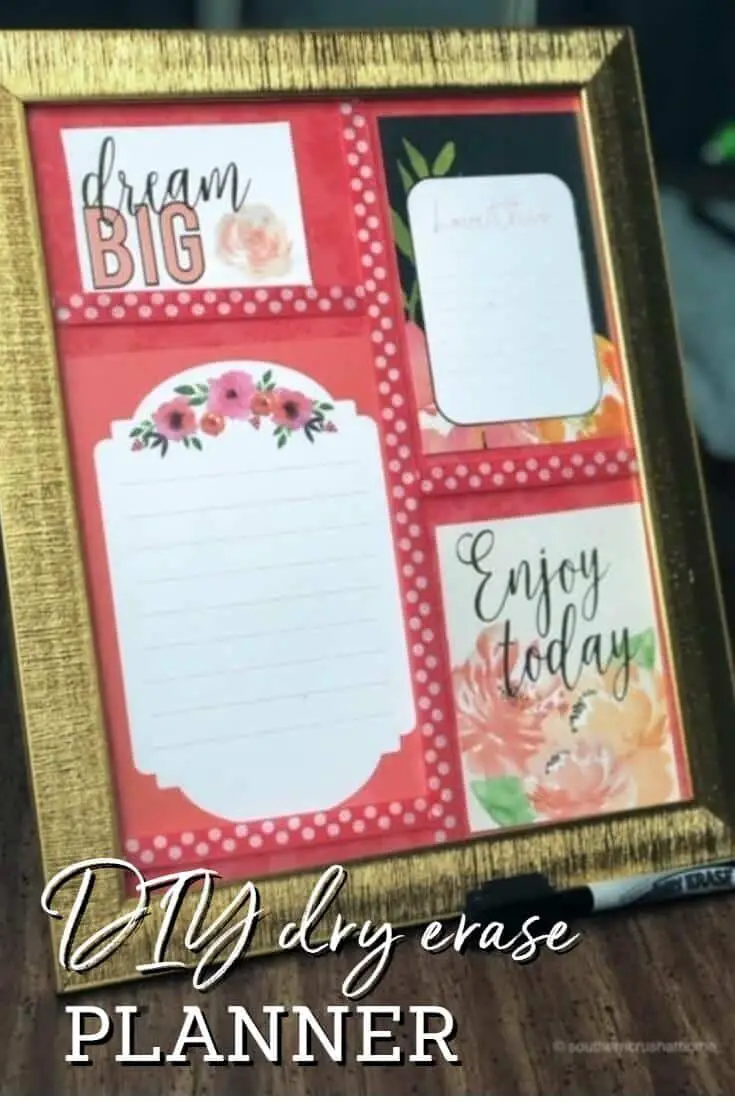
To complete your DIY dry erase planner, start by removing the back of the frame and decorating the inside with scrapbook paper, fabric, or a simple white finish. Attach this backing to the frame using glue. Next, add your preferred printable – such as a calendar, to-do list, or inspirational quotes – and secure it in place using two-sided tape, glue, or glue dots. Once you’ve added your printable, replace the back piece inside the frame and ensure it’s securely fastened.
To add some visual interest, apply colorful washi tape to create distinctive lines or decorate the glass front or trim around the frame as desired. If you want to take your planner to the next level, consider adding embellishments to the outside edges of the frame and attaching them with hot glue. With these steps complete, you’ll have a functional and creative way to stay organized throughout the day.
I personally use both my dry erase planner and paper planner, but it’s helpful to keep my must-do tasks visible at all times to avoid feeling overwhelmed. I hope you’ll make one for yourself and share your creation with our community. If you’re interested in staying organized, be sure to check out my post on how I organized my medicine cabinet in an afternoon. It’s a great way to get things in order and feel more productive. Let me know if you give it a try!
Fresh Start Dry Erase Planner
As creatives, we often find ourselves struggling to stay organized and focused amidst life’s chaos. Despite relying on multiple planners – both physical and digital – I still face the challenge of staying on track. The Fresh Start DIY dry erase planner was born from my desire for a constant reminder that stood out throughout the day.
A picture frame proved to be the ideal solution, offering not only a glass front suitable for use with dry erase markers but also a built-in stand at the back, allowing me to prop it up on my desk and keep myself on course.
Materials
Create a unique and personalized photo display by incorporating an 8×10 picture frame with a glass surface. To add an artistic touch, you can use dry erase markers to draw directly onto the glass. For a more scrapbook-inspired look, consider adding colorful fabric, washi tape, or cute printables around the frame. Take it to the next level by incorporating embellishments like silk flowers, bling, or buttons.
The optional elements are designed to be mixed and matched to suit your personal style and preferences.
Instructions
To enhance the visual appeal of your scrapbooking project, start by removing the backing from a frame that suits your design. Cut a piece of scrapbook paper, printable, or fabric to fit the frame and replace the backing with it. For an added pop of color and texture, use washi tape to create lines or patterns on the backing. You can also add embellishments such as flowers or bling to give your project a personal touch.
Finally, take advantage of dry erase markers to write notes, quotes, or reminders directly onto the glass surface.

